You know that Mom crying in the school parking lot on the first day of school? Yes, that would be me. My son Reid started his very first day of preschool last week, and I was a mess. Any mother reading this post surely can relate. It’s incredibly hard to let our little ones go. I was SO worried about my little guy and him “being brave” on that first day, as well as making friends, getting to the potty alright, having socks on that “feel comfortable” (good grief does anyone else deal with this wrinkly sock thing?!) that the whole, “give an apple to your teacher on the first day of school” idea didn’t even cross my mind.
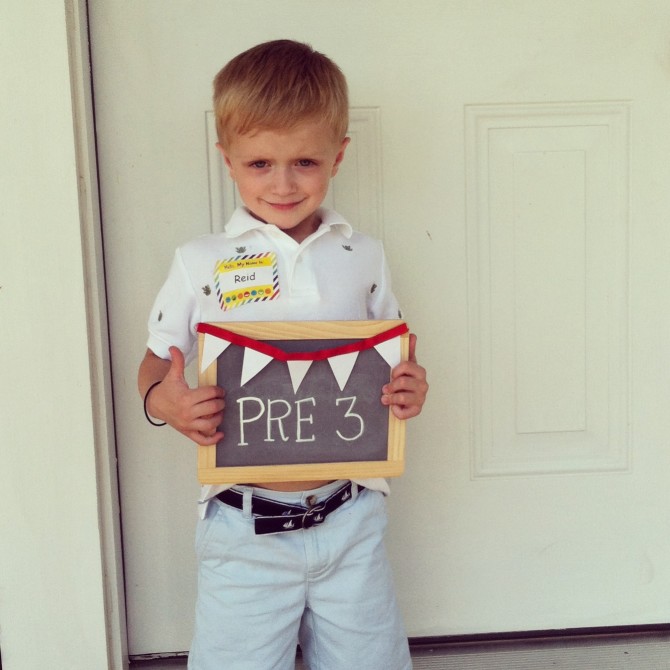
I’m a firm believer that small acts of kindness go a long way. Whether it be a cup of coffee, opening a door for a stranger, or raking your neighbors’ leaves, it’s these small acts that truly warm the heart. So, when Reid came home from school and asked if he could make something for his teacher, I thought, what a FABULOUS idea. …and just on a cute side note, Reid also asked if his teacher would wear a different shirt next week, if she got to eat lunch, and if she lived at the school… isn’t it SO funny what their little minds think about?! Anyways, after we talked for a minute, we decided that we would make something together over the weekend for her.
I recalled a DIY pencil holder I pinned a while back on pinterest, where you hot glued sticks and twigs around an old soup can to make into a pencil holder. I liked this idea, but wanted to incorporate something more “schoolish” to replace the twigs, and use the soup can as a vase for flowers instead of as a pencil holder. So, I thought that crayons seemed appropriate since that’s all 3 and 4 year olds really use (or, you could totally replace the crayons with pencils if you wanted to), and replaced the whole pencil holder idea with flowers.
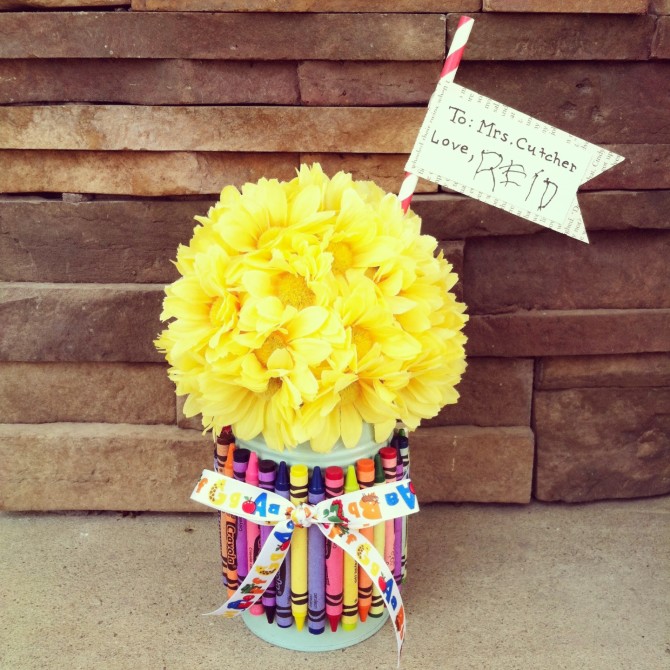
Here’s what we came up with:
Materials:
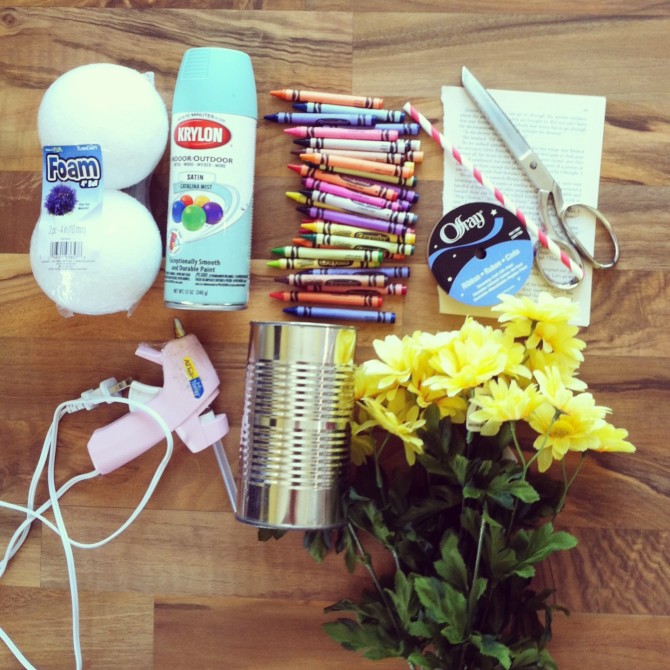
One large soup can (the 26oz. as opposed to the 10 ¾ oz. we usually use for recipes)
Spray paint (to spray paint the soup can if you choose)
One 4″ foam ball (you can find these at any craft store; mine are “flora craft” brand found at Walmart in a 2 pack)
One large bunch of fake flowers
34 Crayons (these can be old crayons or new, I bought mine on clearance after school started)
Ribbon to tie around the outside of the soup can vase
Glue gun
Scissors
materials to make a tag (I used a paper straw, an old book page and a small piece of mint cardstock)
Directions:
First, spray paint your soup can. You don’t have to do this; I just had some mint spray paint in the house and I thought this color would look cute with the yellow daises.
While the spray paint is drying, start assembling the flower ball. Begin by plucking off the flowers from the stems; this will leave a short nub at the base of the flower. Push the nub of the flower into the foam ball (this was by far Reid’s favorite part of the project). Make sure to leave a large bald space on the bottom, that way the flower ball can sit properly on the soup can.
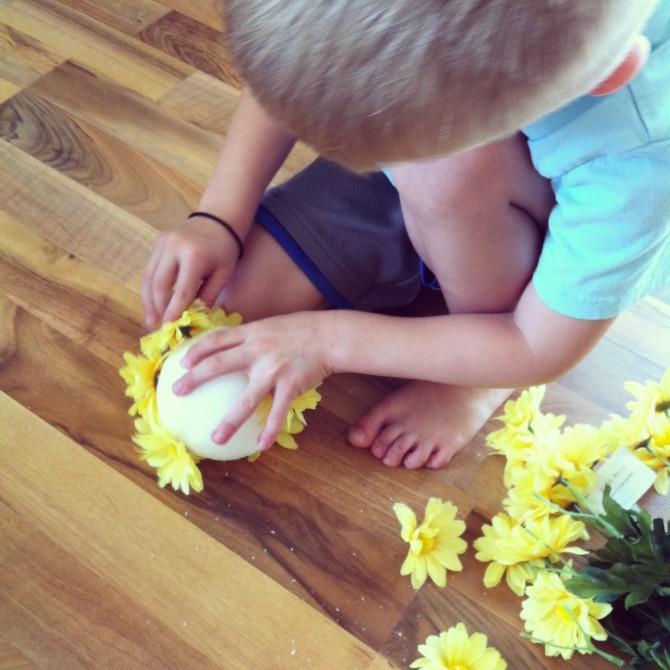
After Reid was finished, I went back through the flower ball and filled in some of the bald spots, as well as hot glued some of the wiggly flowers to make sure it wouldn’t fall apart.
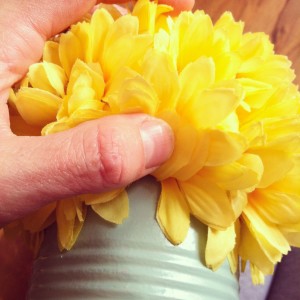
Next, set the flower ball on top of your soup can. You will probably have to fill in the bottom of the flower ball with additional flowers, since a large bald space was left on the bottom. Once this part is filled in, hot glue the petals of the flowers that touch the soup can to secure the flower ball to the soup can.

While I was using the hot glue gun, Reid’s job was to sort the crayons. He put them in a pattern that he wanted to use for the outside of the vase/can.
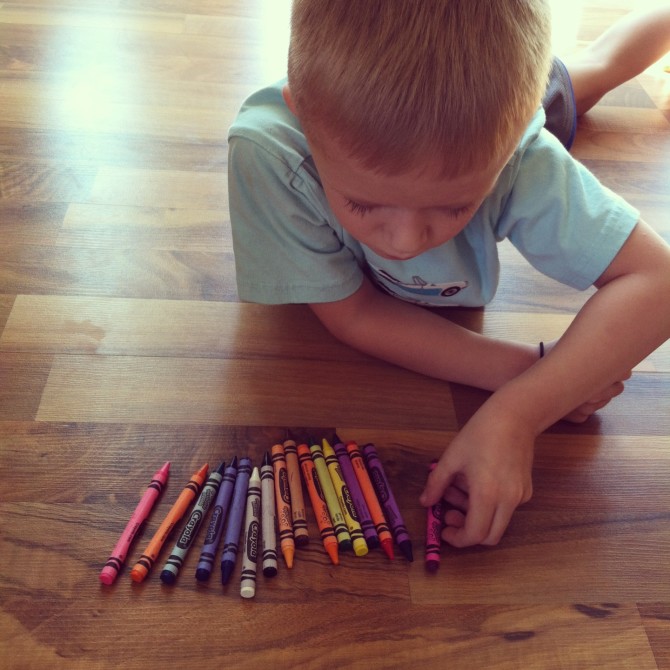
After they were sorted and arranged the way Reid wanted, he handed the crayons to me one at a time so I could hot glue them to the outside of the can. Using exactly 34 crayons for this size of soup can is perfect. Simply glue them side by side until they wrap around the entire vase/can.
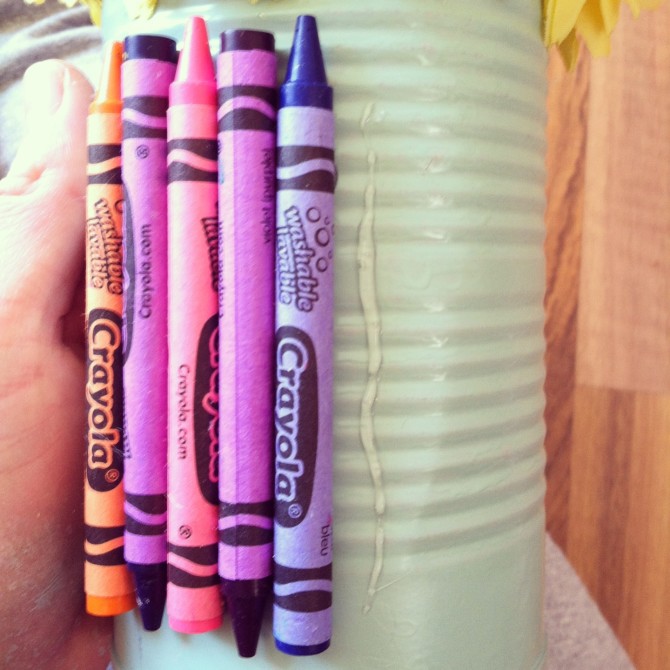
After the crayons are all glued, tie your ribbon around the crayons.
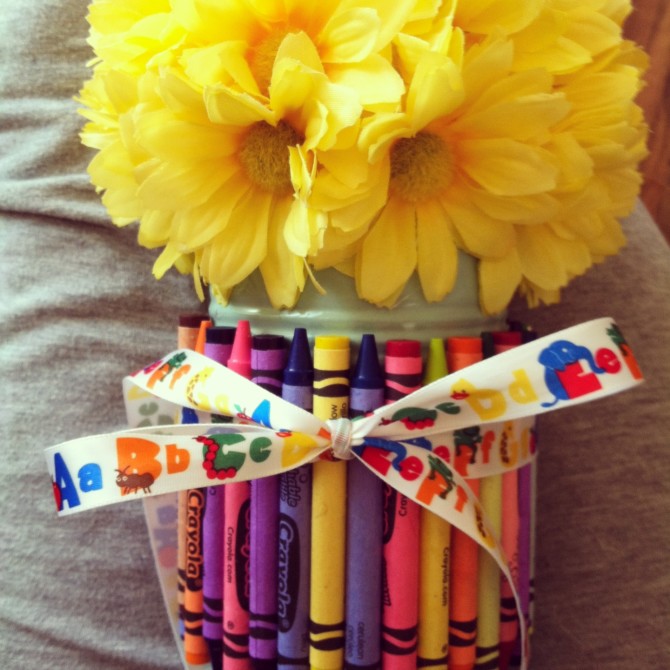
Finally, make your tag. I used a paper straw and stuck it into the top of the foam ball.

And that’s all there is to it!
Like I mentioned earlier, this took us about an hour from start to finish, and I spent around $10.00 on the whole project.
Reid is SUPER excited about presenting this to his teacher on Tuesday (although I have a feeling when we get to his classroom he will hide behind me as I hand it to her, hehe:)) and we had nice Mommy/son time as his sister took her afternoon nap.
Hope your weekend is going lovely!
Happy Crafting!!
xoxo





I absolutely love this!! Very informative post; I definitely can see myself making something like this with Preston! And that is too funny about the teacher living at school thing– Preston thought the exact same thing last year :)
Love it Jess! Caleb, Lauren & I will have to do this for their teachers…maybe this weekend?!?! Thanks so much for posting this (along with the instructions!) <3
I saw this in the preschool room when I walked by this week. I thought to myself- that’s so freaking cute! What a good idea :) I’m sure she loved it!