
‘Tis the season for gift giving, friends! Homemade, heartfelt gifts are my favorite this time of year…especially if they are the type of gift that keeps on giving.

I don’t know about you, but when my little family gathers together for dinner, it is usually my most favorite time of the day. It’s a time for us to relax, laugh, tell stories and catch up on the day’s ups and downs, not to mention that it is good for our spirit, brain and health. I’m blessed because I have great memories of my family gathered around the dinner table growing up, so my hope is to give my children the same warm feeling. Sure, there are some days when eating together just isn’t possible, but we try really hard to make this a big priority in our home.
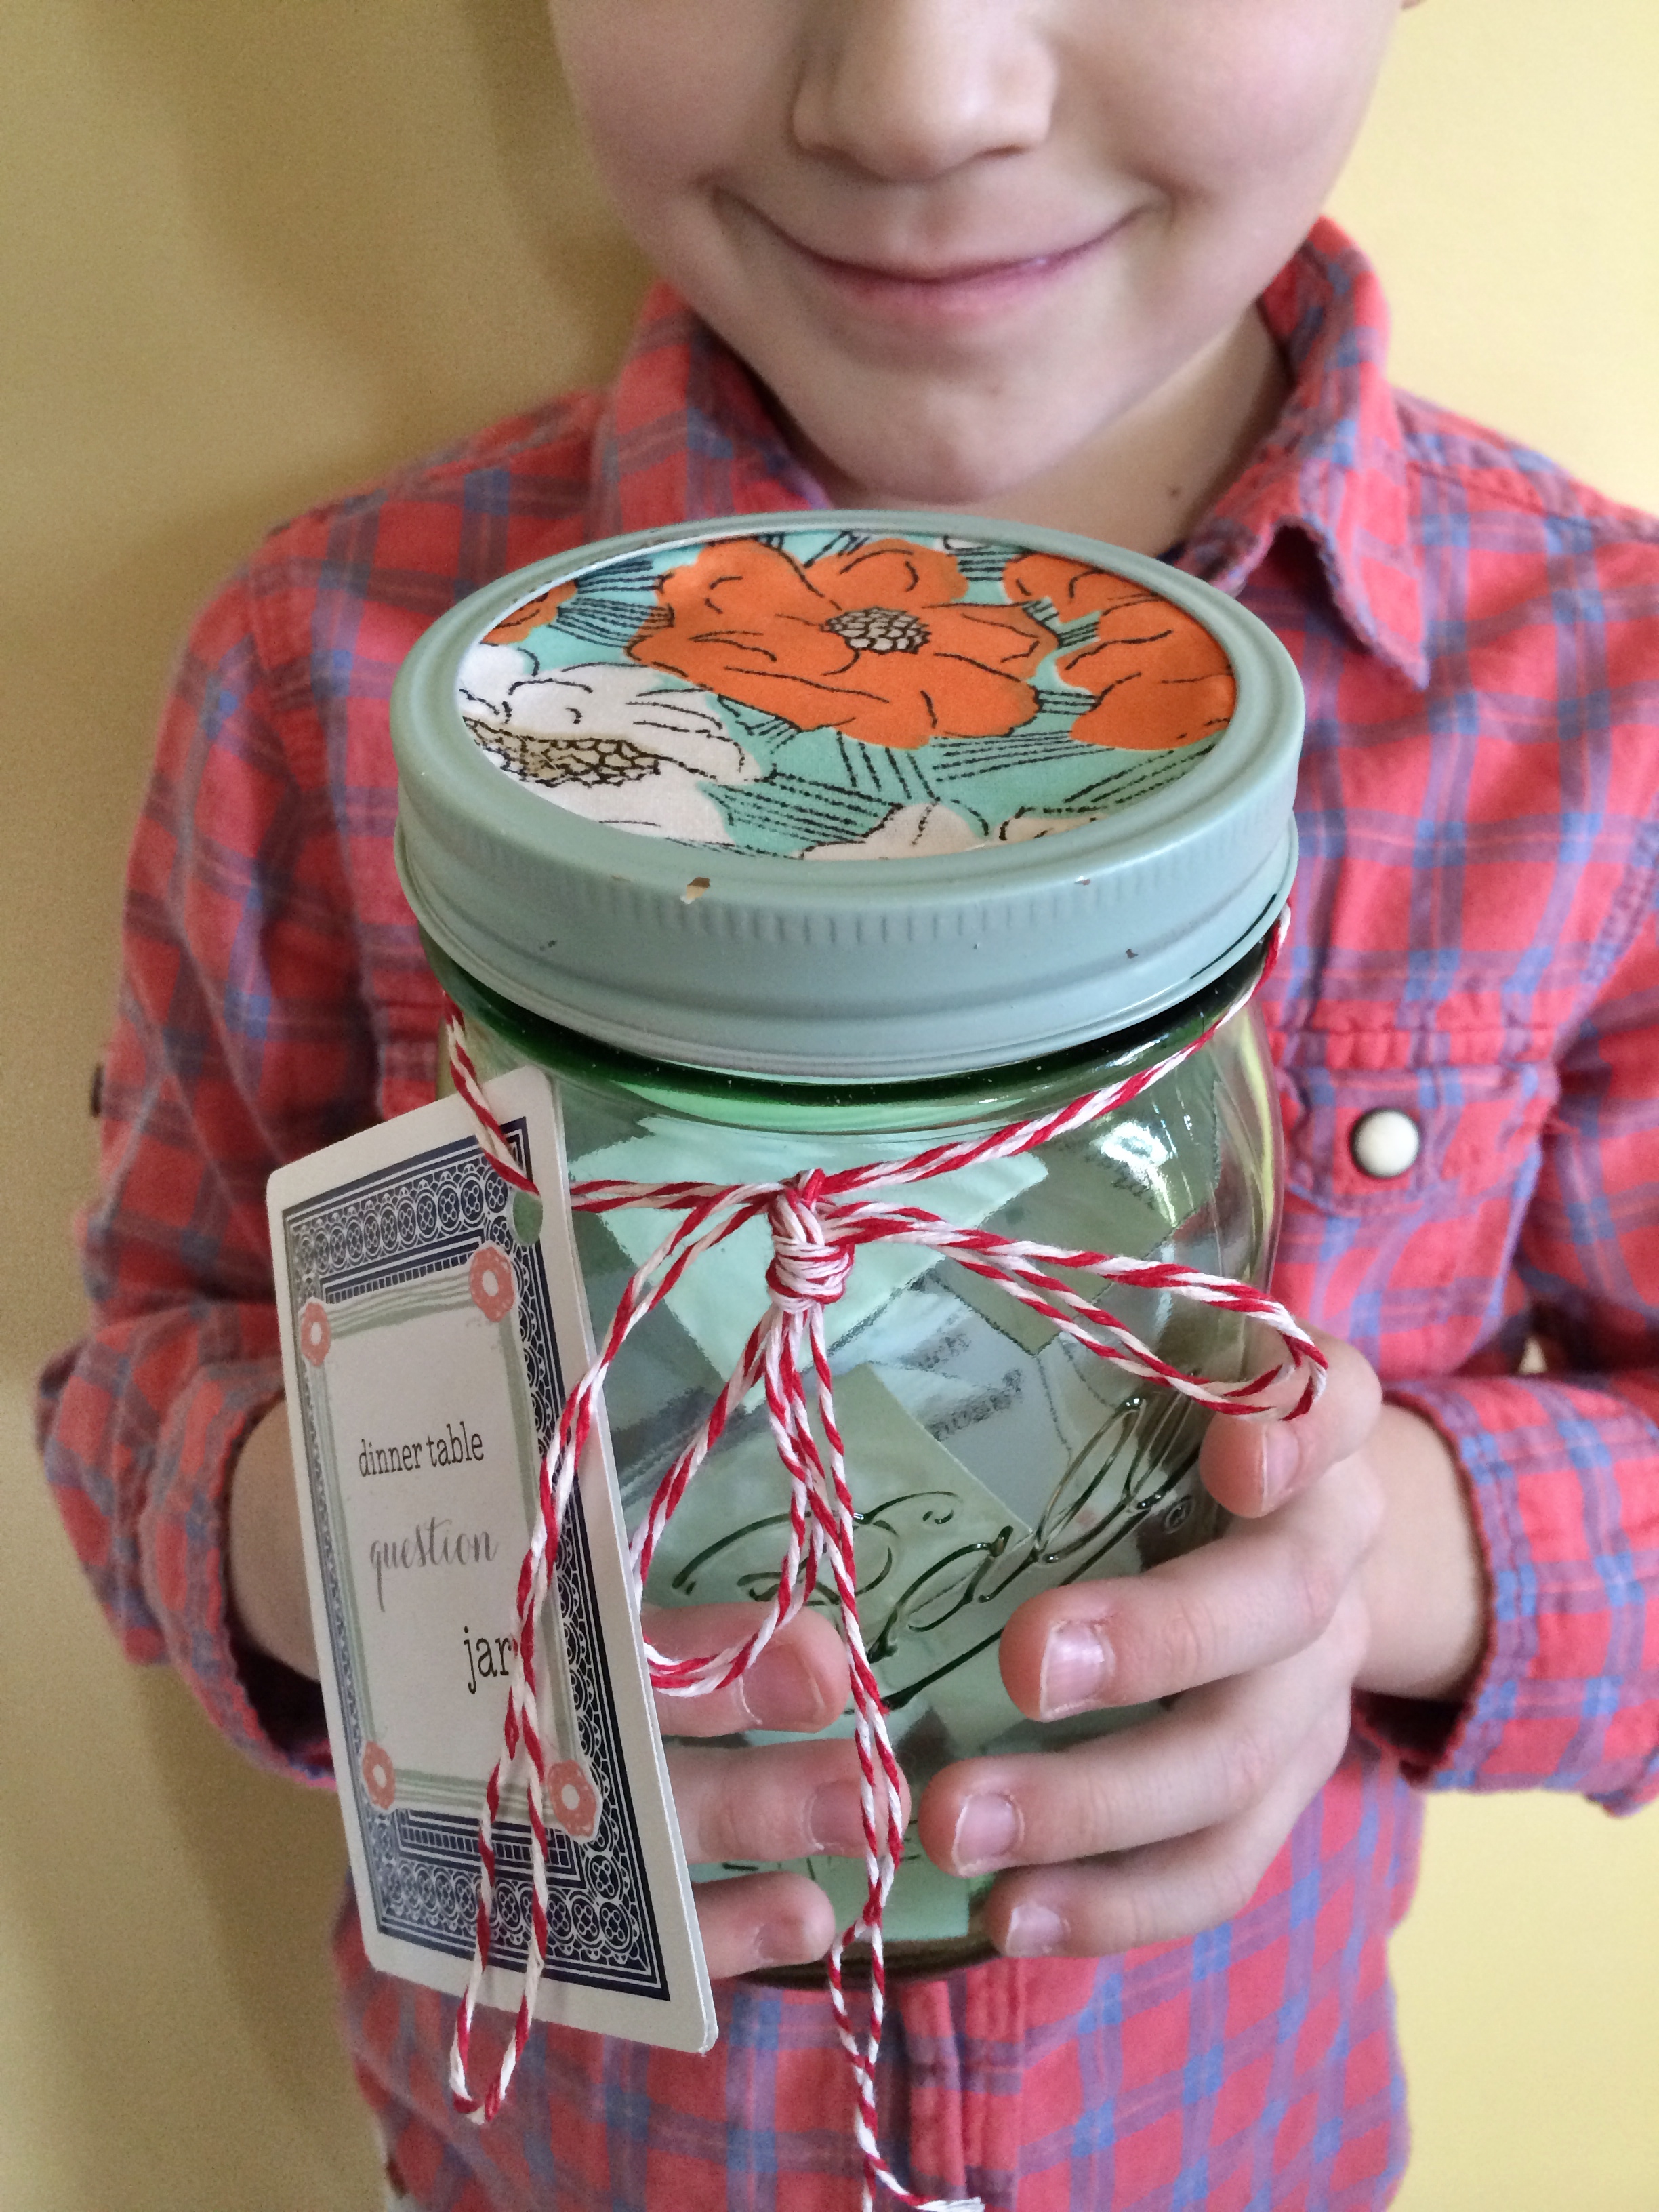
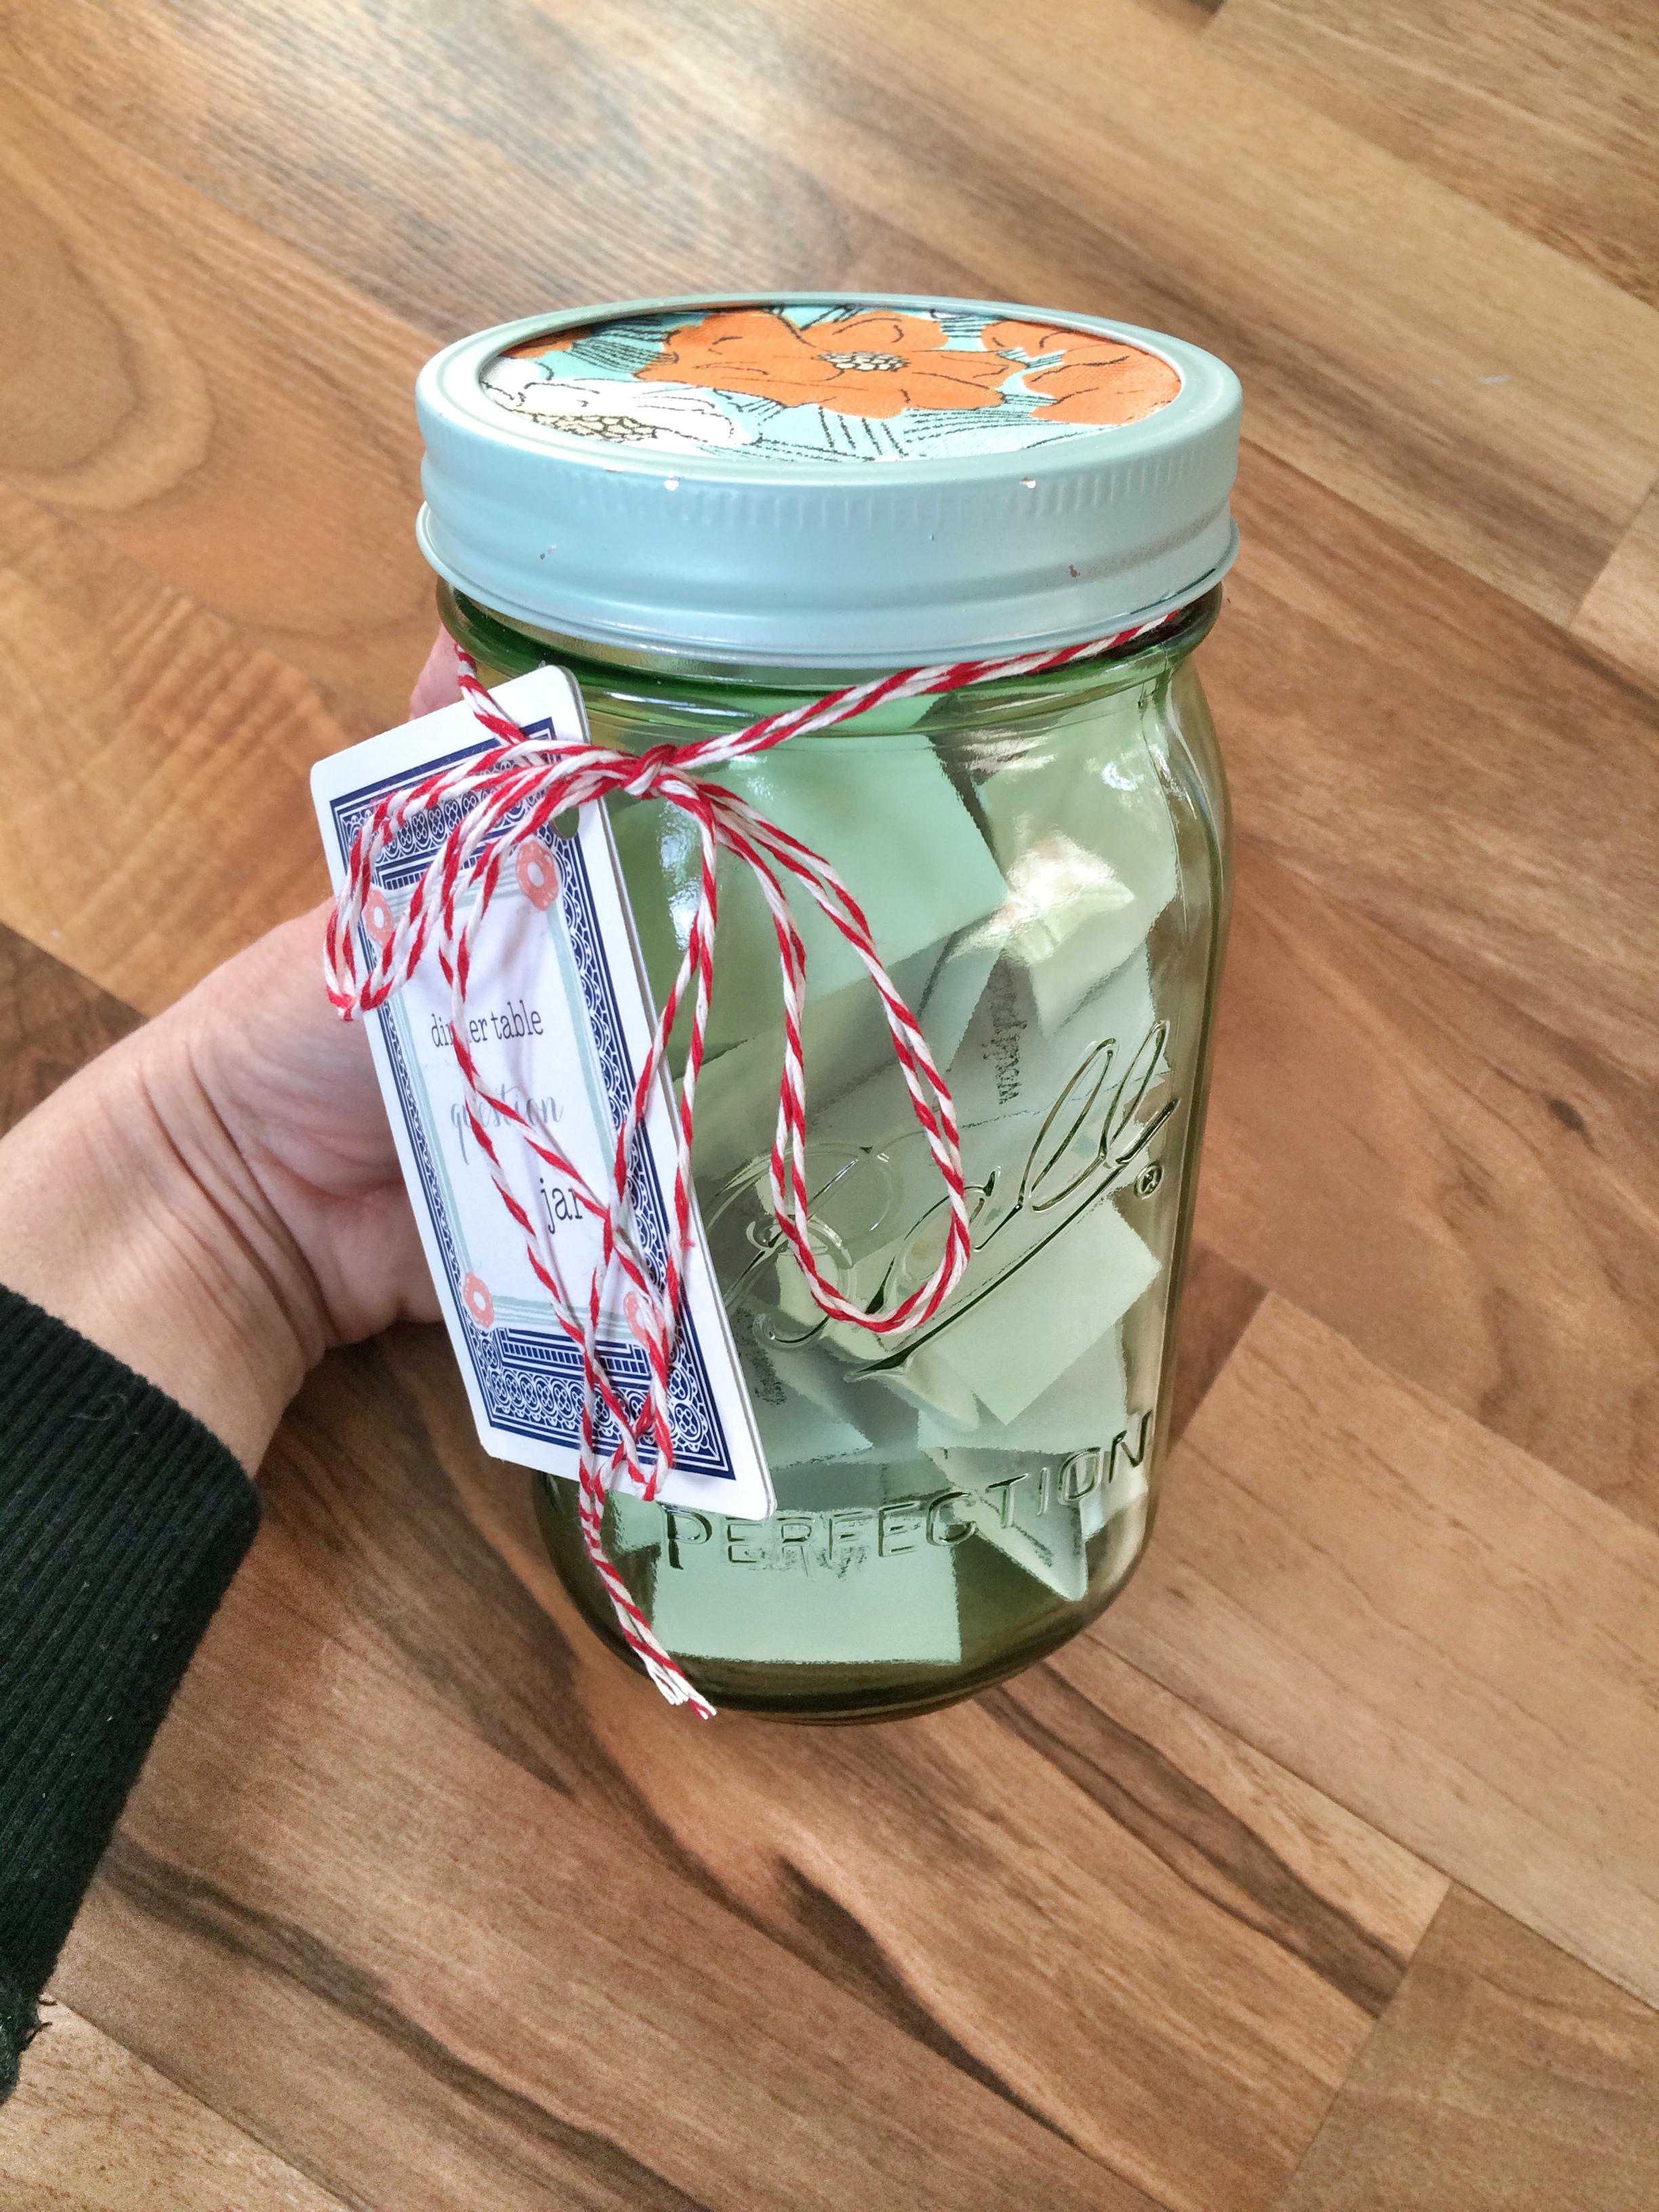
I created the ‘dinner table question cards’ jar as a fun way to kick off family conversations. This is a PERFECT gift to give this holiday season. Not only is it something sweet and homemade, but like I mentioned, it truly is the gift that keeps on giving. I’m making six this year!
Materials:
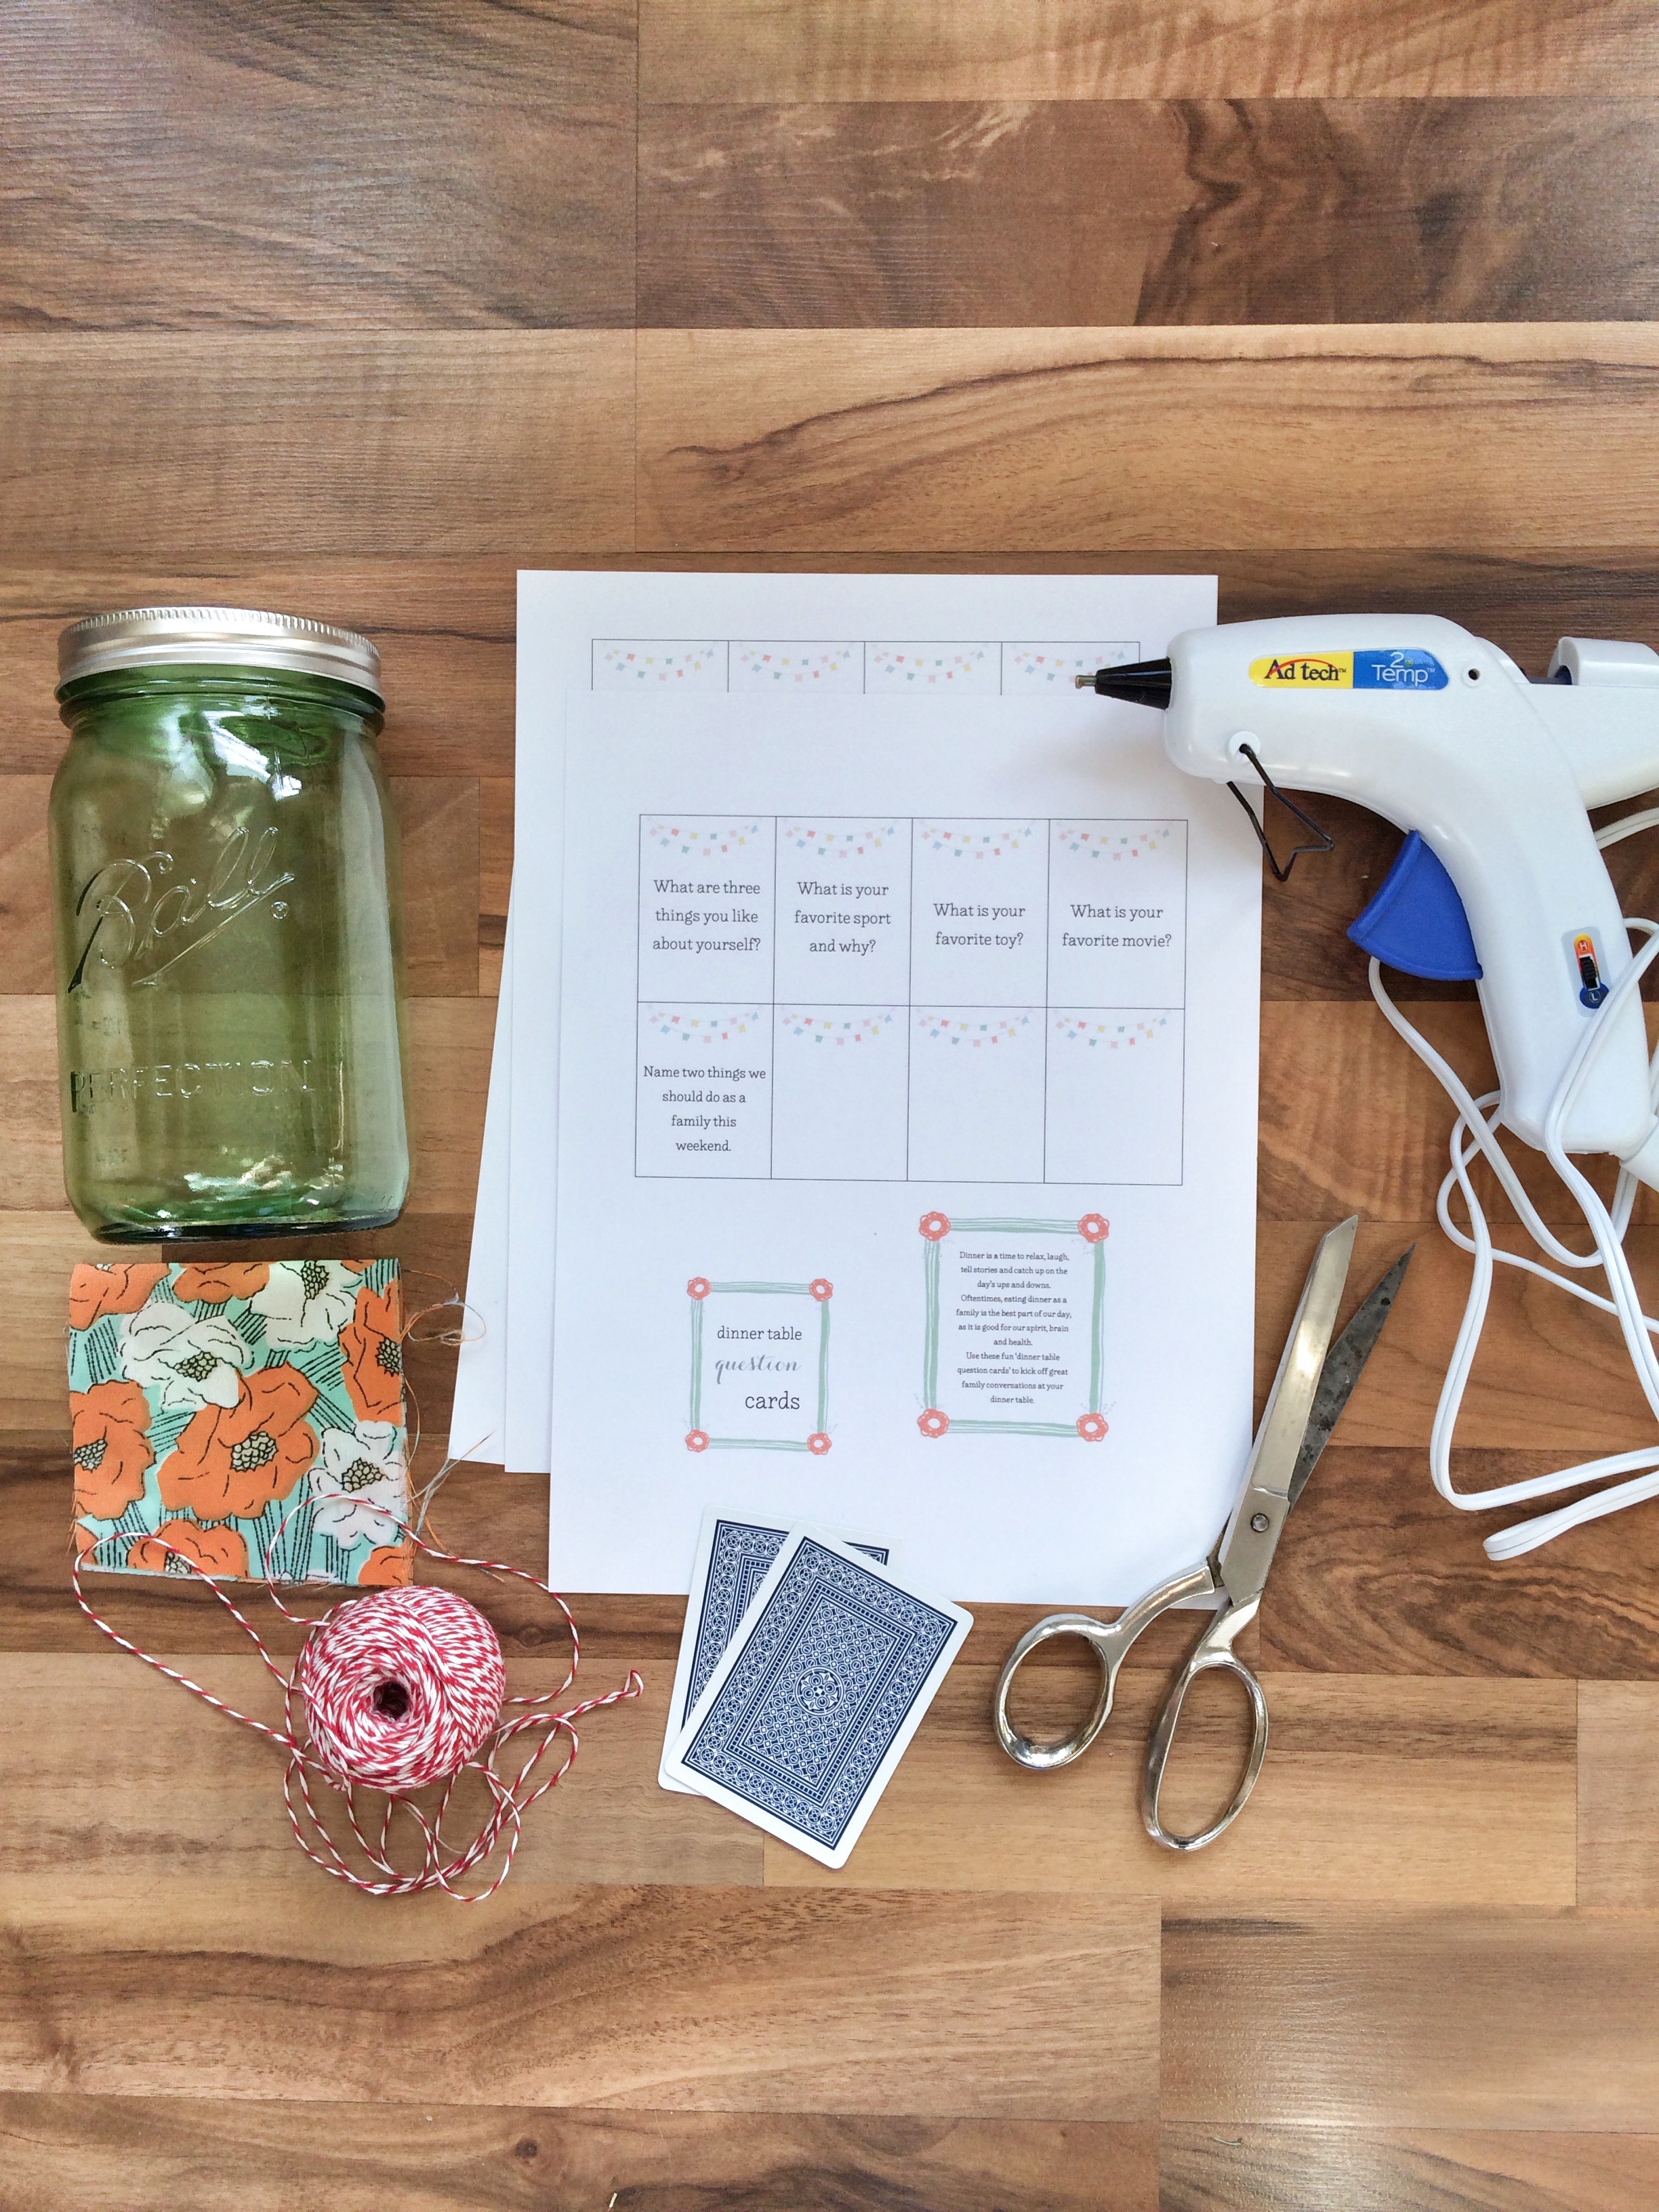
One large mason jar with lid (I bought a six pack of the green “vintage” type which are superrrr cute and can be found at any craft store or super store)
Swatch of fabric
String (I used bakers twine)
2 playing cards (or any other type of gift tag)
Scissors
Glue gun (and a glue stick or Elmer’s bottled glue)
FREE PRINTABLE (click here ->) dinnertablequestioncards containing 3 sheets of questions cards and 2 tags (I should add that the question cards that I typed up are appropriate for young children and or middle school aged children).
Instructions:
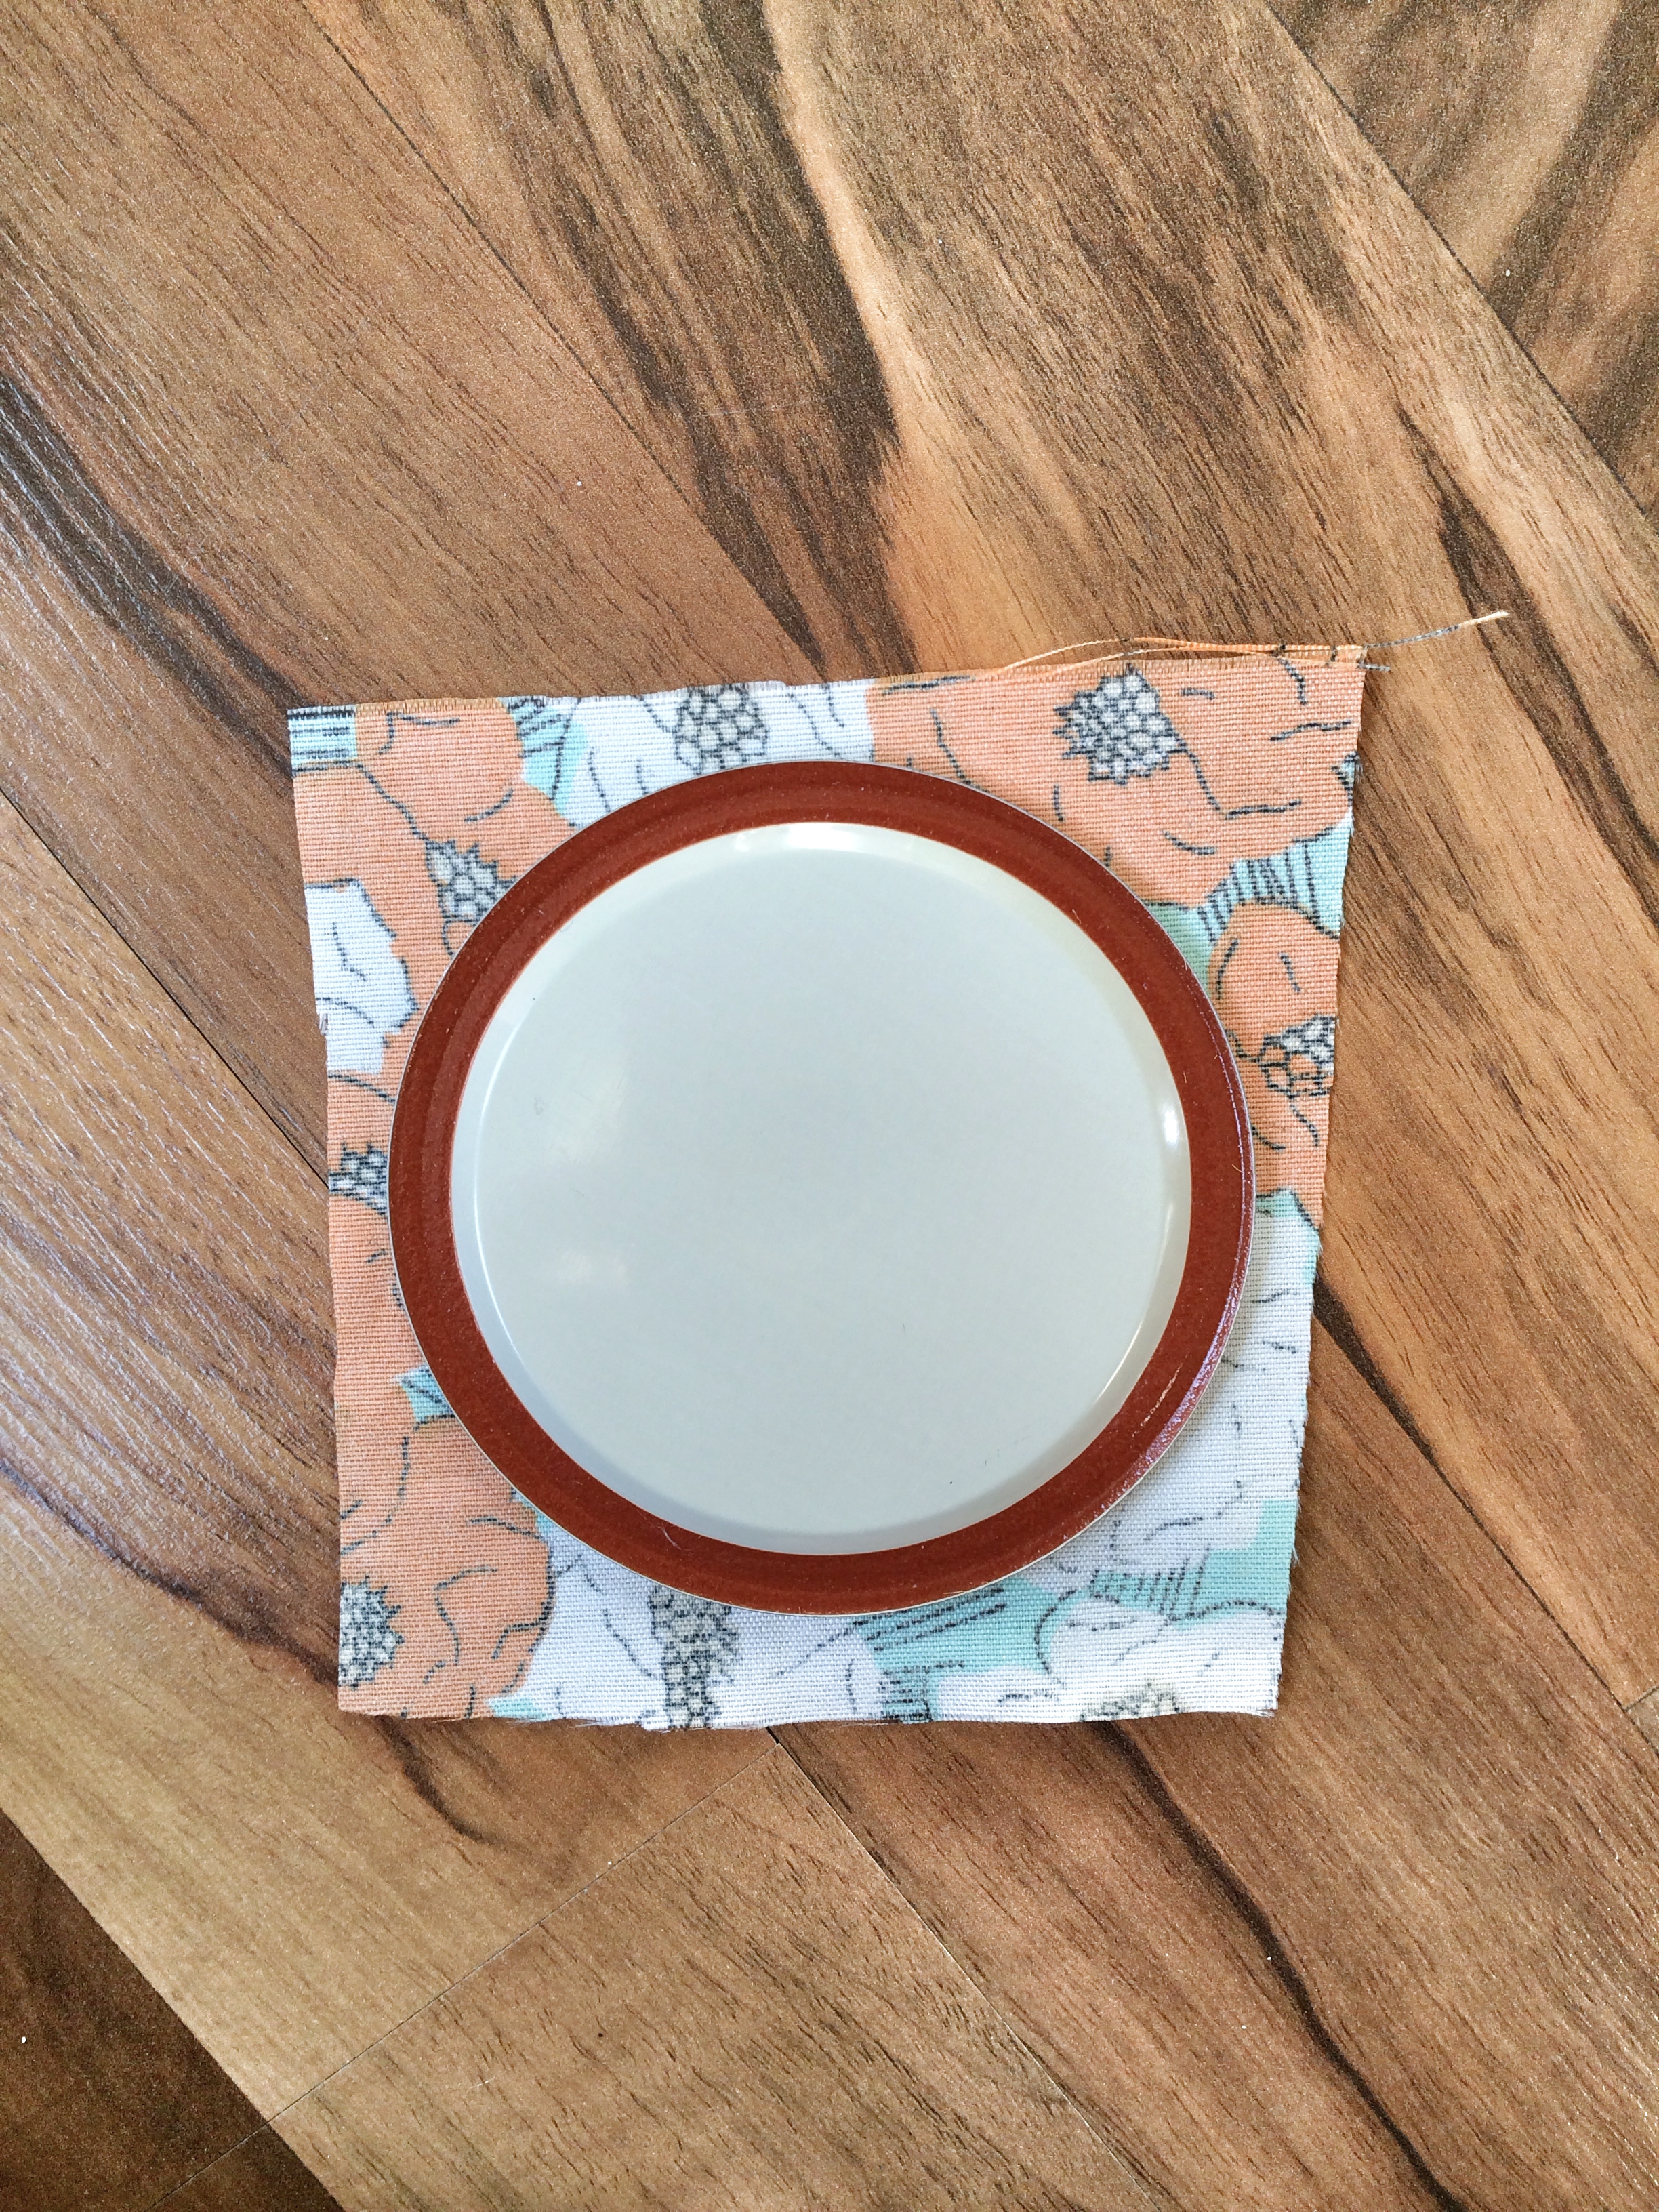
First cut your fabric swatch so it’s a little bit bigger than the lid of your mason jar.
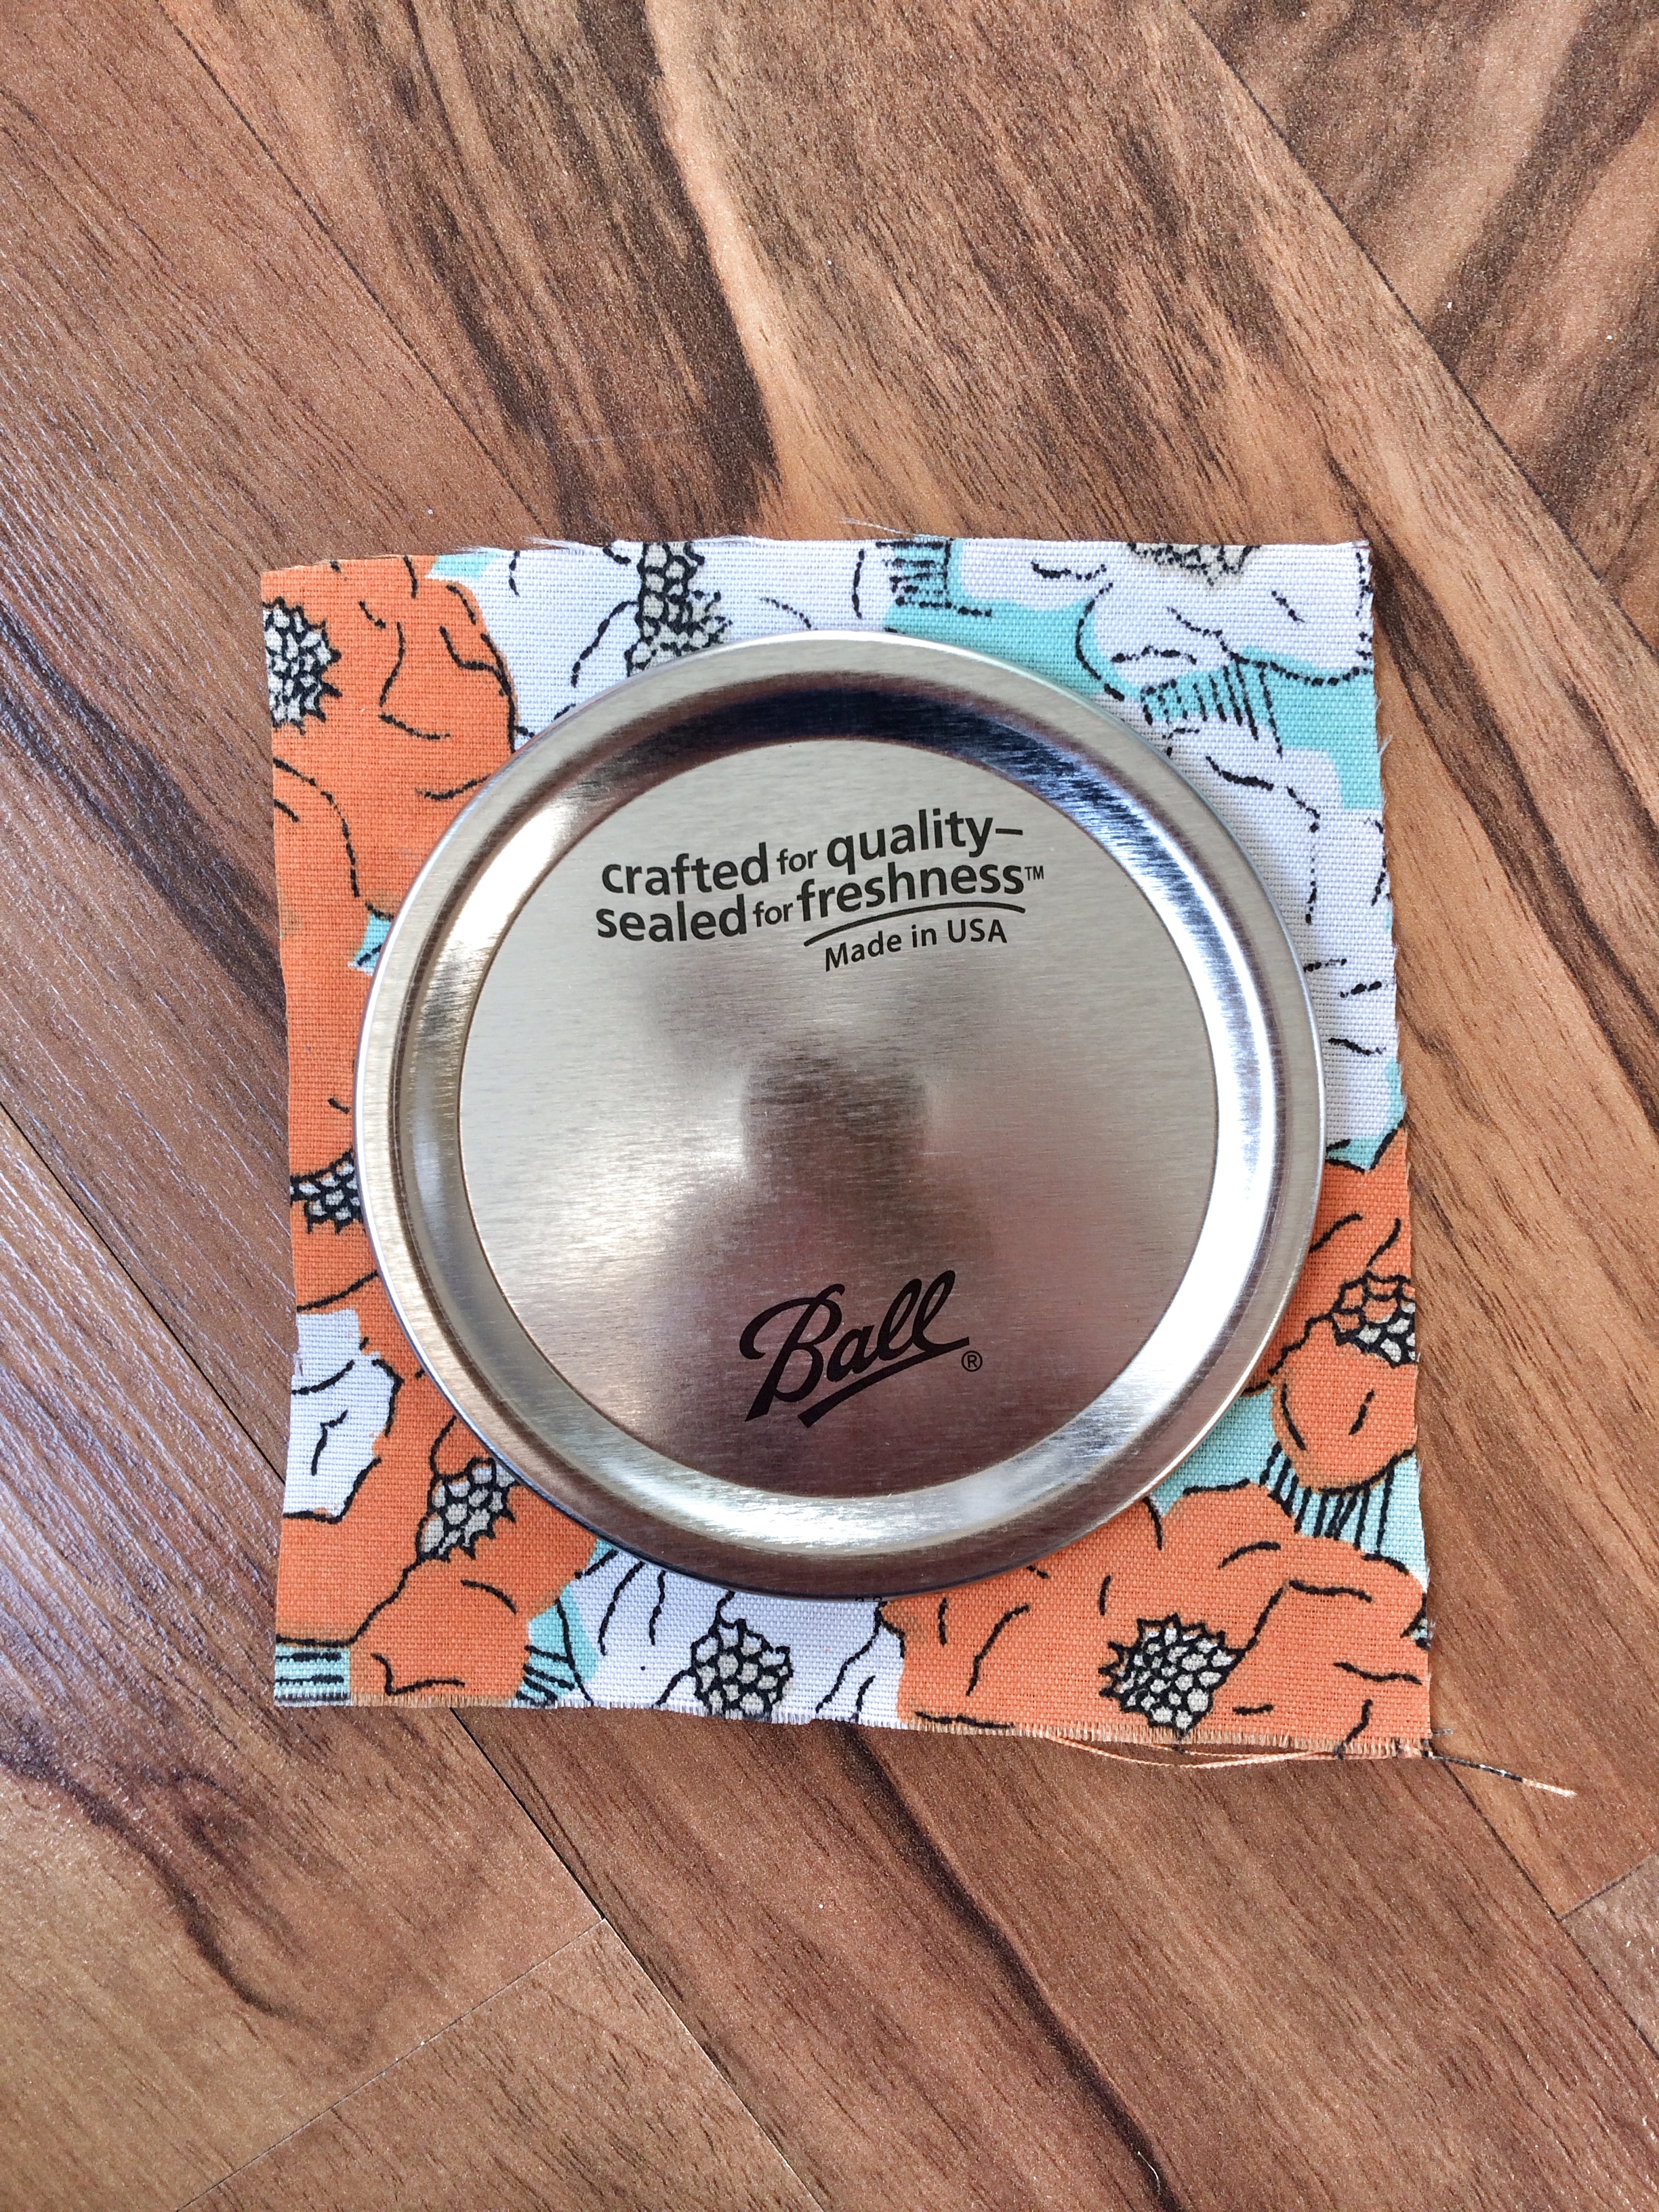
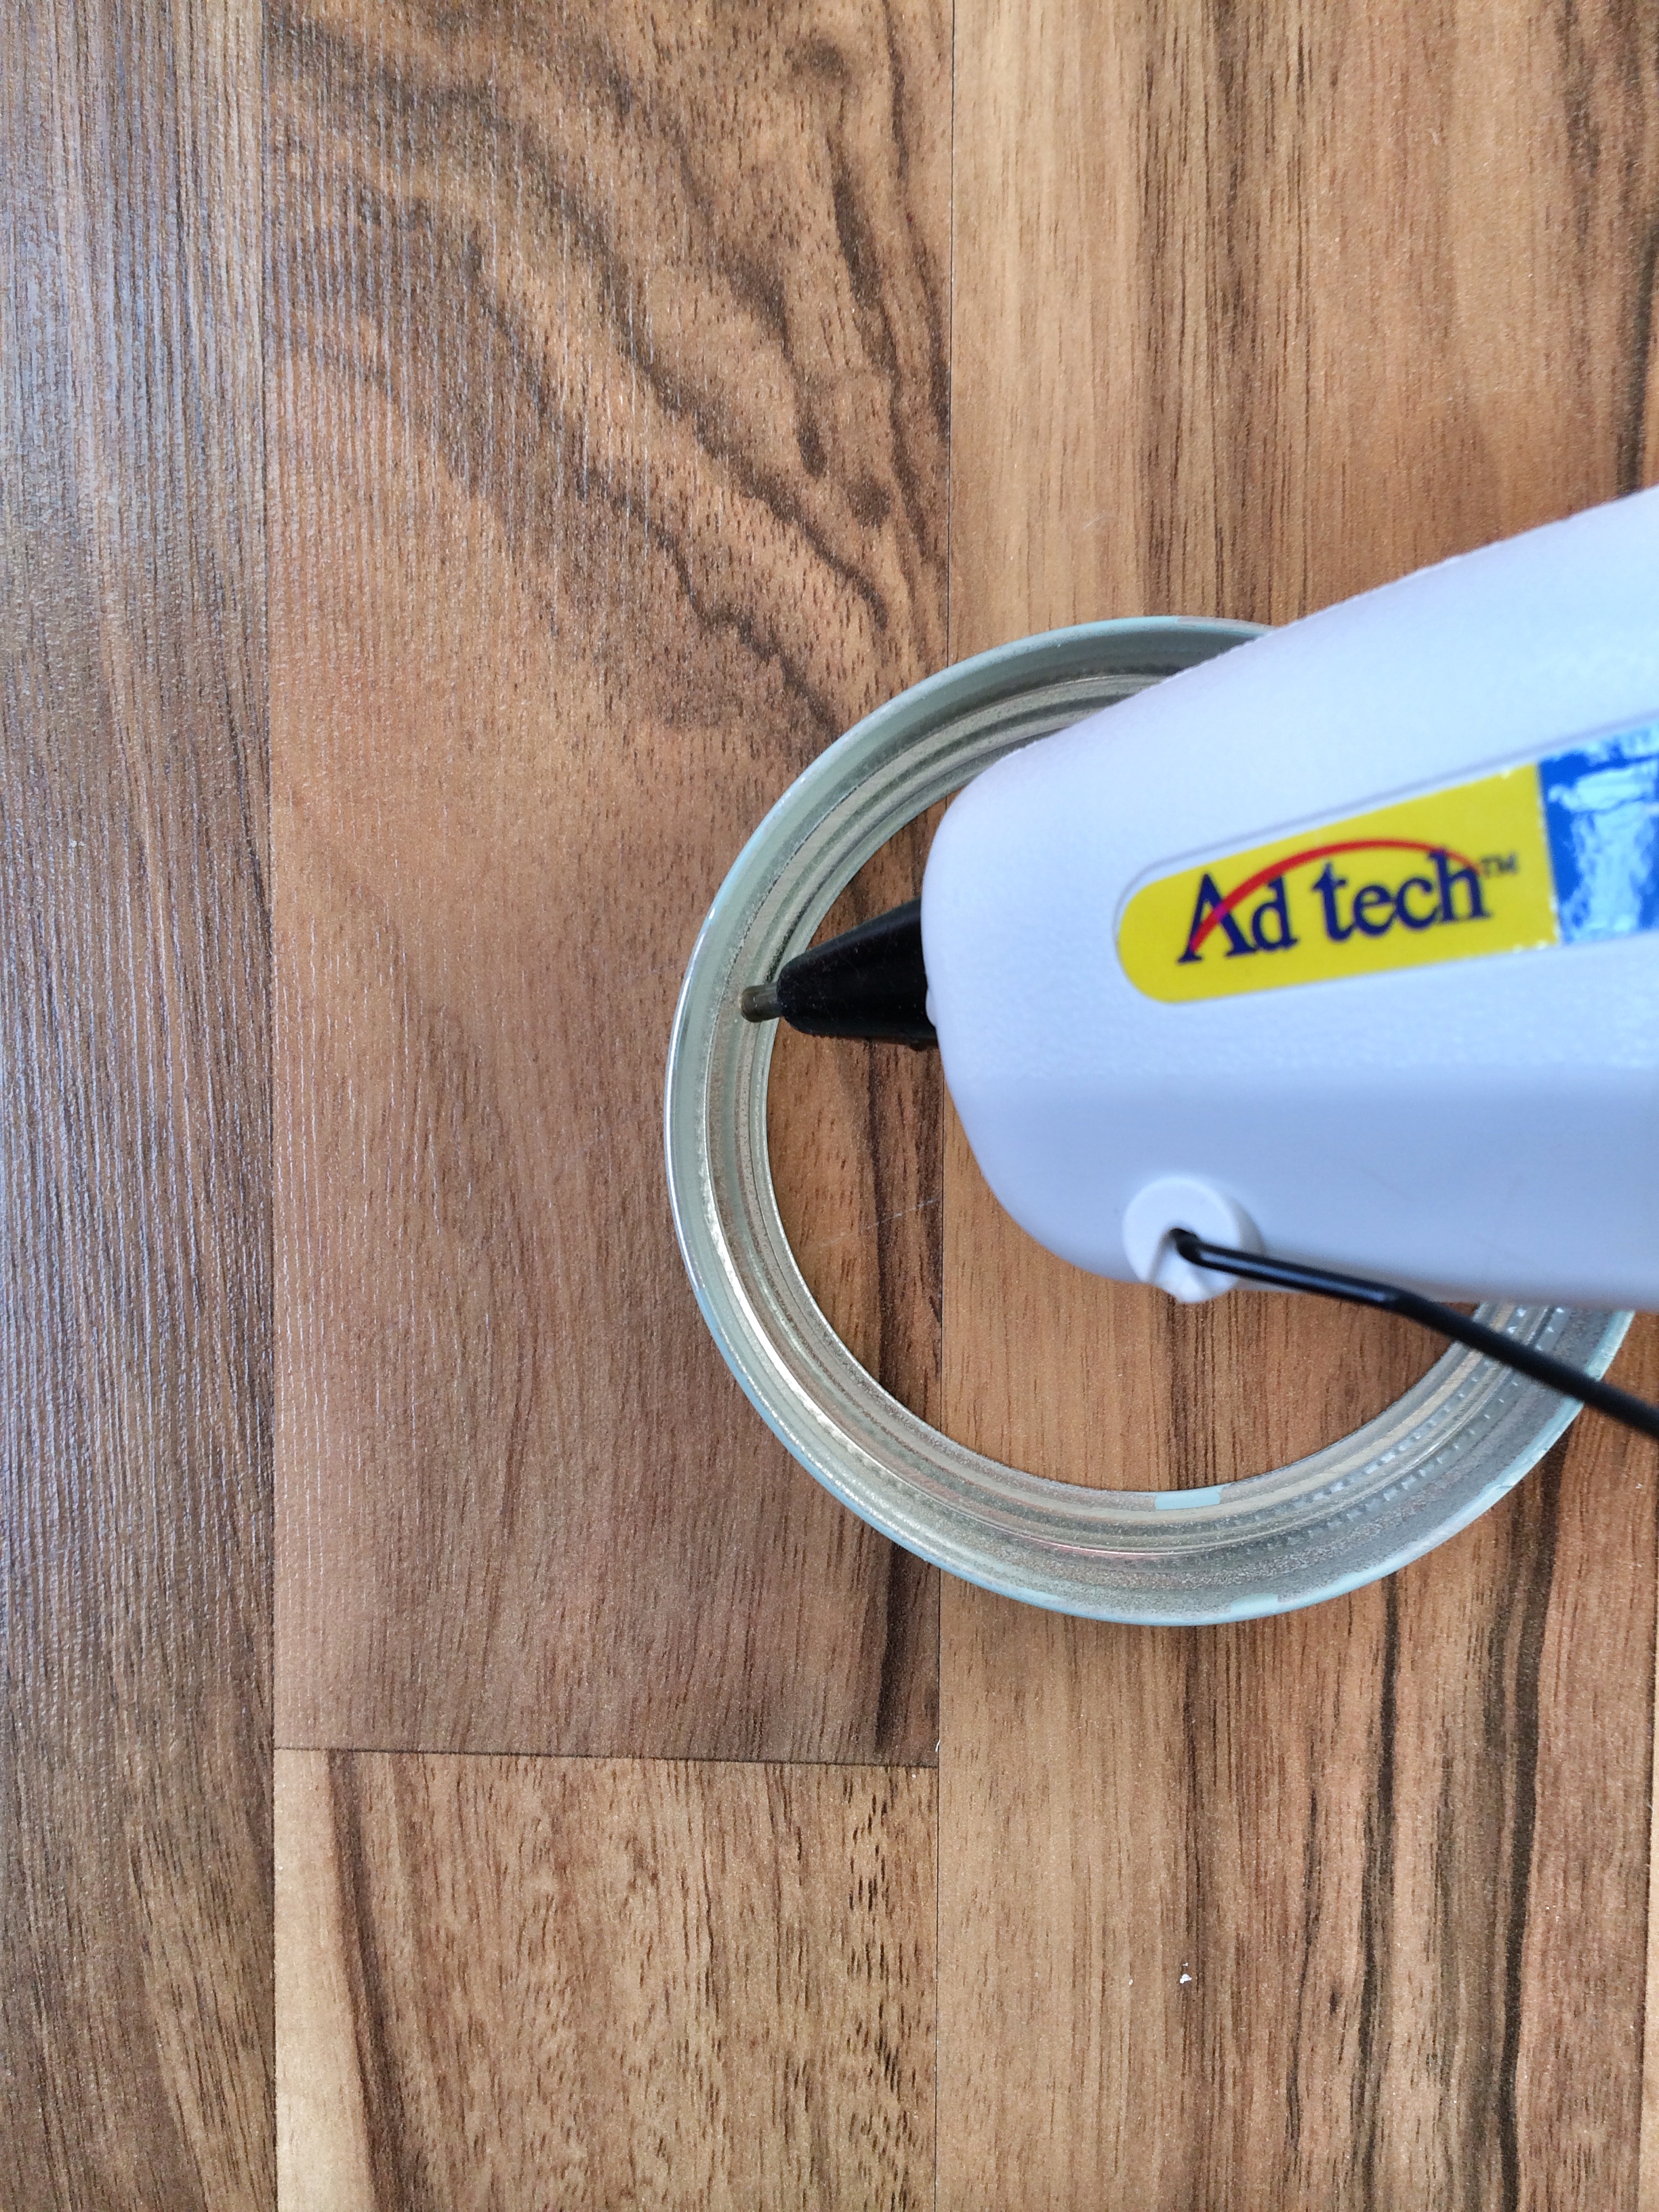
Next, hot glue the fabric to the top of the lid. Do this by applying a ring of glue by following along the little ring indent on the lid.
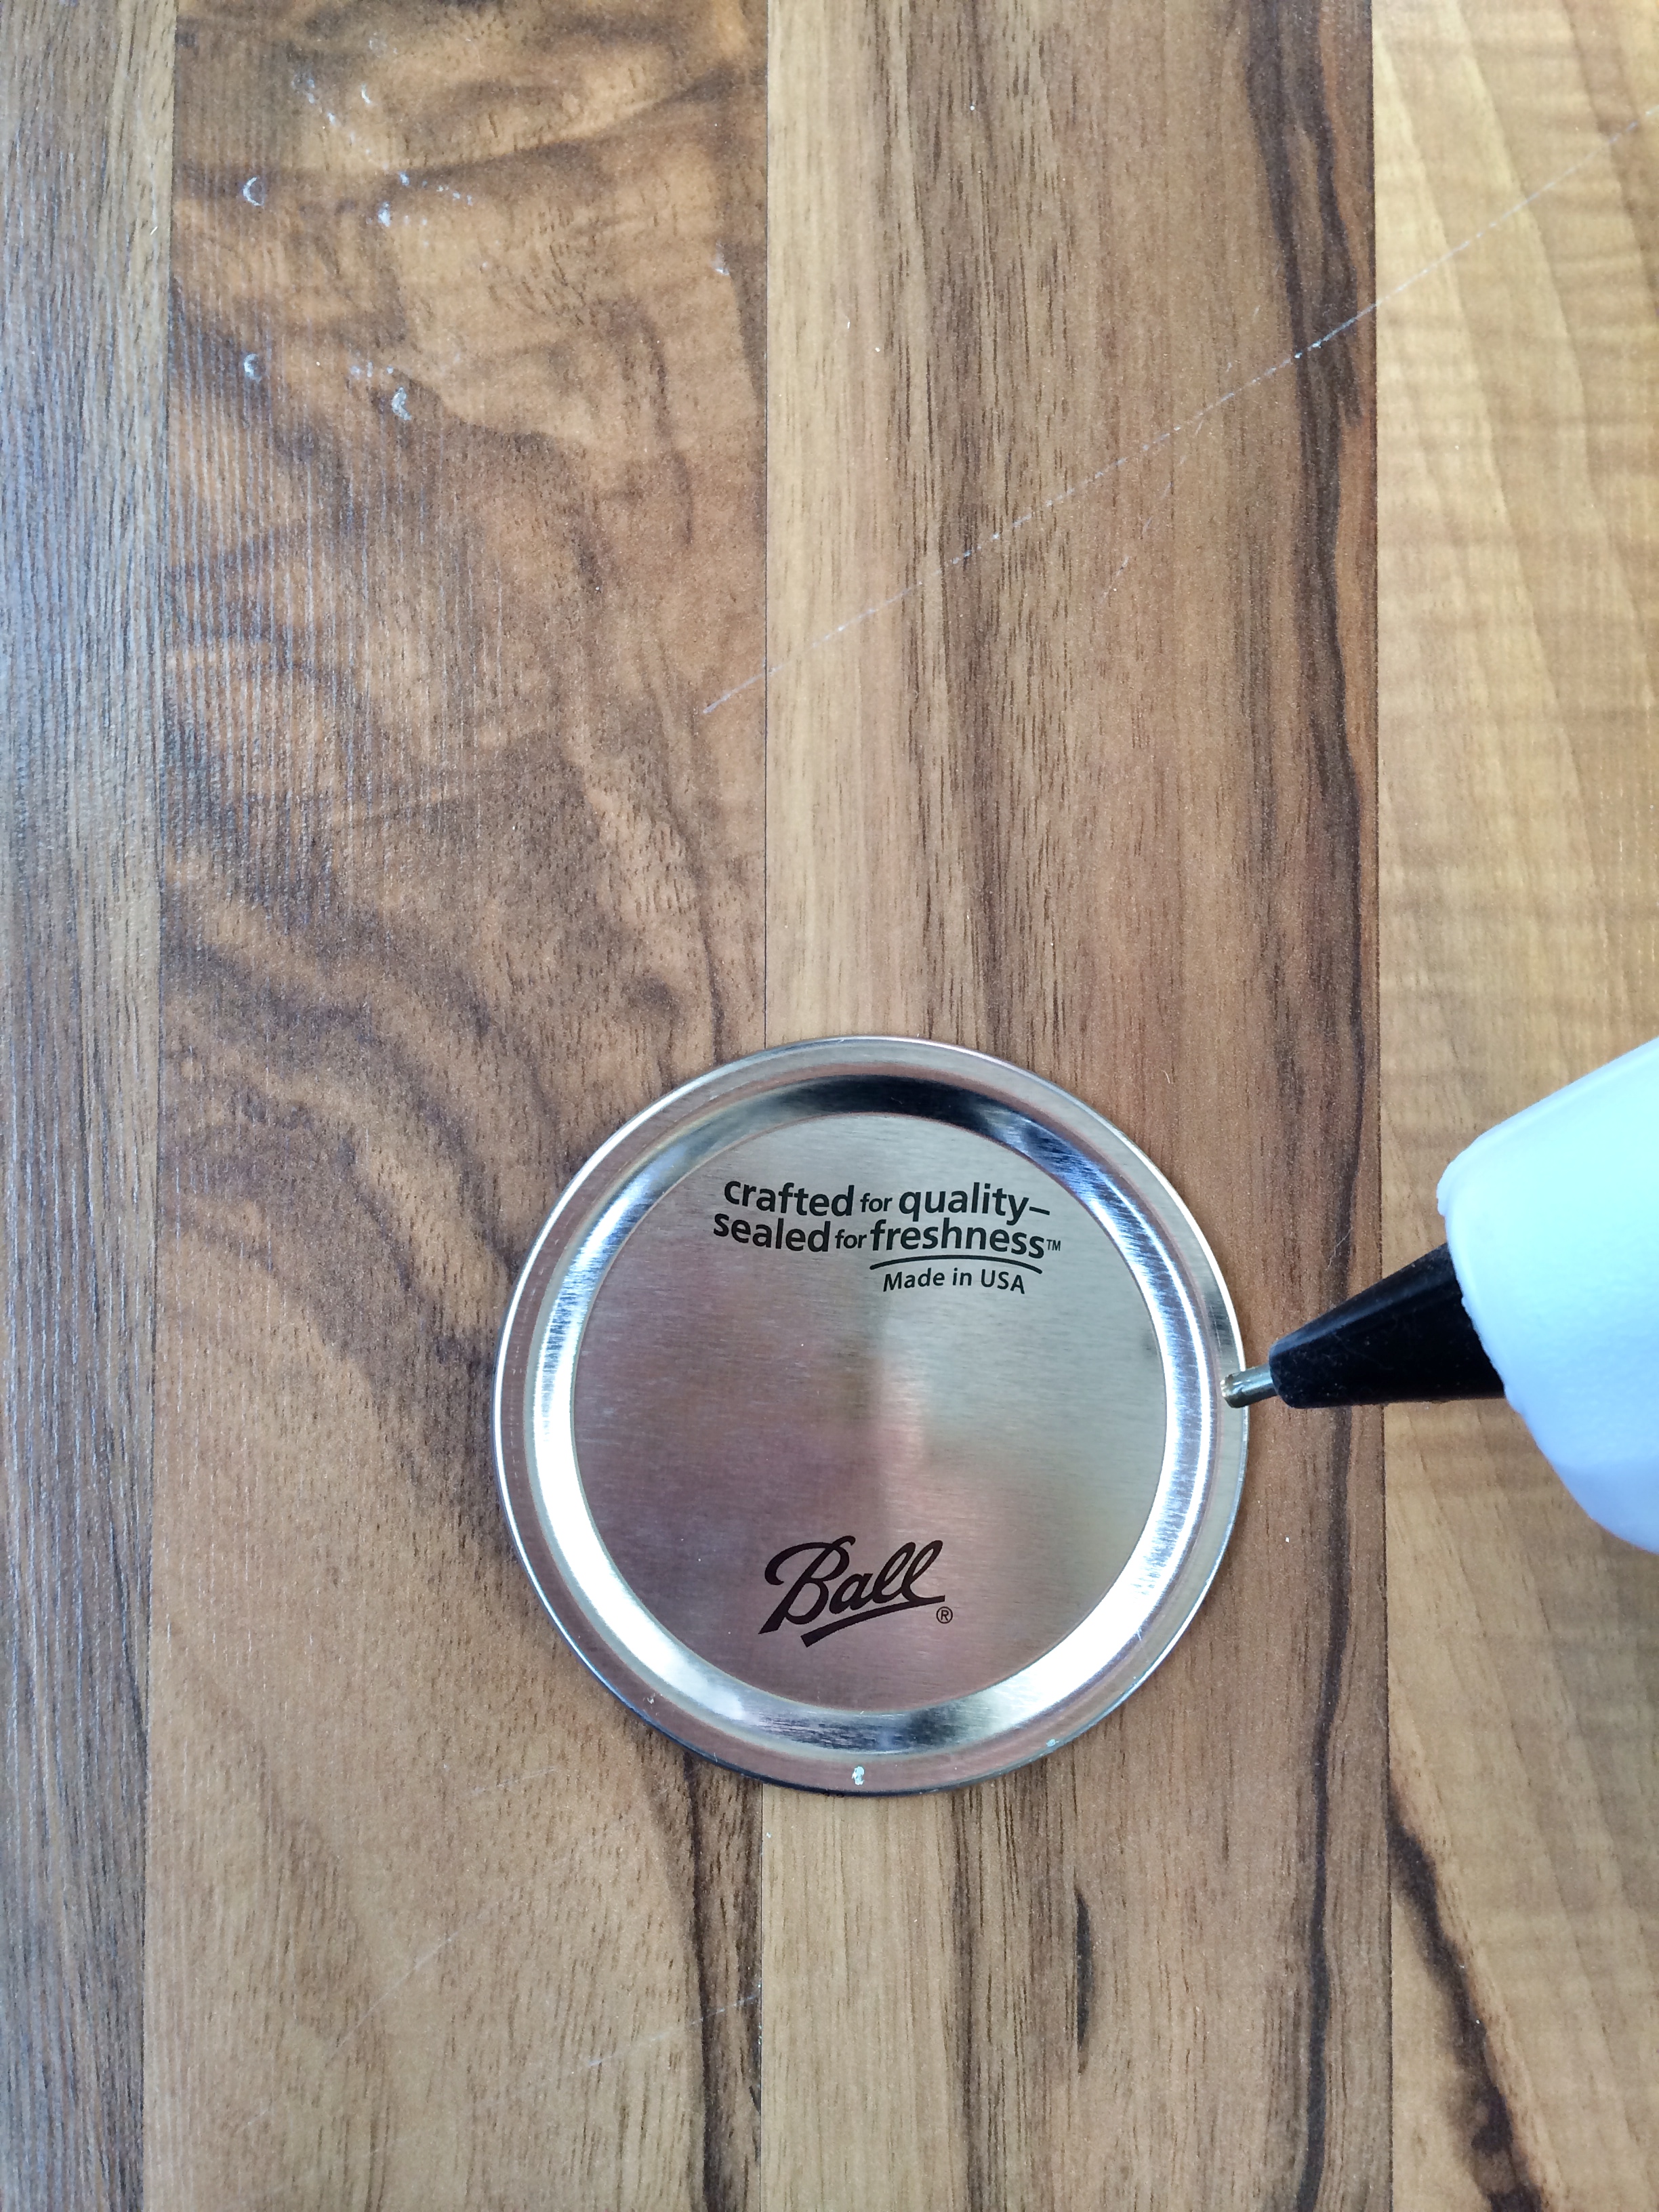
Stick the fabric to the lid- make sure you stick it to the BACK side of the fabric.
Next, glue the ring to the lid/fabric. Do this by applying a ring of glue by following along the little ring indent.
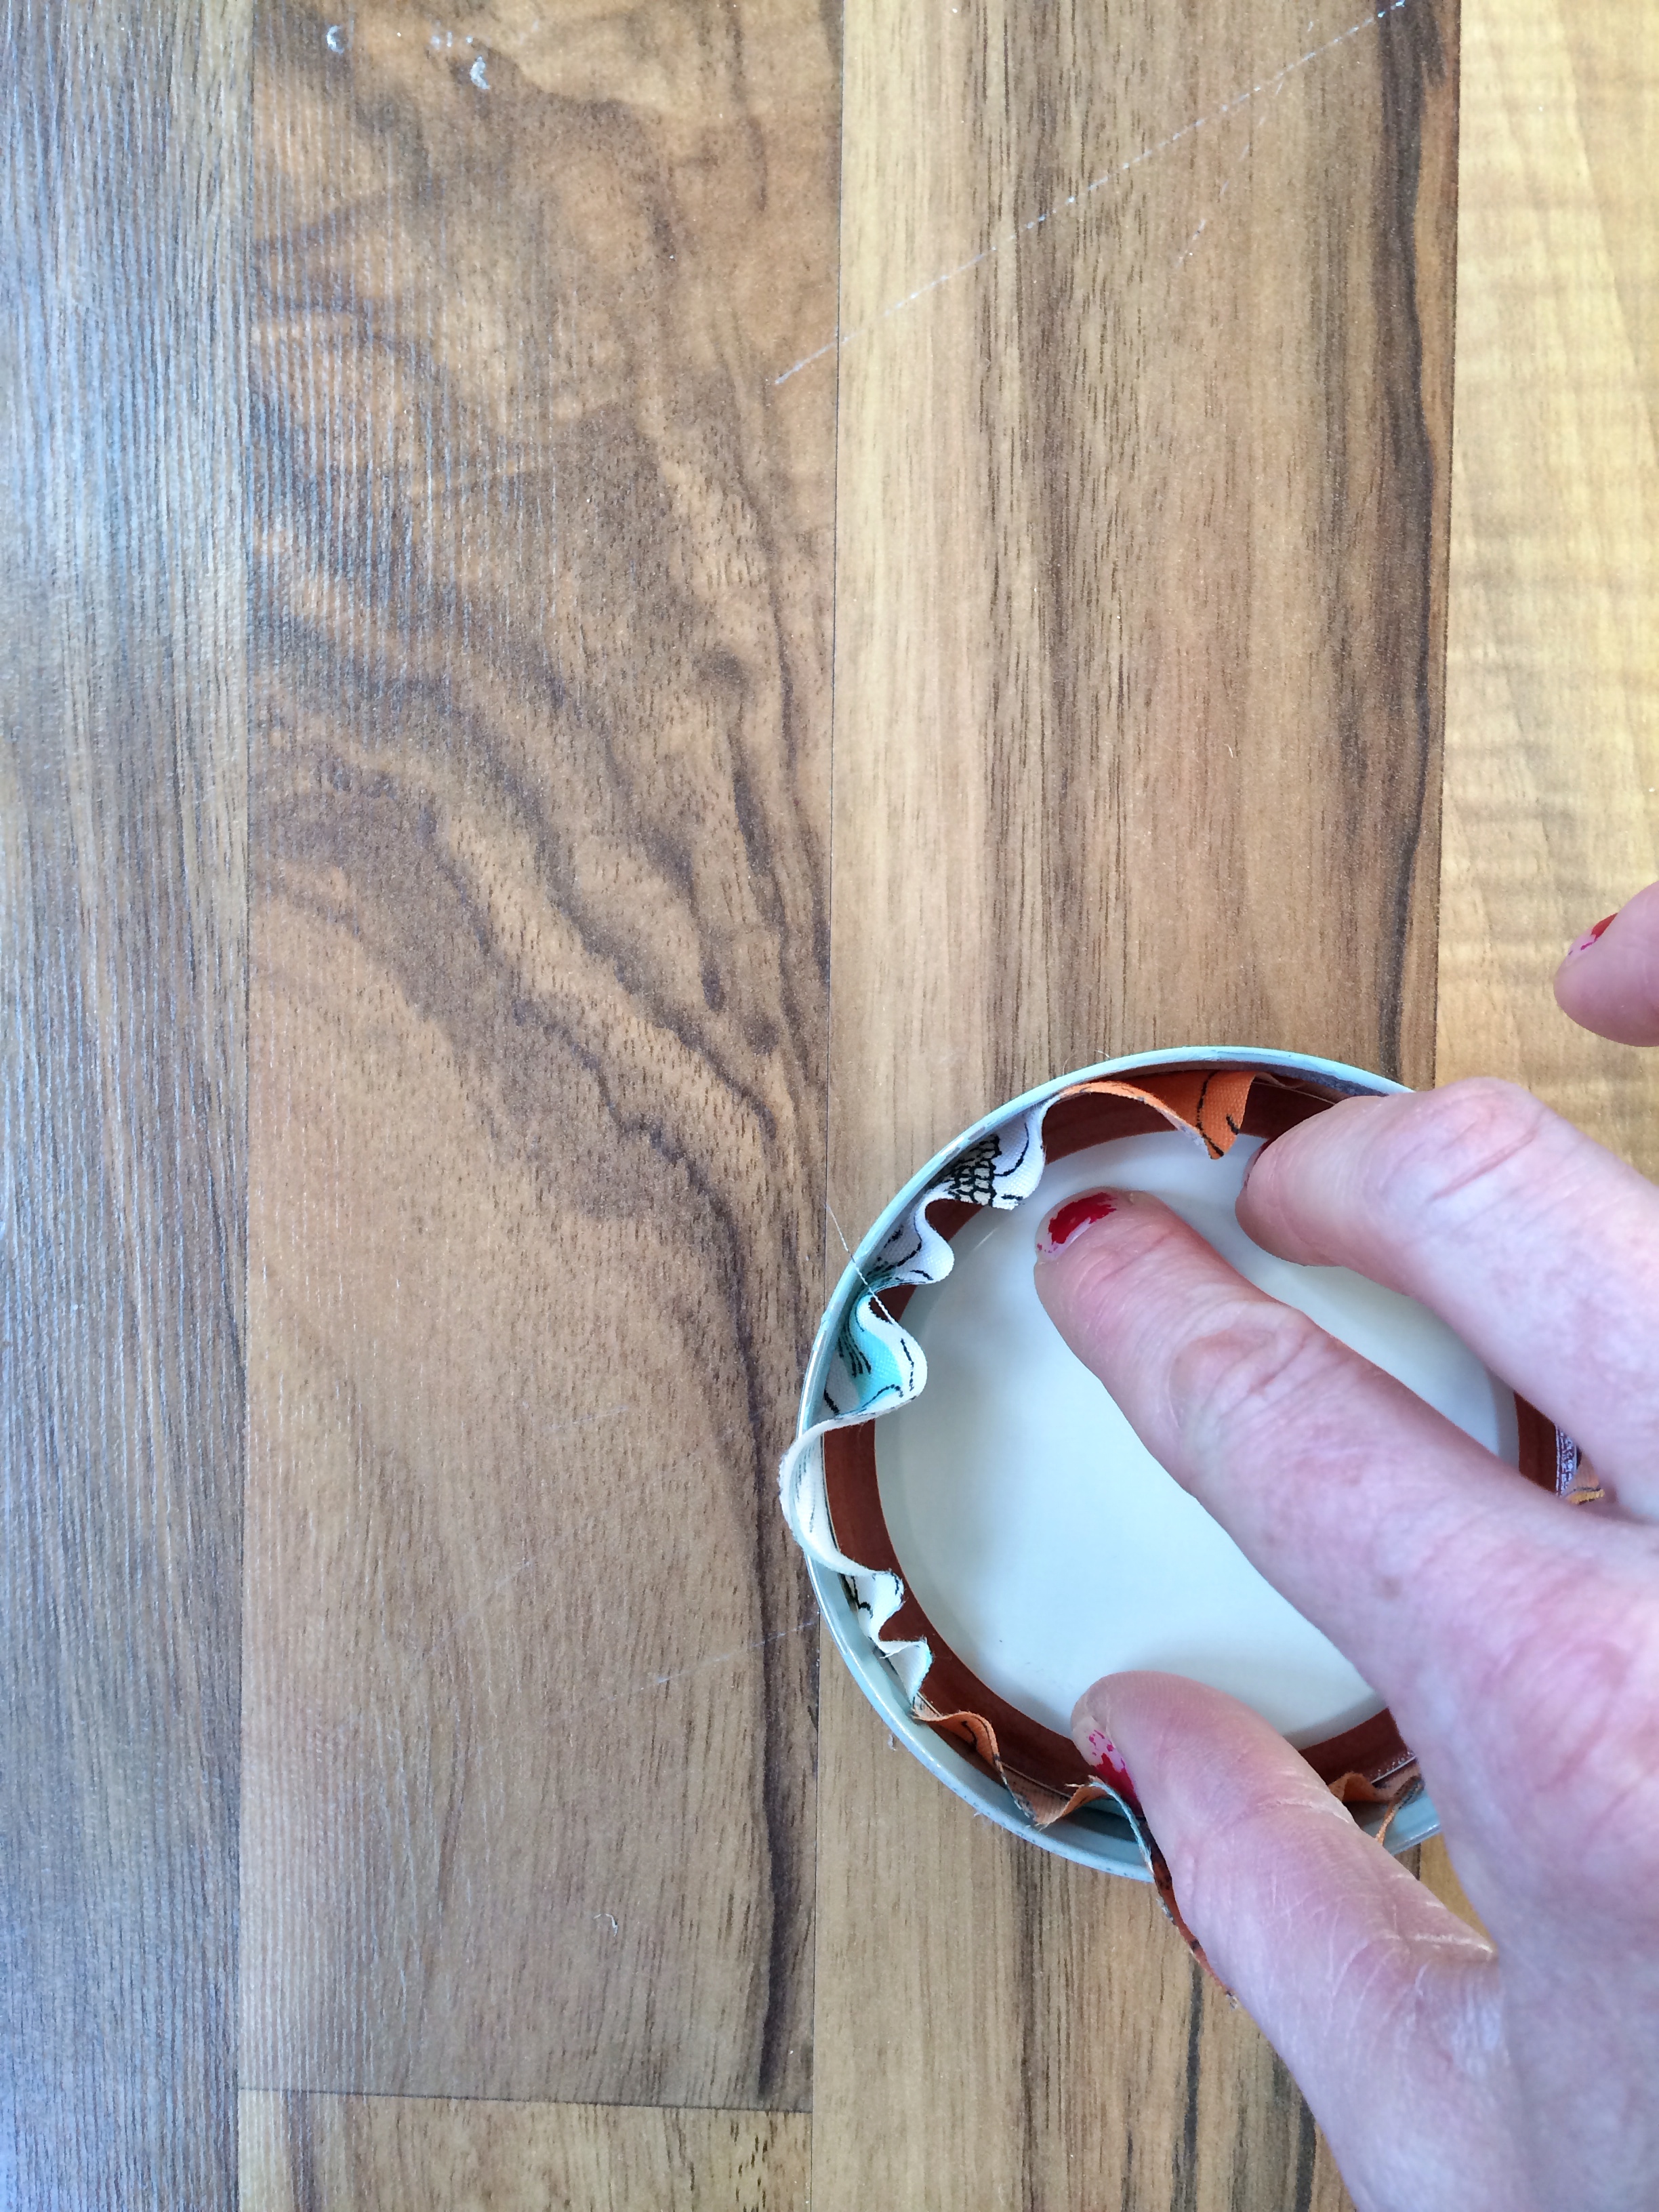
Push the lid/fabric onto the ring and hold until it is secure. You may have to cut away any extra fabric.
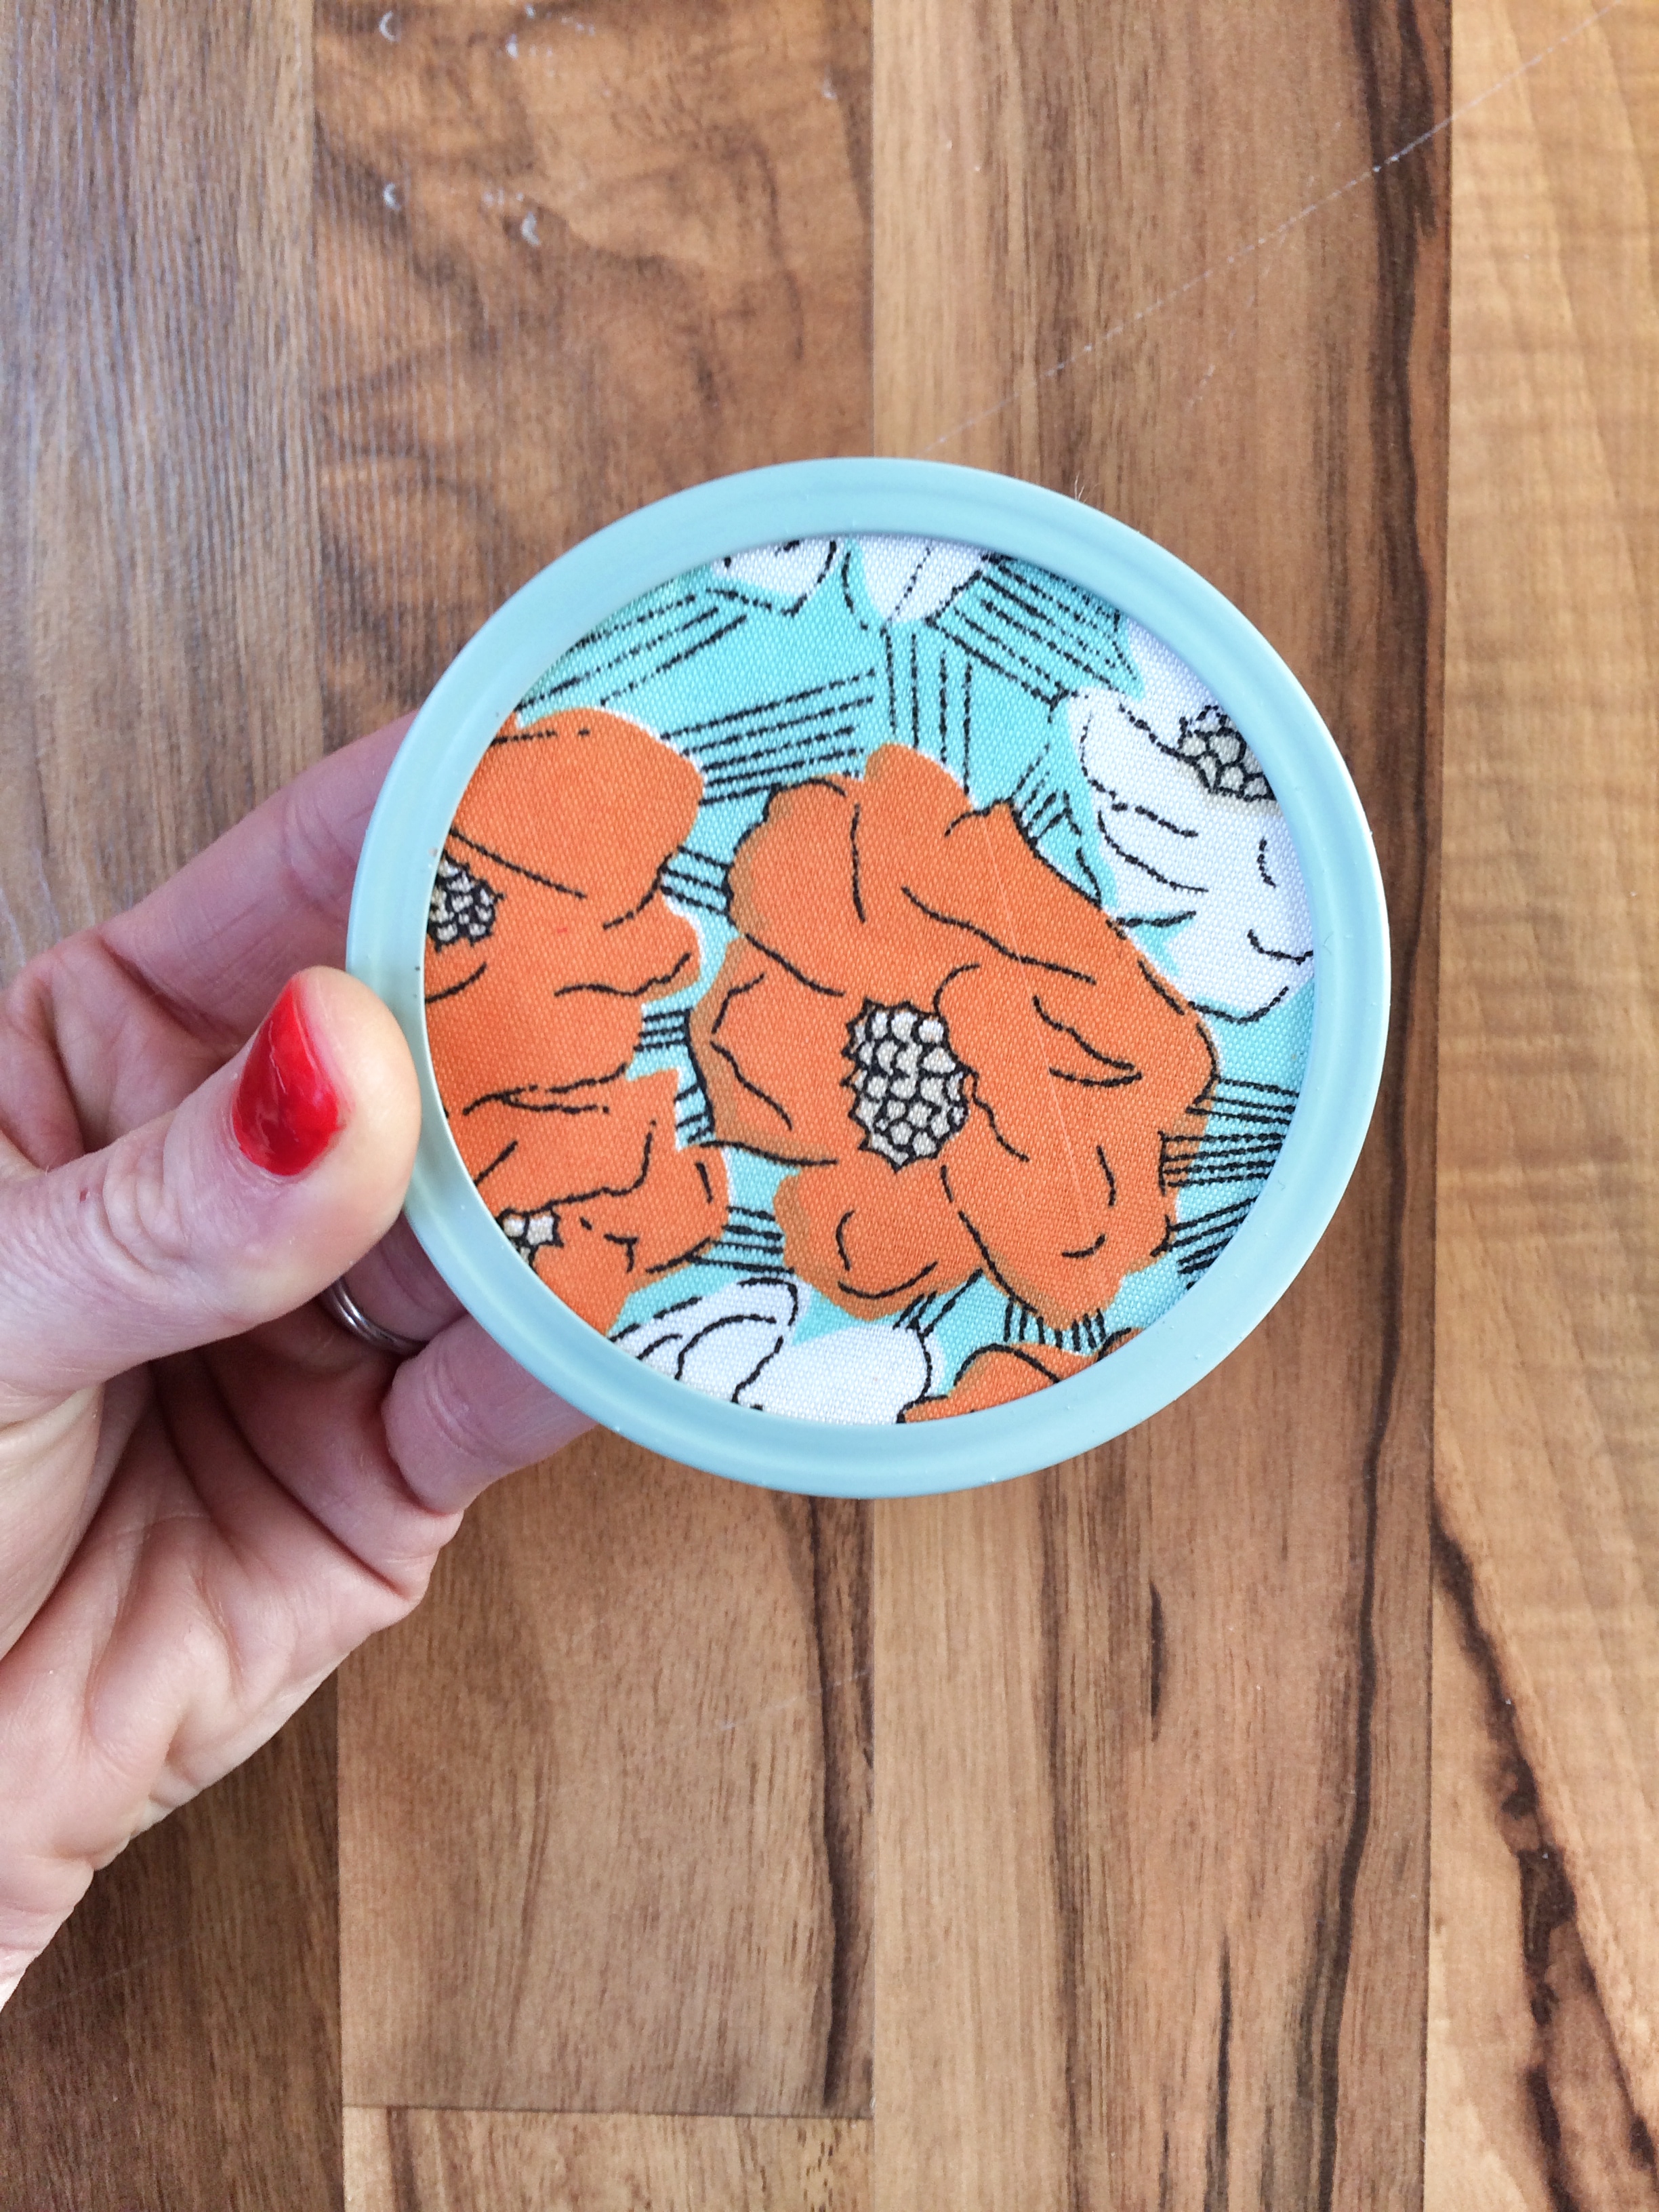
It should now look like this. (I decided to spray paint my ring before gluing all of this together- if I were to go it again though I wouldn’t have because it’s already starting to chip)
Next, cut out your ‘question cards’
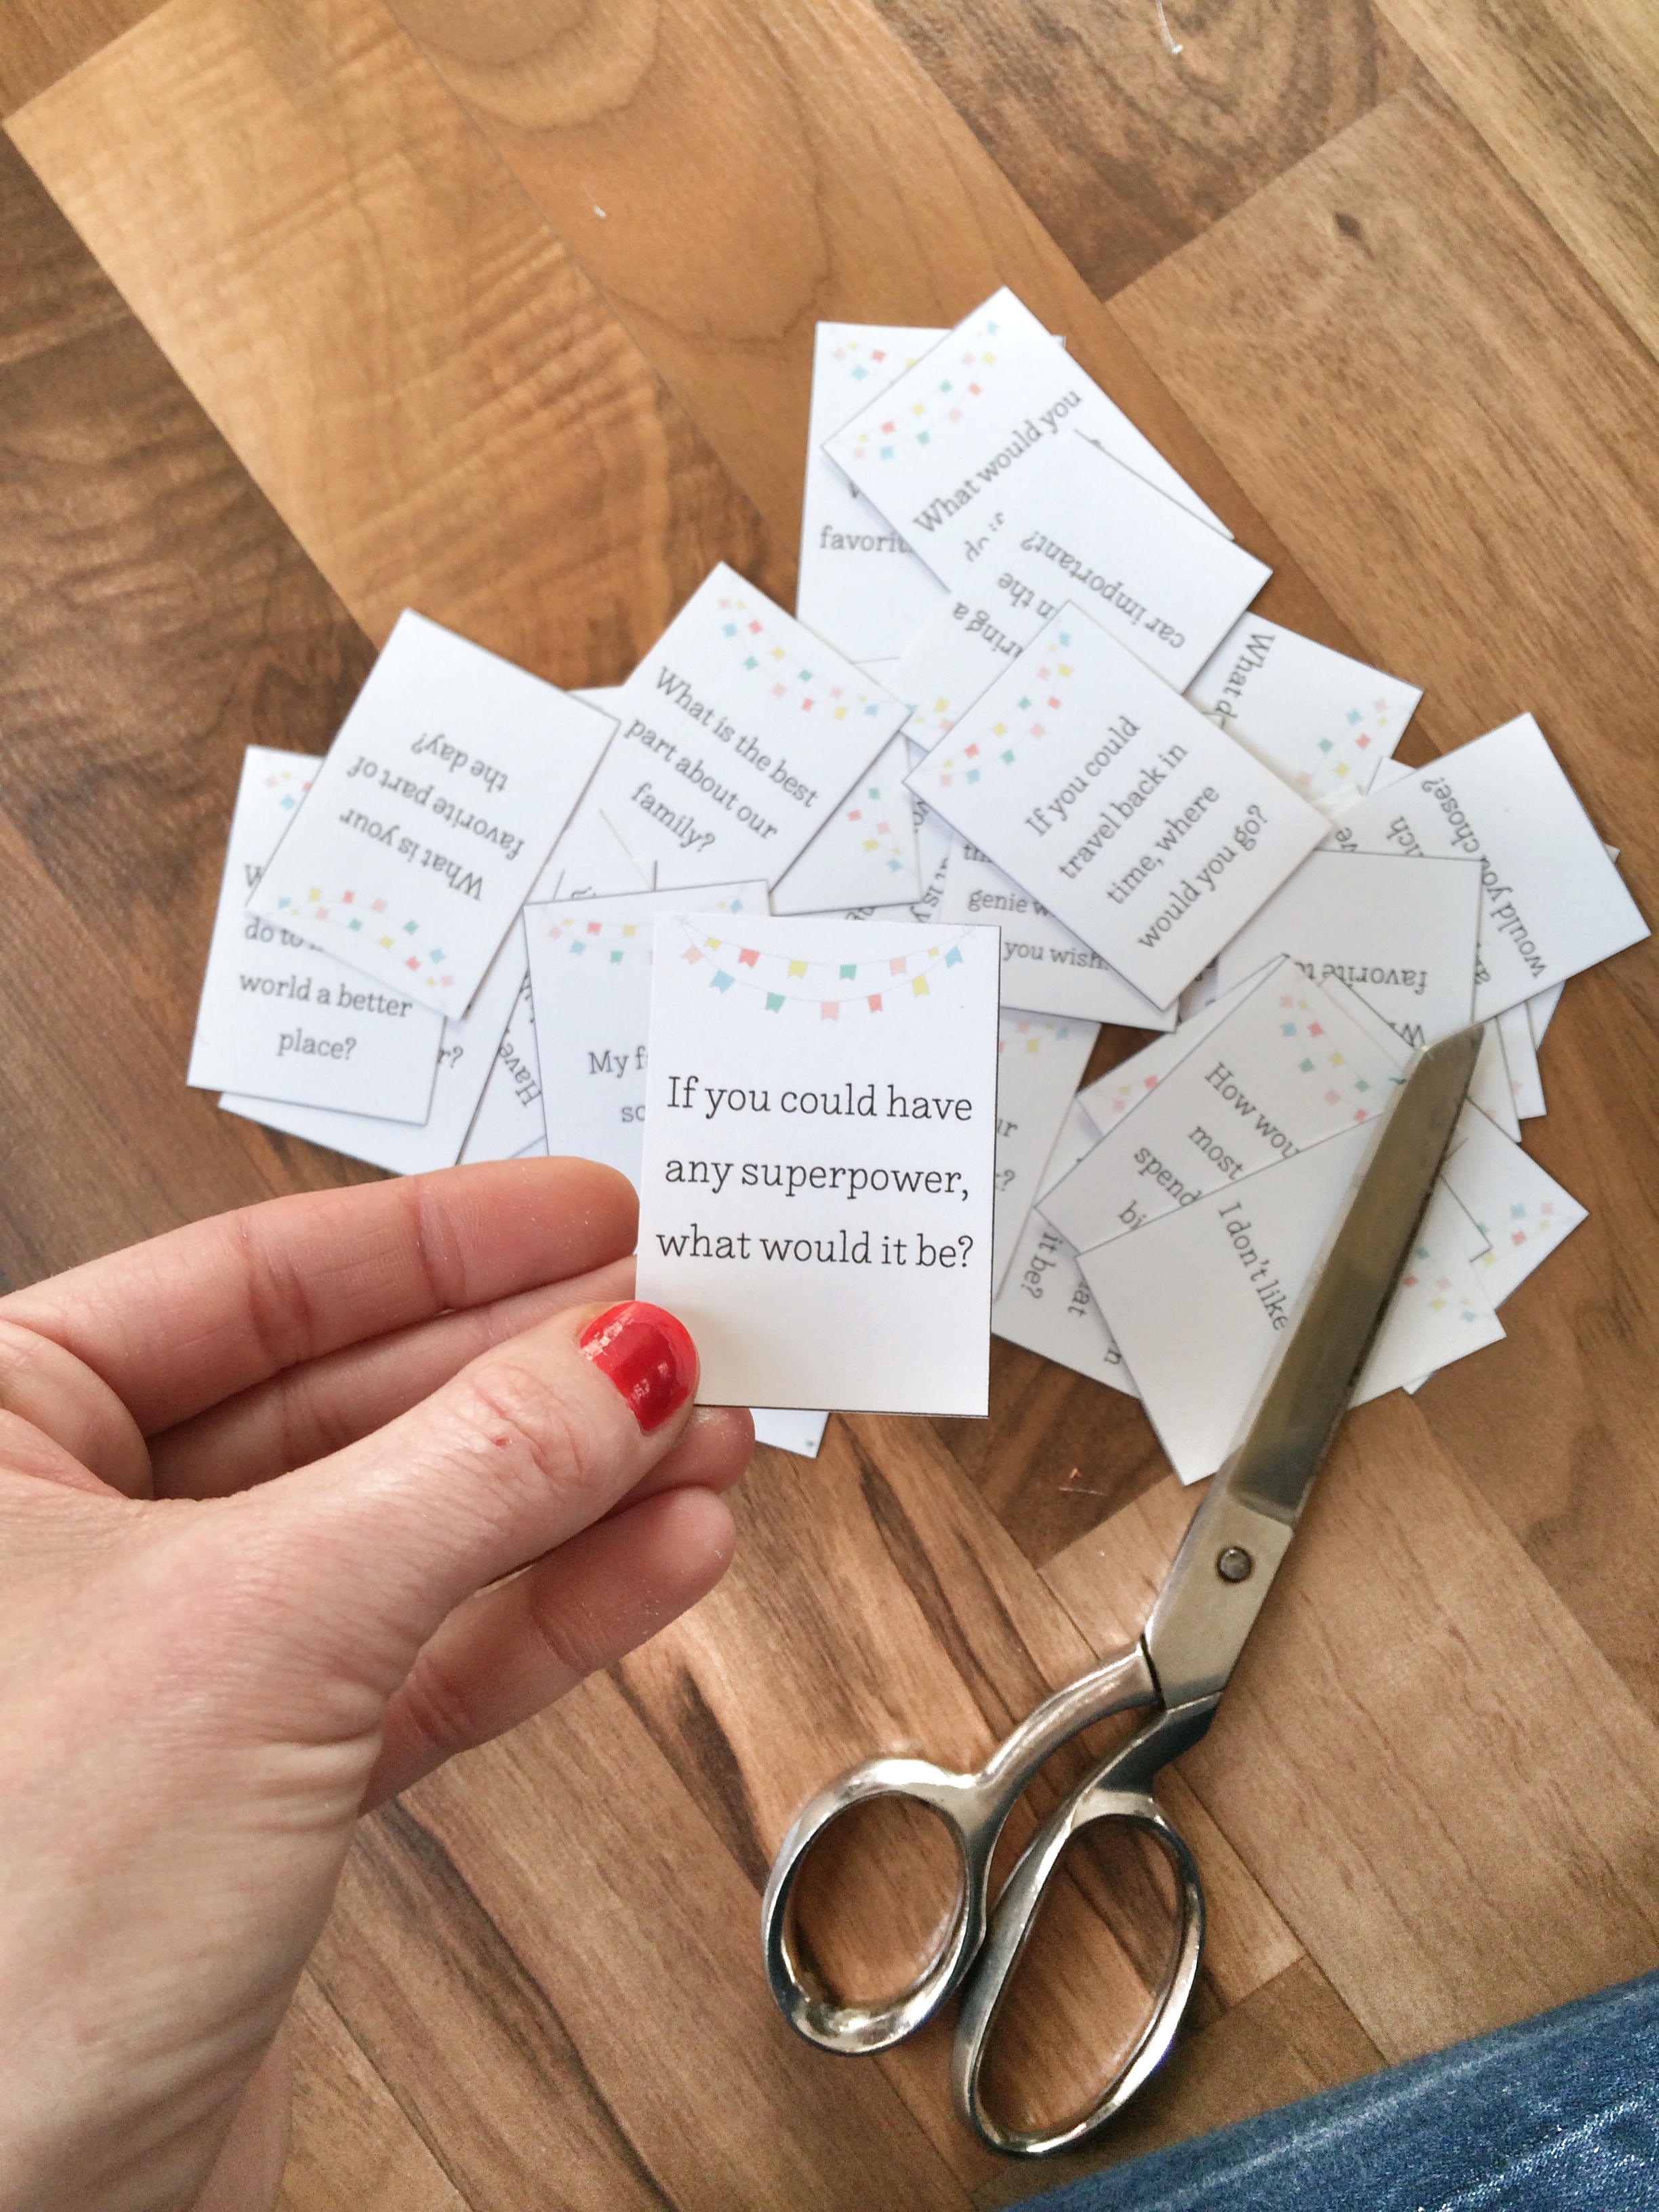
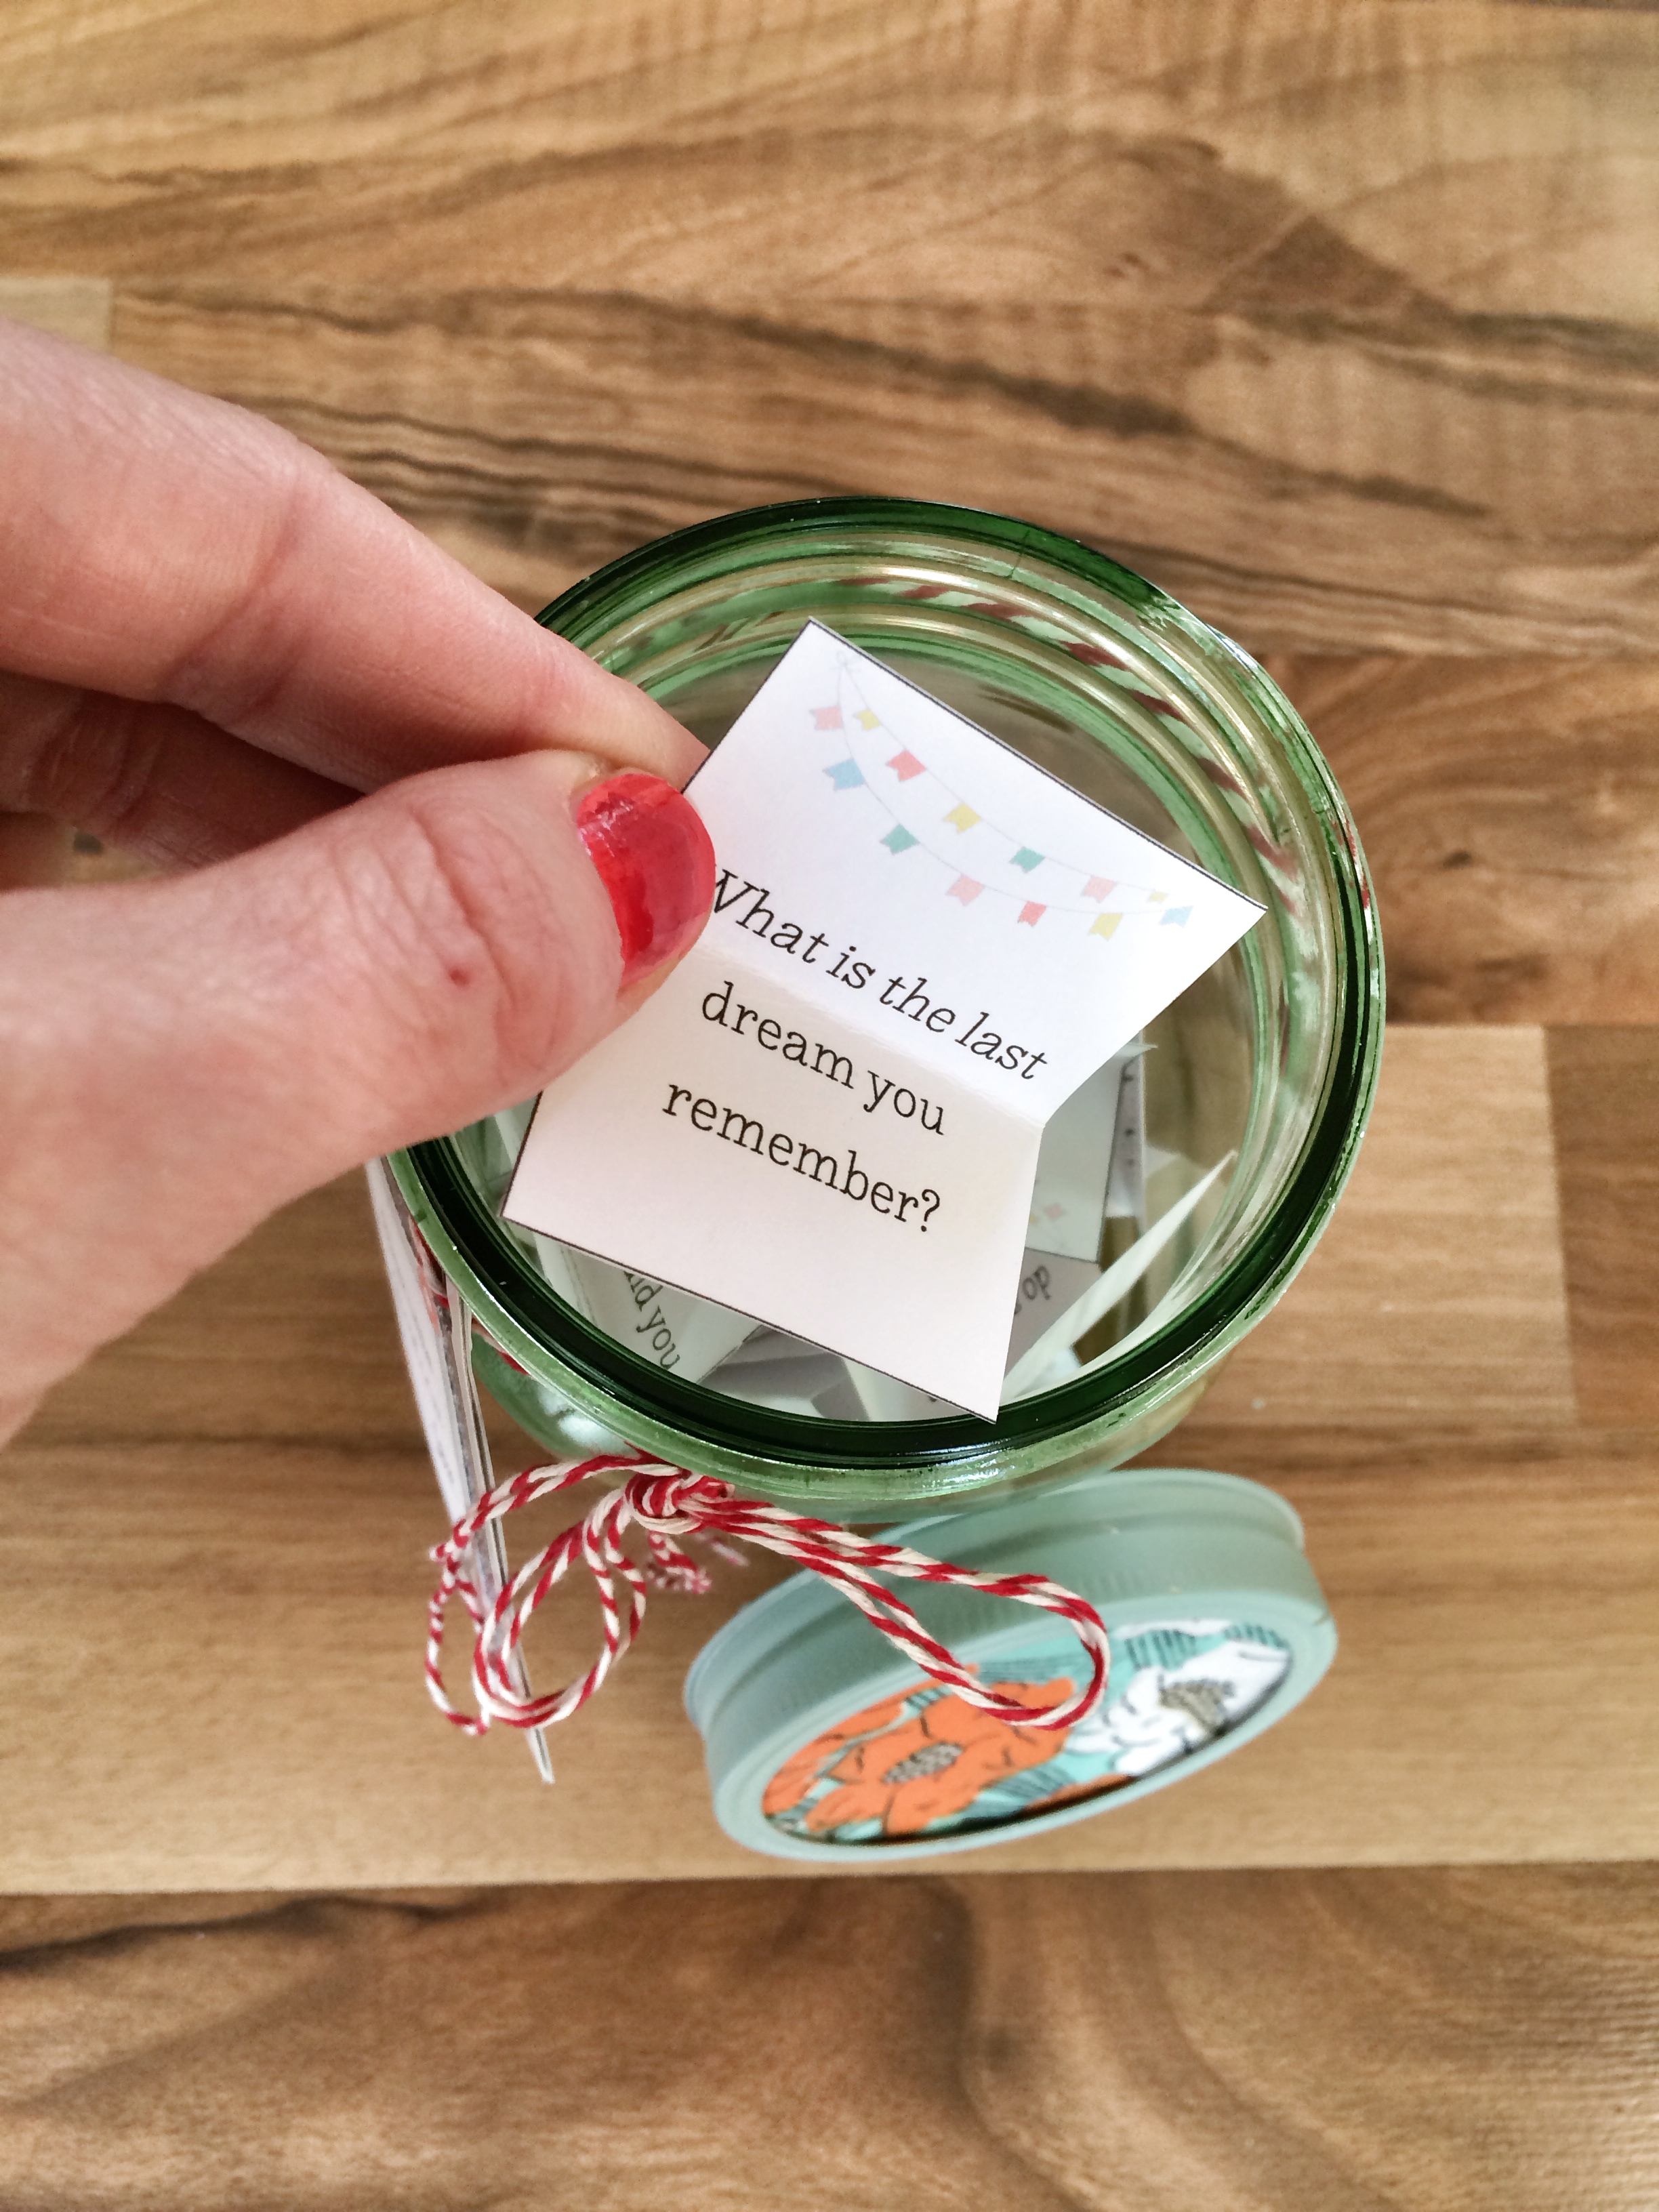
After they’re all cutout, fold them in half and put them into the jar.
Now cut out the tags found on page 3. There is a ‘front tag’ with the description, “dinner table questions cards” and a ‘back tag’ which are the directions to the jar. After you have them cut out, glue the tags to each playing card.
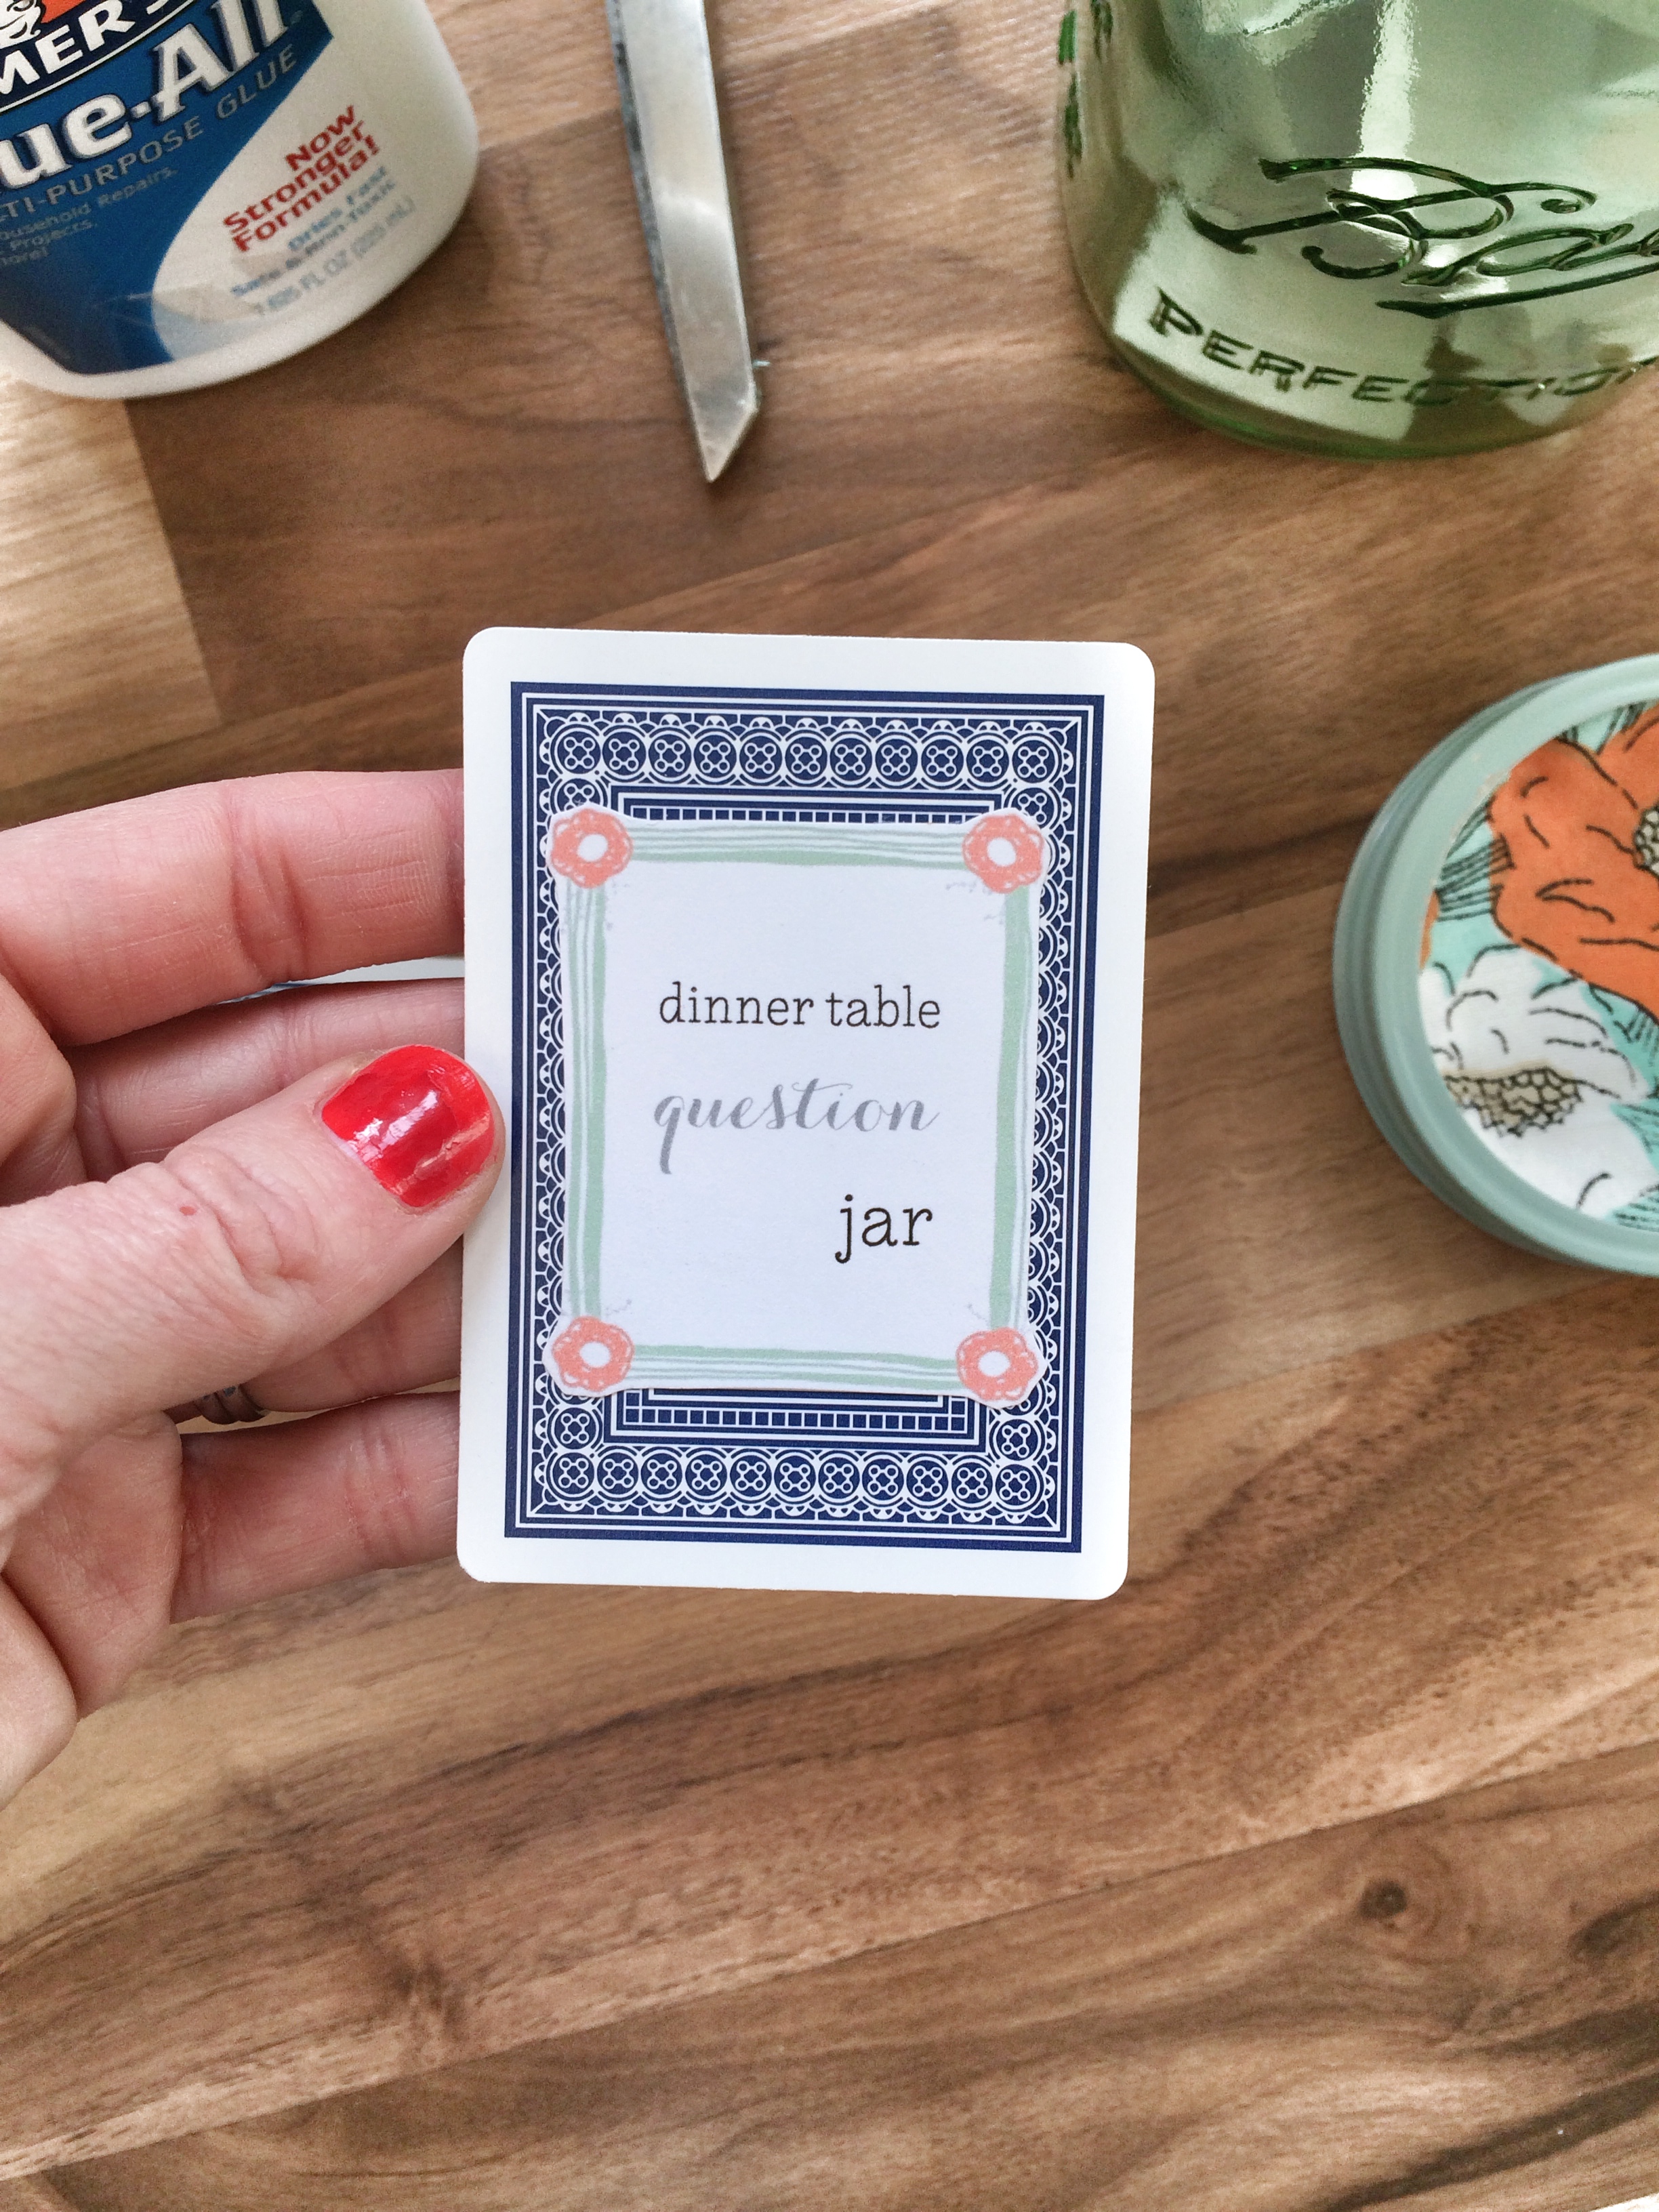
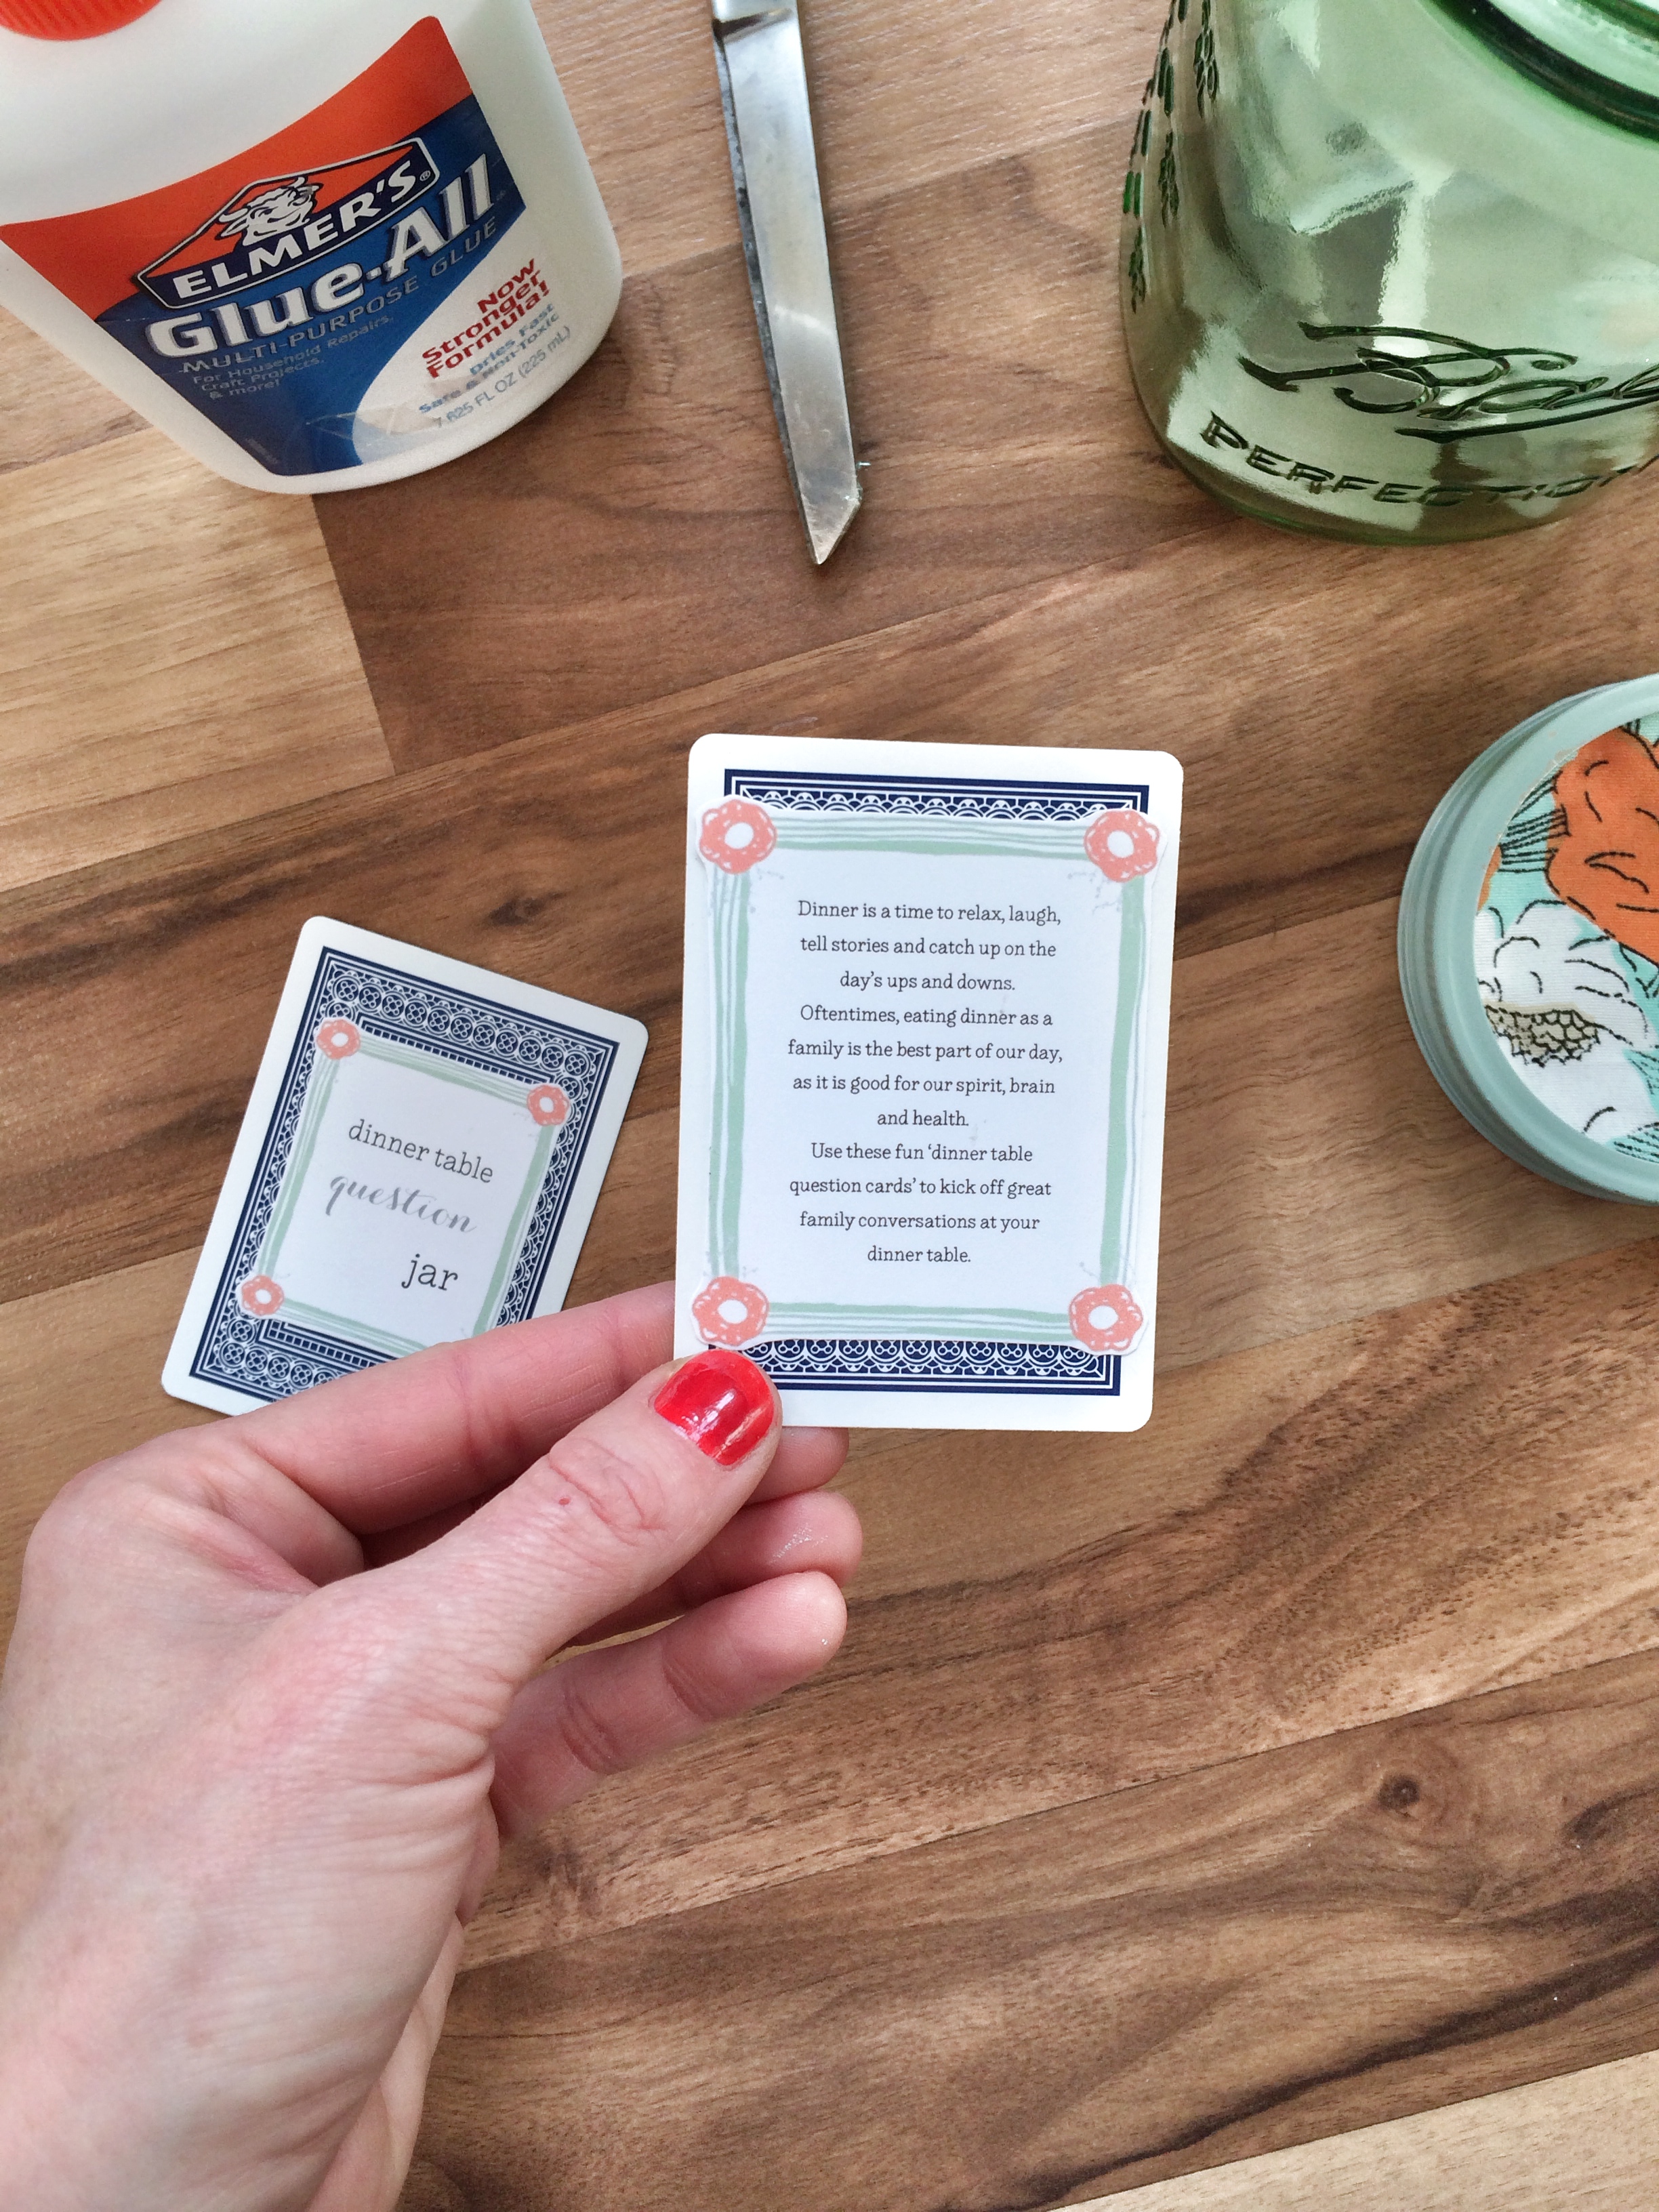
Next, glue the playing cards together to create one tag to tie onto the jar with your string, like this.

Annnnnd you’re done!
I hope this jar being lots of smiles to each and every one of you.
Merry Christmas!
XO!


Leave a Comment: