Yay for autumn!! This is by far my most favorite season of the year; I mean come on the gorgeous leaves, the cooler temps, football, sweaters and pumpkin lattés?!! …love love love.
With the autumn season here, my glue gun and scissors are busy just about every day with some sort of little “project” to add to either the shop’s décor, or to my home. I’m all about doing things as inexpensive as possible, but as tasteful as possible…so naturally as I flip through the pages of my fall issue of Pottery Barn, the first thing I think is how can I do that myself (all the while drooling over the pages).
Today I’m going to show you how to make some really beautiful fall inspired branches that I was drawn to in the September 2013 Pottery barn issue. Currently we have branches like these everywhere in the coffee shop, and we get quite a few inquiries as to how to make them…so, I’m glad to share with you this little DIY project just in the nick of time for autumn!
For one mini maple leaf branch in PB, the price is $24.50 (seriously)! I can’t even count how many are used in this arrangement, but if I had to guess, I would say at least 8. You do the math, craziness.
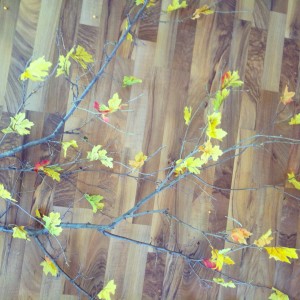
This is what I came up with:
My cost: around $2.00 for these branches, but for an entire arrangement it can range anywhere from $2.00 to $10.00, depending on the materials you are using and how full you want your arrangement to look.
Materials:
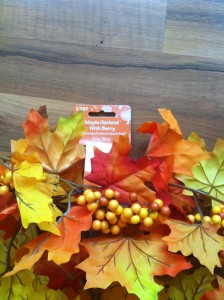
Leaves, berries (mine came as a garland with both orange and yellow leaves, as well as berries)
Glue gun
Branches (stripped of any leaves; I usually cut my branches and let them sit overnight so the leaves dry out, then all you have to do is run your hand along the branch and the leaves easily come right off).
The key to getting your branches to look fab is finding the right TYPE of branch to use. This is definitely the hardest part because you have to find small and delicate branches as opposed to large bulky ones. I have one tree in our woods that I always pull from. It’s a small tree and the branches are small and twiggy.
Once you have your branches, determine which leaves/ berries you want to use. I tend to go for only one color of leaf per branch, as opposed to mixing them all up like how the leaves are arranged on the garland. For these branches I decided to go with the yellow leaves only.
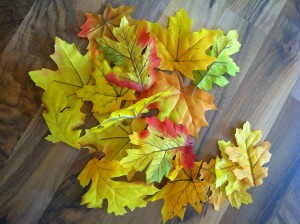 what I’m using from the garland
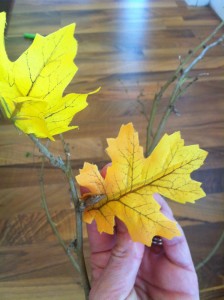
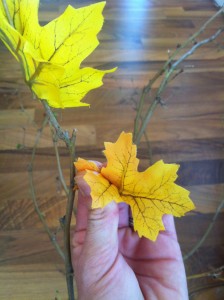
Then, plug in your glue gun and glue away! Make sure you are gluing your leaves in the right place though. I know this sounds silly, but you can’t glue a leaf where one wouldn’t naturally grow.
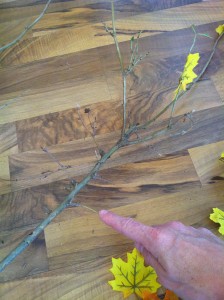
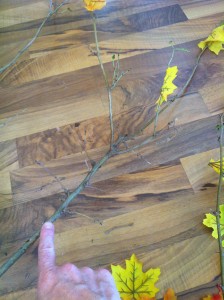
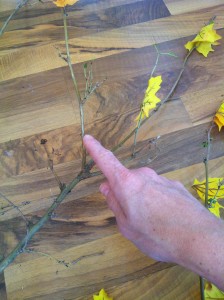
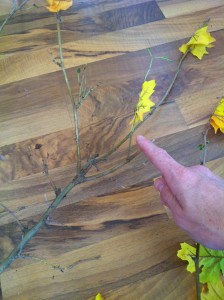
For example, stay away from gluing any on the main part of the branch.
Glue them on the twigs that branch off from the main part of the branch.
When you glue, keep in mind that the point is to make this look natural, so glue natural. You don’t want to put a big blob of glue in the center of the leaf and that be it. Be creative and glue them how they would naturally grow. I tend to go for a more bare look, but you can definitely make these look as full as the pottery barn picture. It’s all in what you like and what look you’re going for.
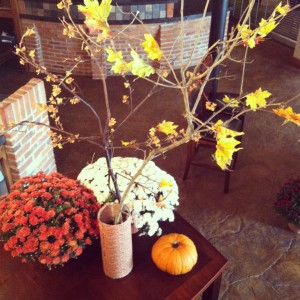
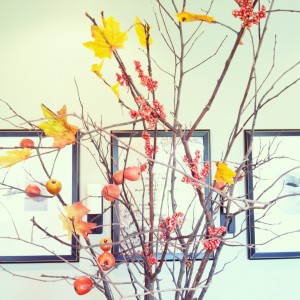
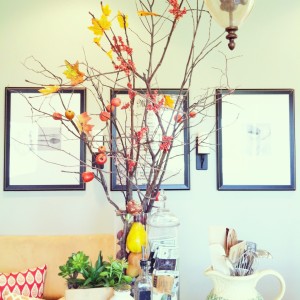
Once you get the hang of it you’ll be busting these out like nothin’. Once you’re finished, you can mix all of your branches up in an arrangement, or keep the color schemes together. For example, here are some branches that I made last year that I currently have in my kitchen. I mixed yellow/orange leaves with red berries on each branch. Then I scored a few awesome twiggy branches at K&K Interiors for $1.00 each to mix in as well (here I only have 2 mixed in). The vase also has stones, fake pears and a few avocados mixed I so the arrangement is more “kitchen-like”.
Here are some more branches that I have in my little sitting nook. I definitely went crazy this year with the branch idea…but it’s cheap and easy and they look fab:)
Happy crafting!
xoxo





LOVE this diy post!! And I happen to love love love these branches outside my front door ;)