
Let’s talk photo displays. In my home, I have a huge display of wedding photos on my living room wall (these frames are all different sizes and hung in a collage; it seriously takes up the entire wall). Then I have another huge collage on another wall that leads upstairs with various photos of the kids. I try to keep these mostly newborn photos, as well as one photo of each child per year. Finally I have more photos of the kids hanging in my little sitting nook/ dining area, which I swap out every season so the photos go along with my seasonal décor (Christmas photos are up during Christmas time, Easter during spring, etc.)
I like my system with the photos I have hanging on the walls, but I struggle with how to display all of the other photos that I have filed away in my “photo bin” …especially some of the random wallet size pictures that I couldn’t bear to not have developed… Anyways, to solve this solution I came up with a really cute accordion brag book that you can either fold up and keep in your wallet (yes I’m that Mom with the huge pull out photo display in her purse) or you can display the accordion book on a table or shelf simply by opening it up and standing it up. Either way, these are super easy to make and a crazy cheap way to display those wallet size photos you have laying around.

Here’s what you need:
a few wallet size photos (I had a total of 7 photos that I had developed on Shutterfly; you can get 4 of the same image to a sheet for 1.00 or cheaper)
glue stick
a sheet(s) of 12×12 cardstock
paper cutter or a ruler and scissors
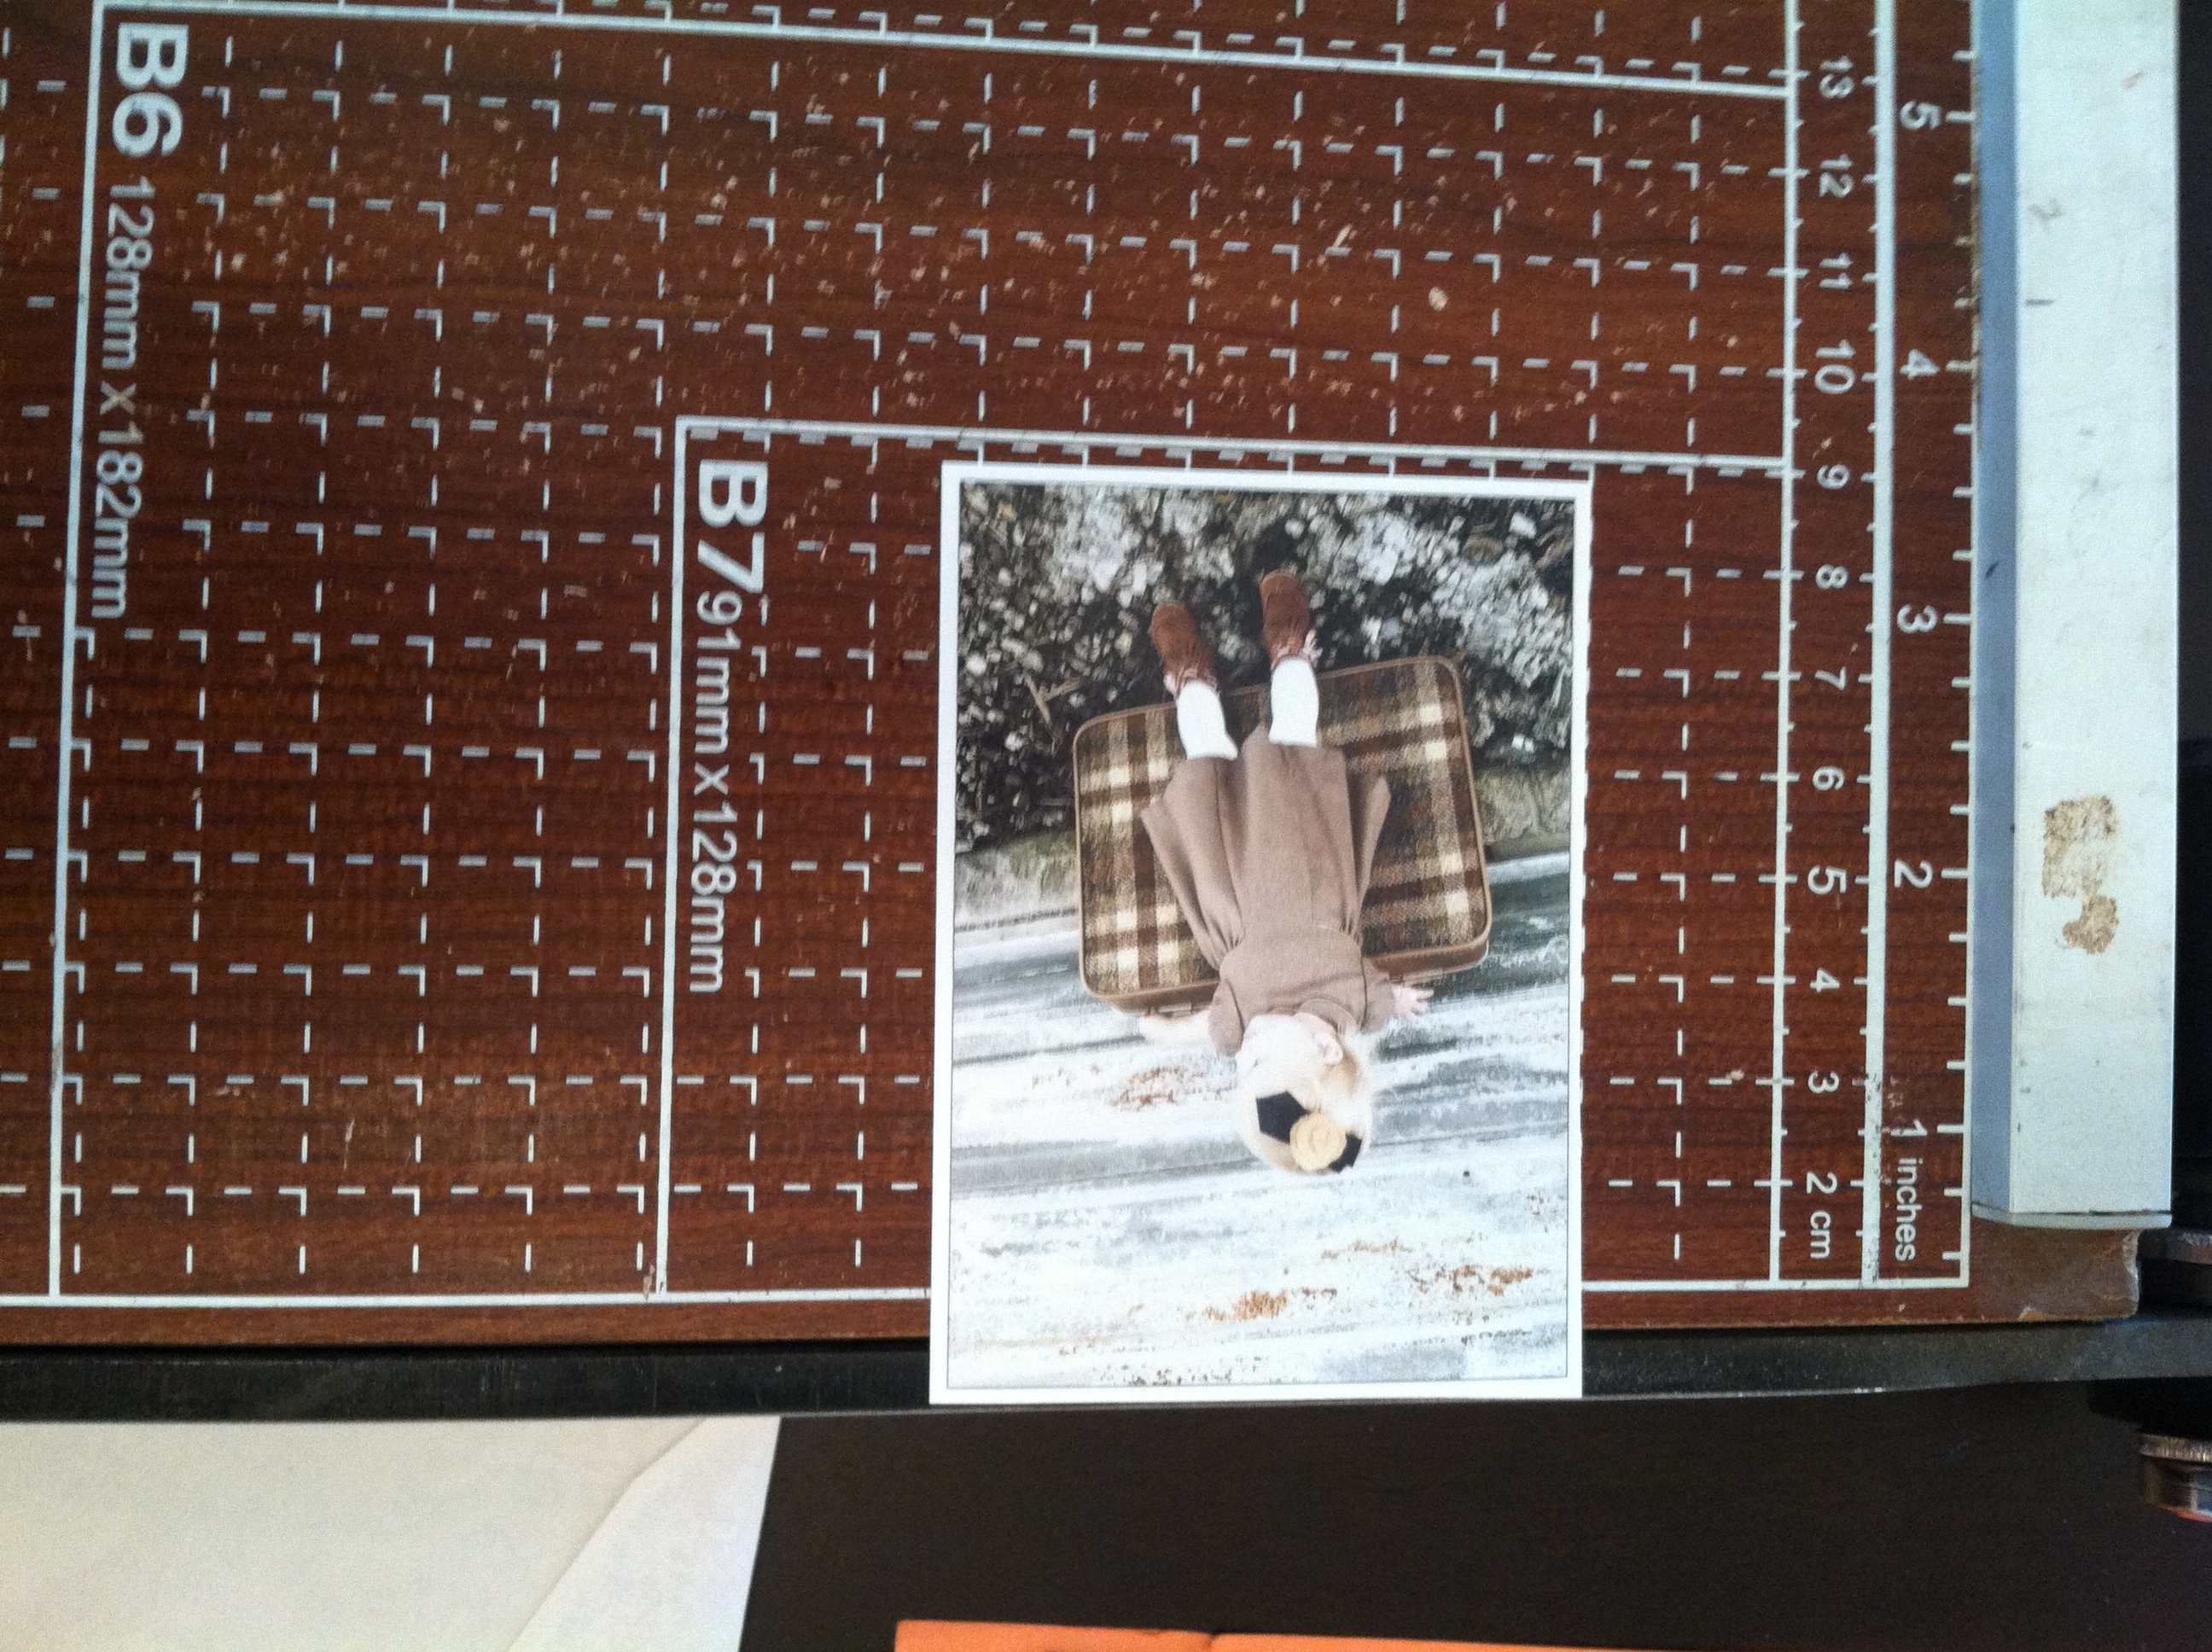
First, you’re going to measure the height of your photos. Mine were about 3 and 1/2 inches tall
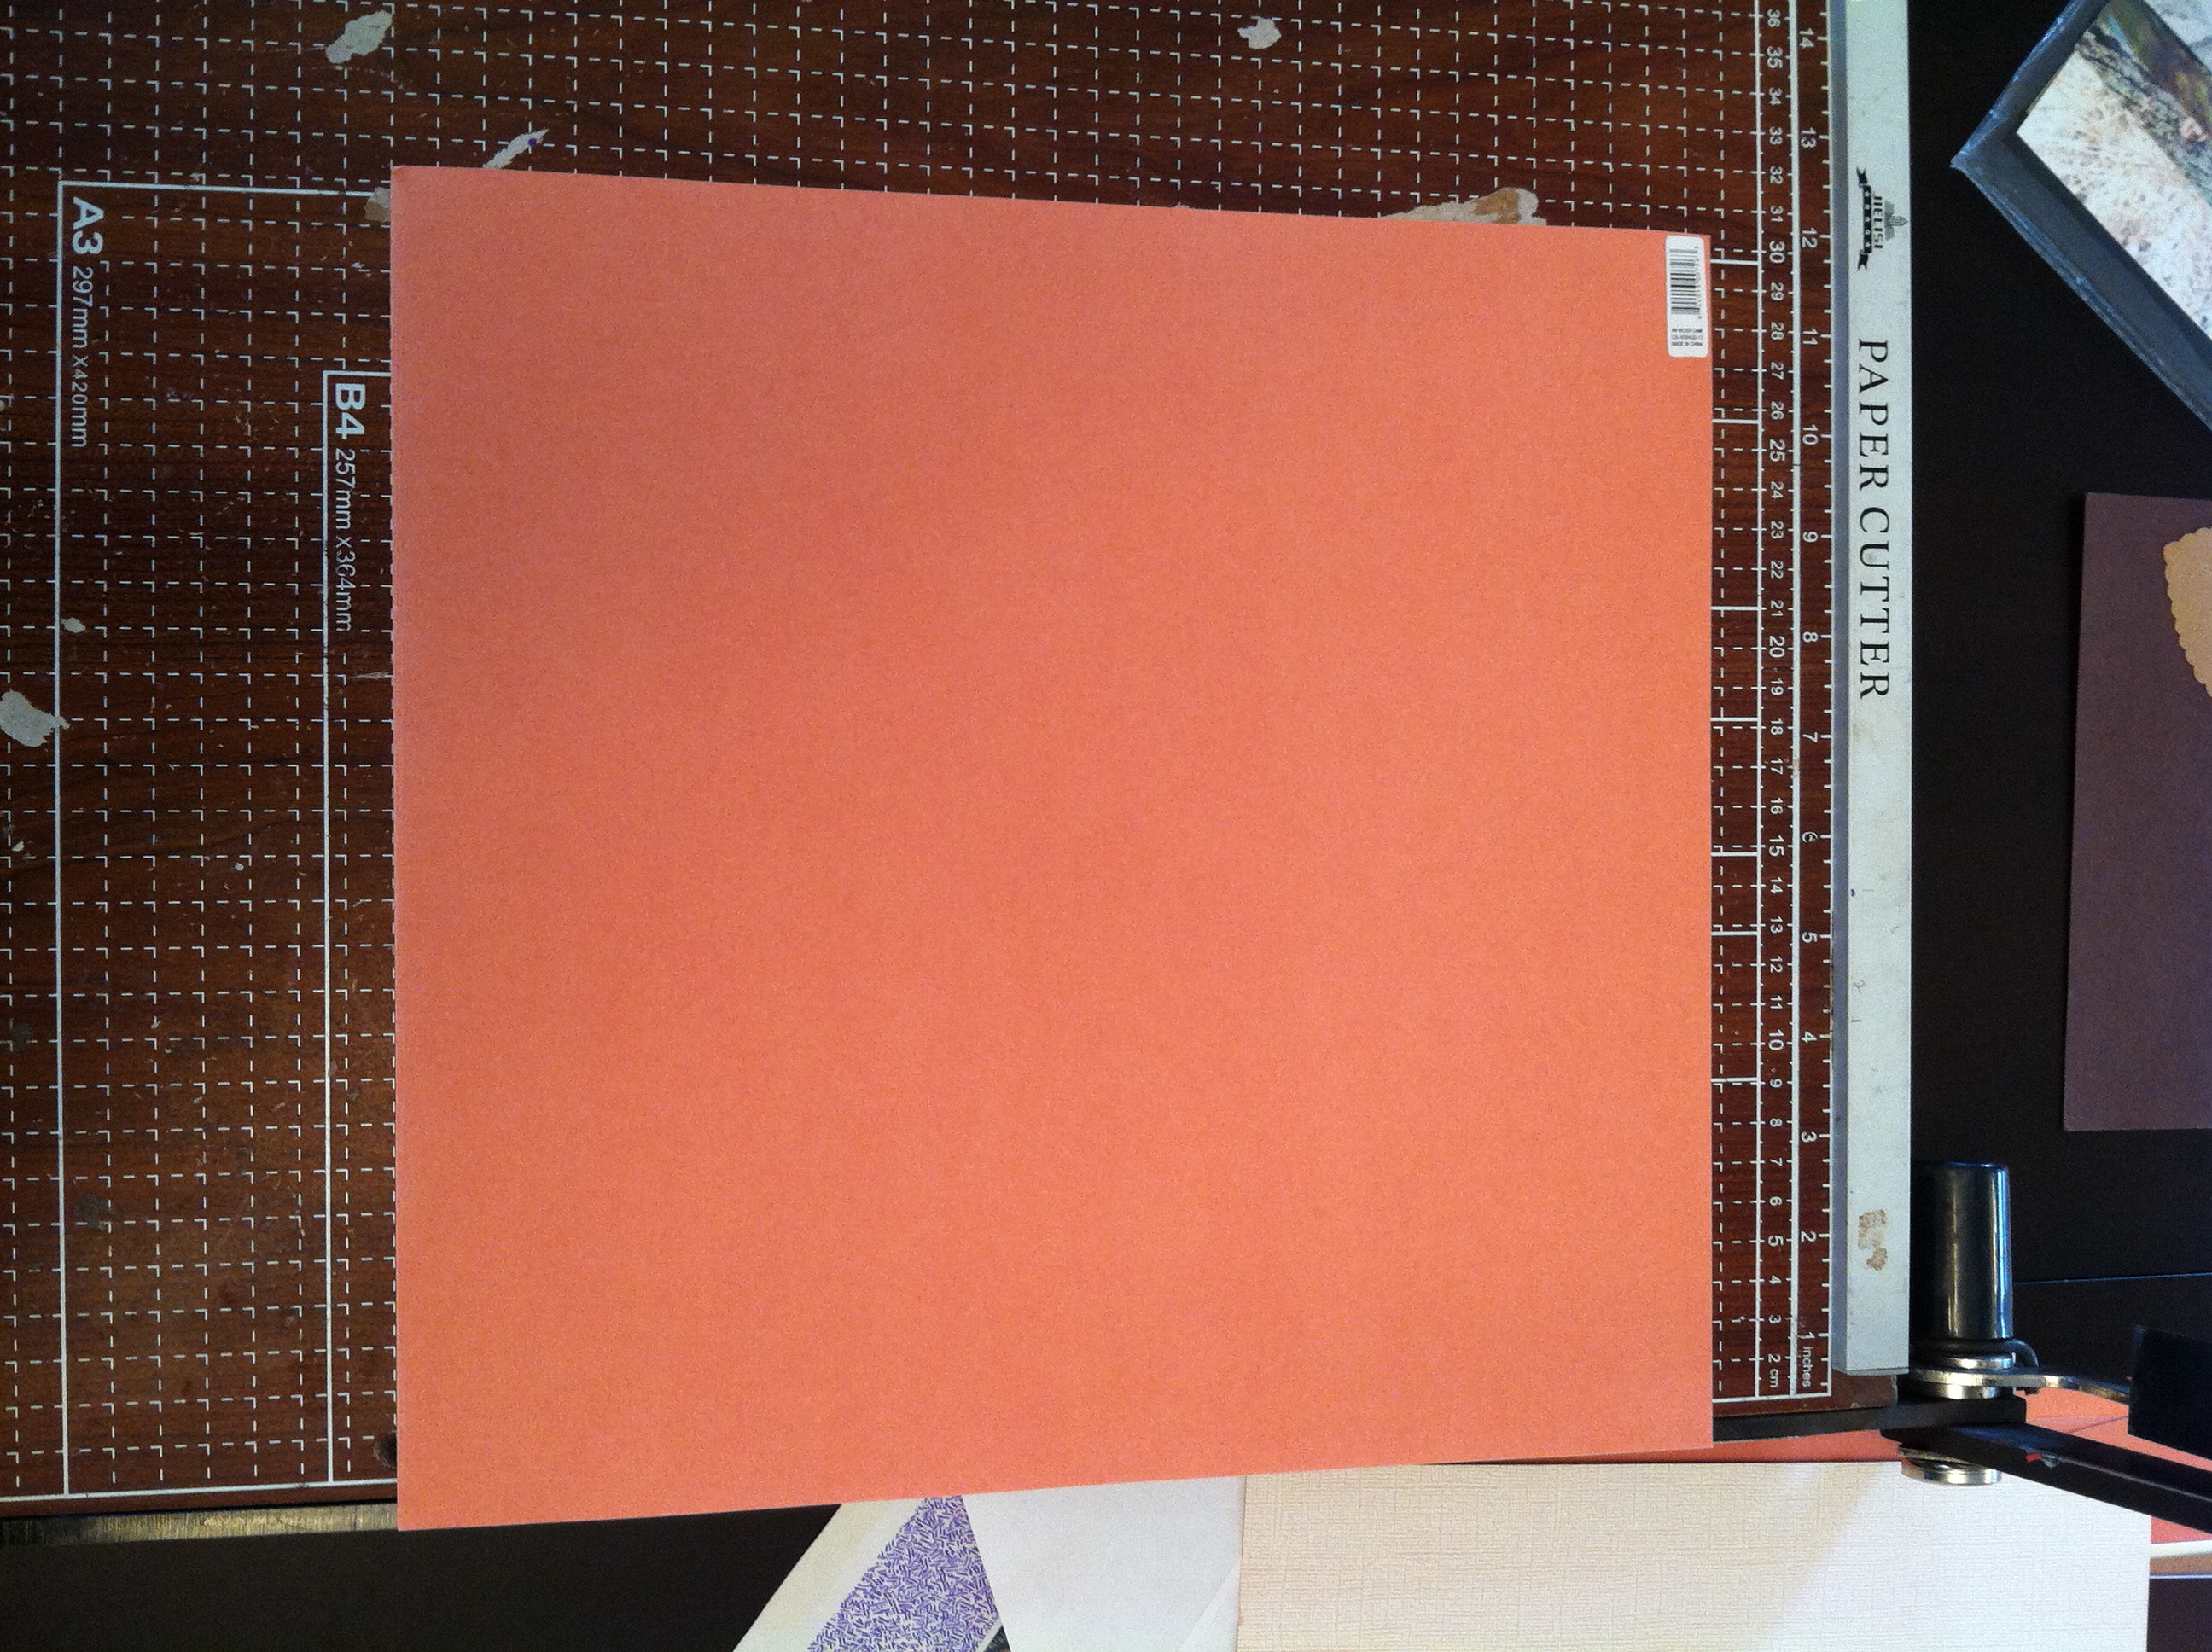
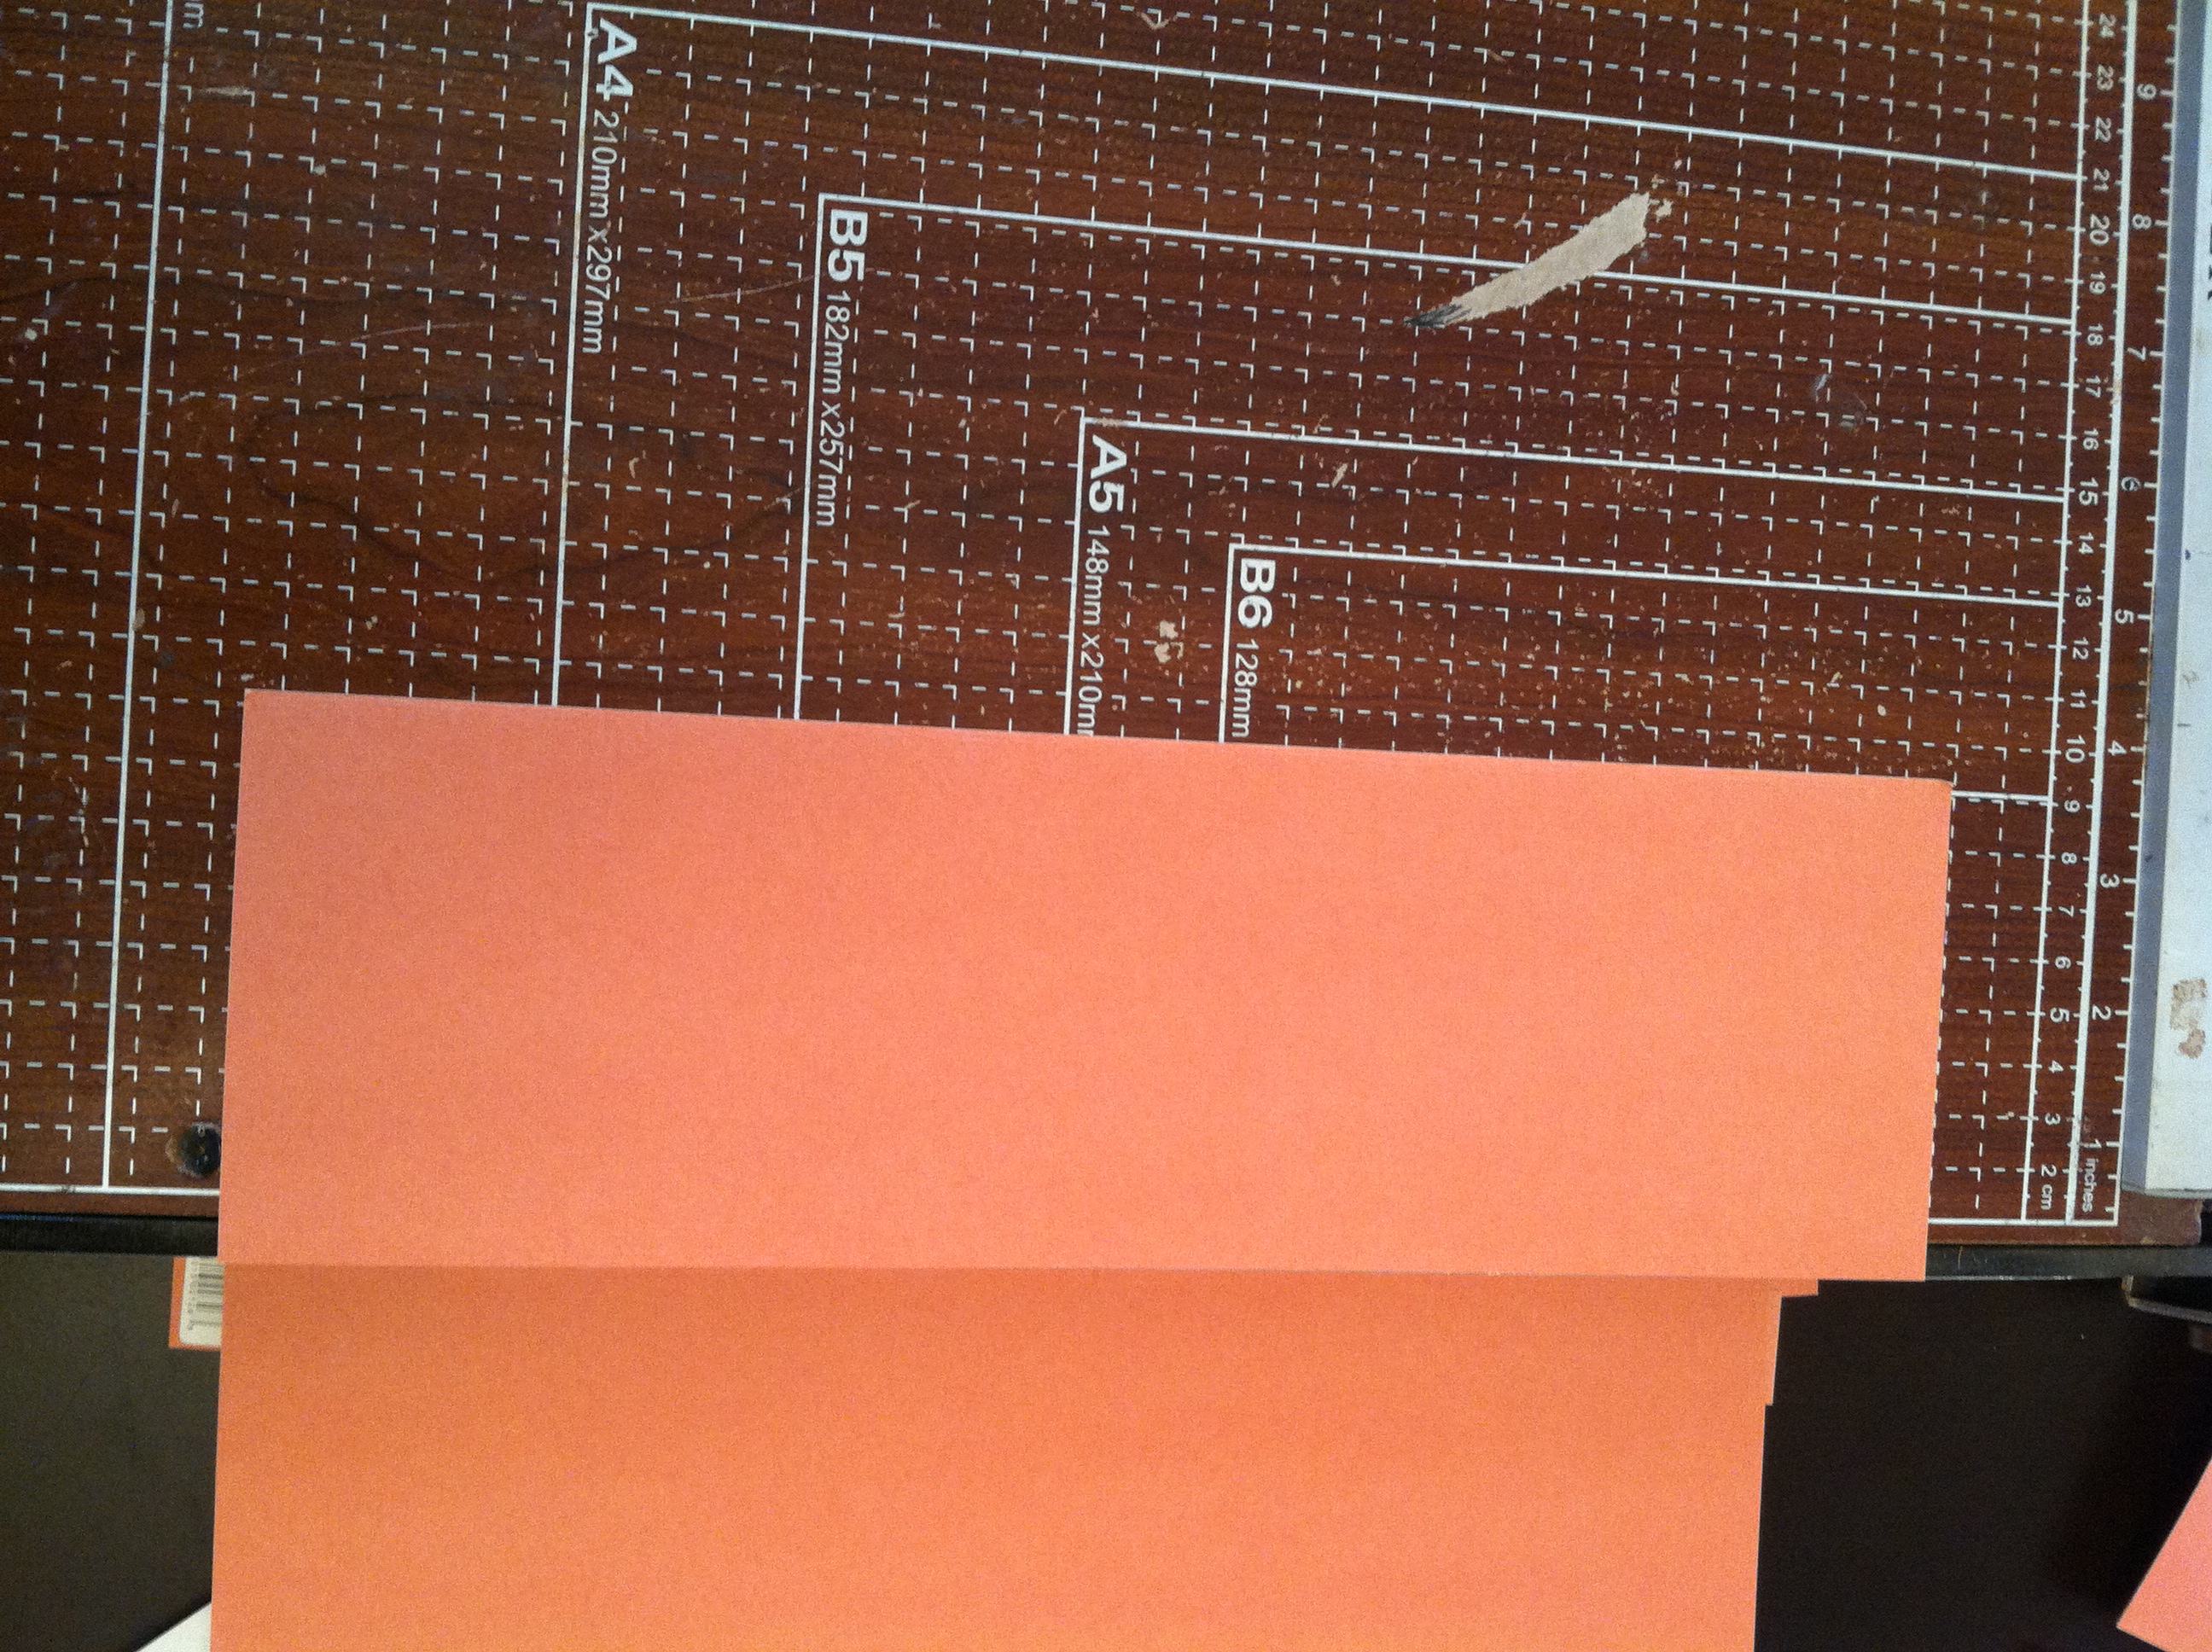
Next, you’re going to take your large piece of cardstock and cut it into strips. These need to be cut a little bit wider than the height of your wallet photos. I cut mine at 3 and 3/4inches. (Obviously the cardstock is 12×12, so when cutting into 3 and 3/4 inch strips I got 3 even strips with a tiny 3/4inch strip left over).
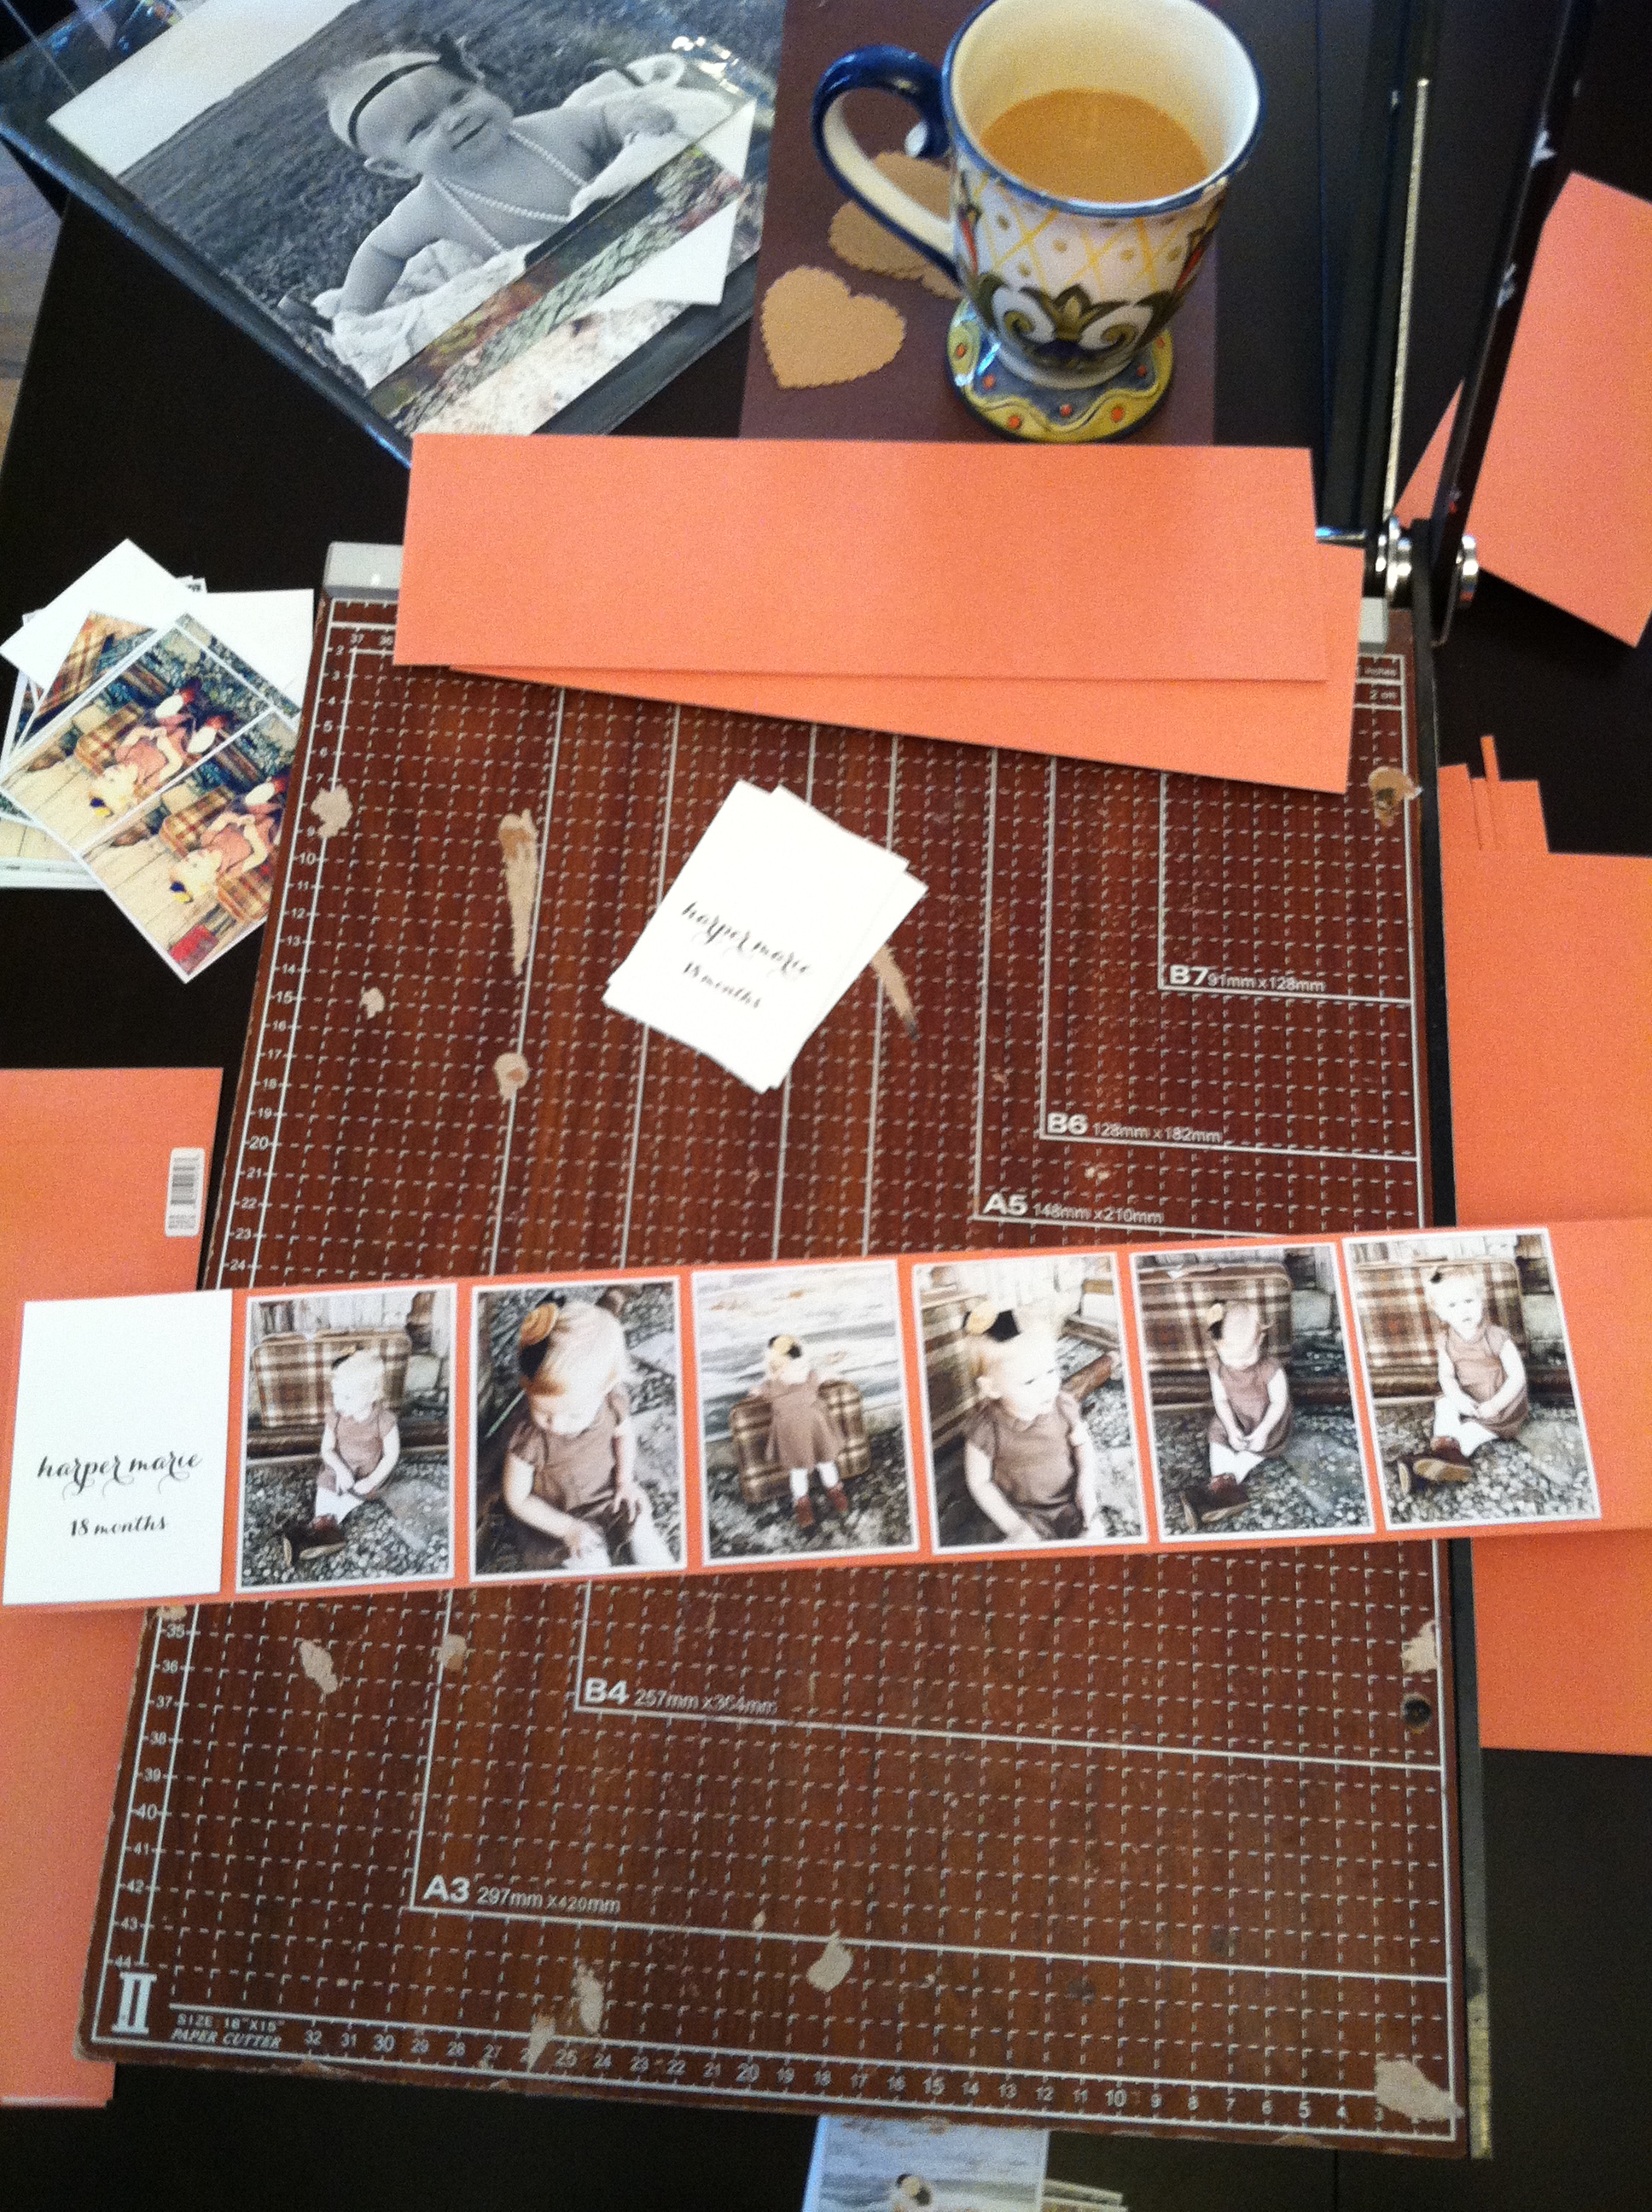
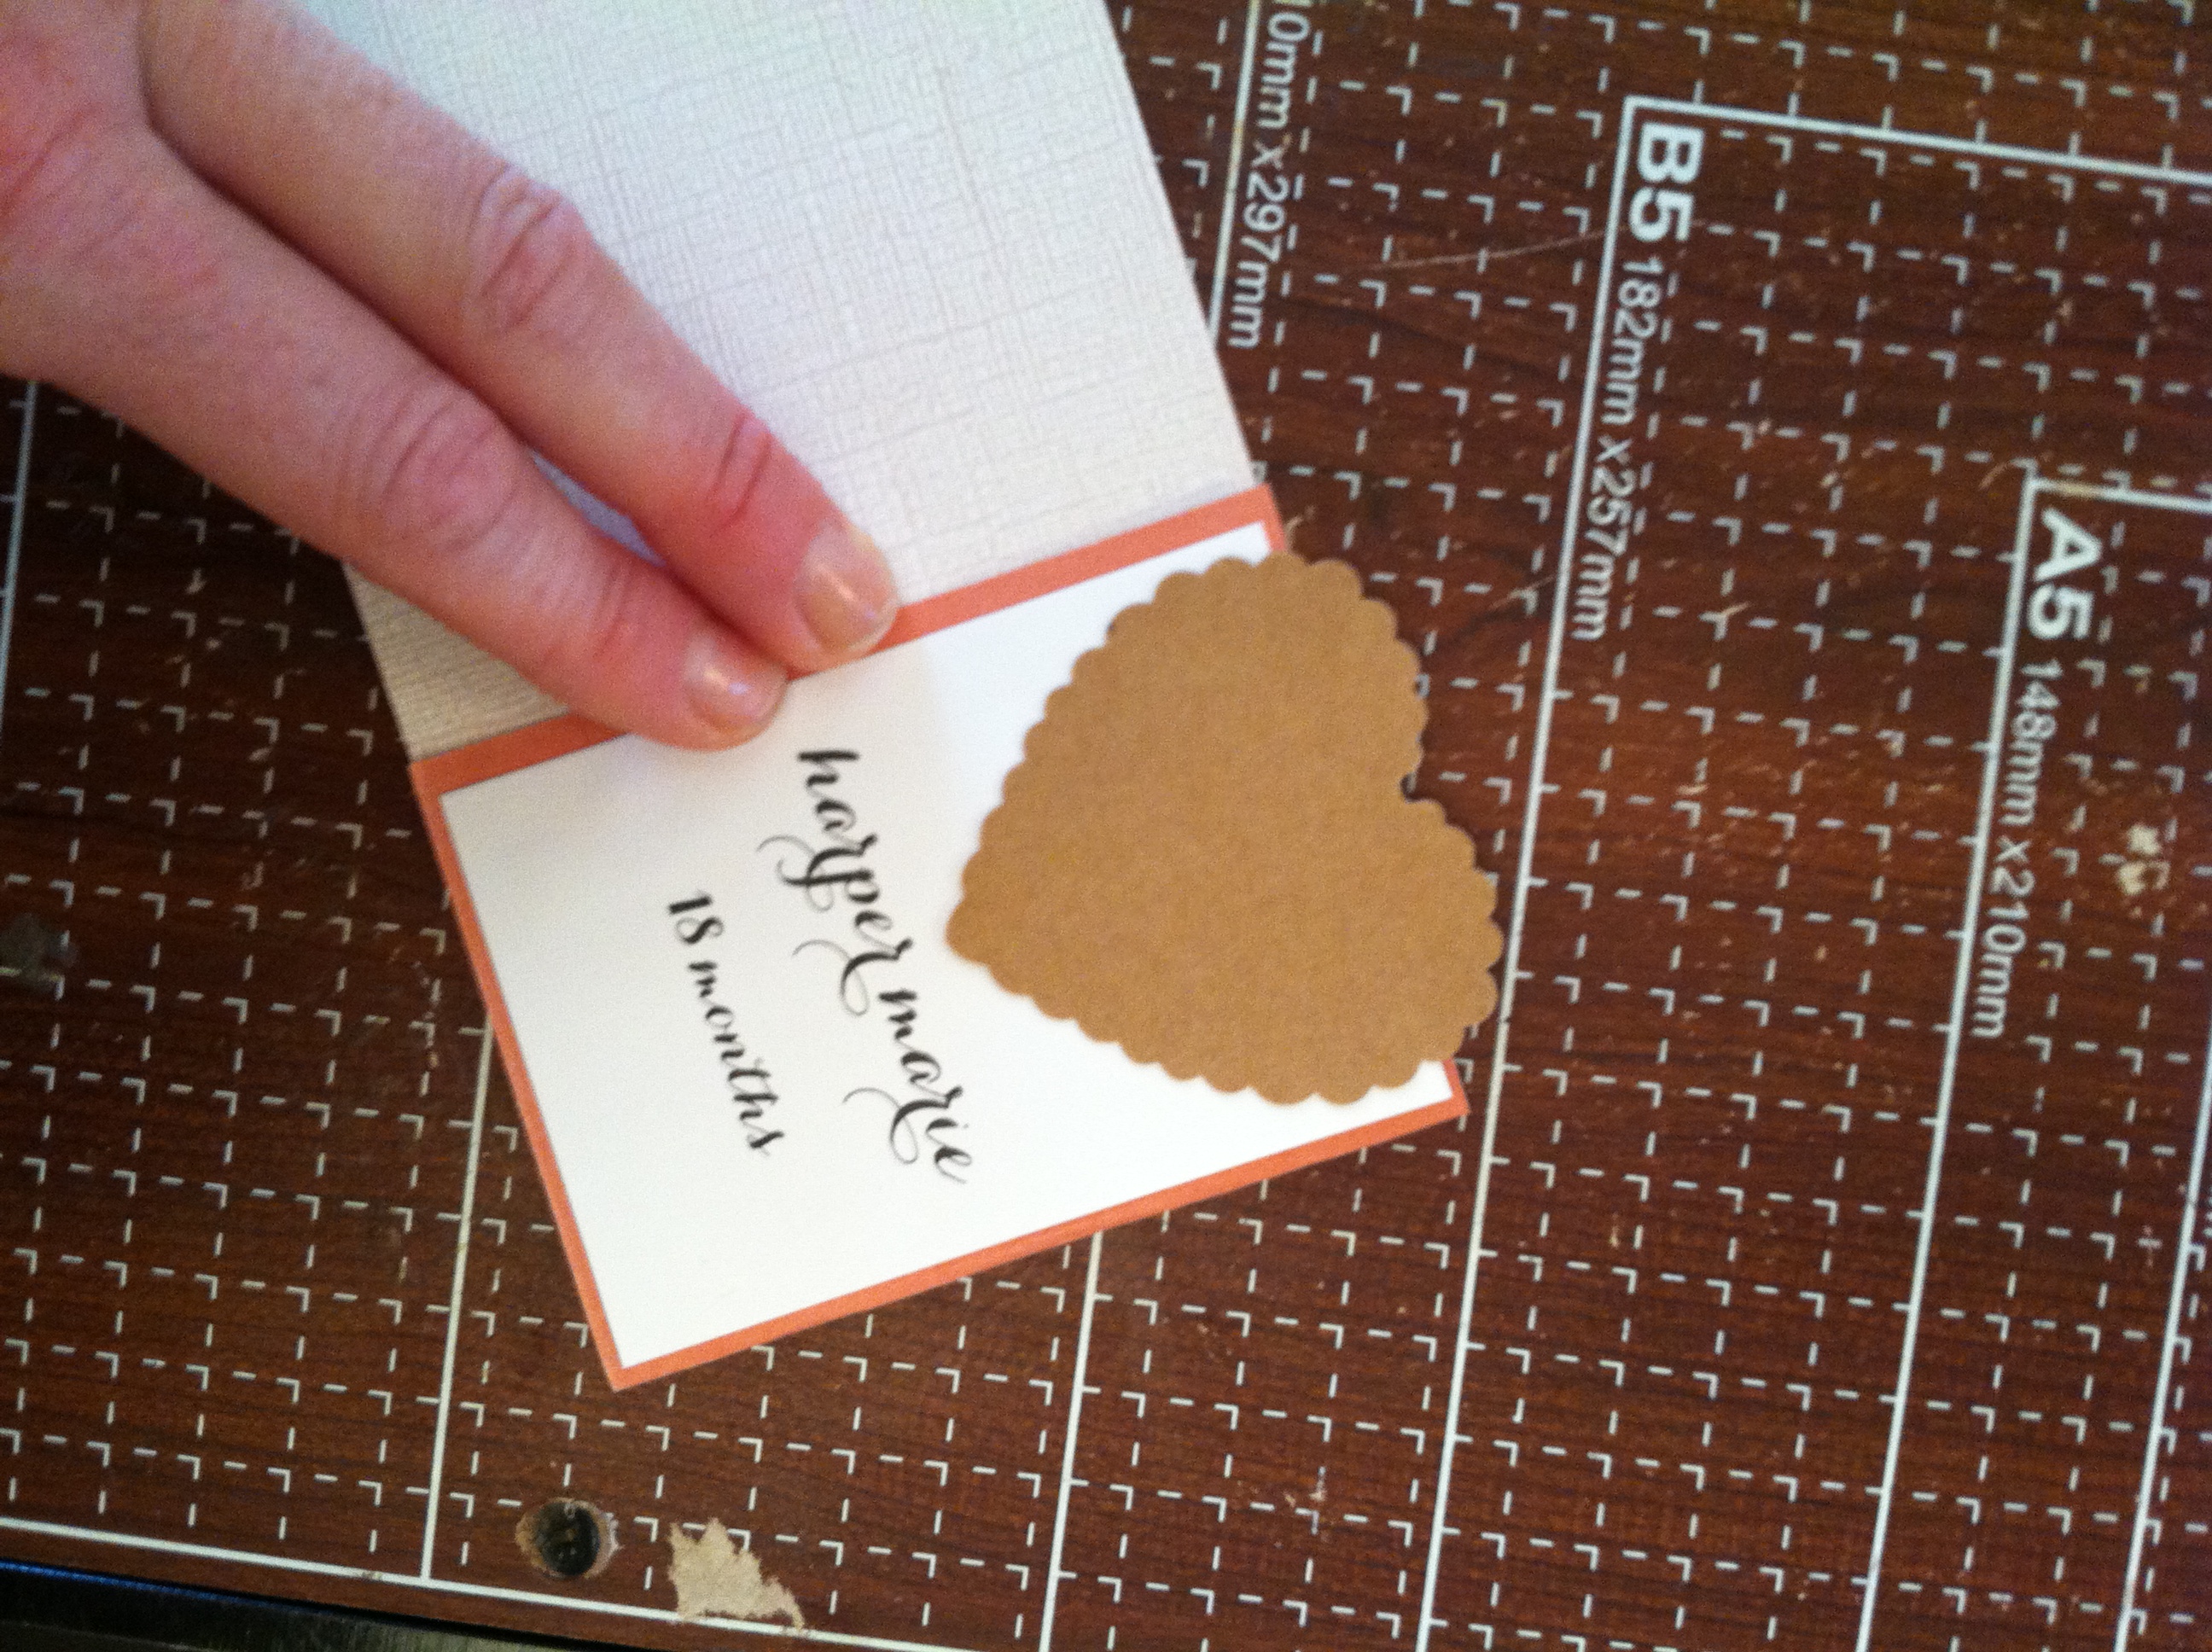
After cutting your strips, arrange and glue your photos (I used 7 photos so I needed to glue 2 of the strips together; you may use only 1 strip or all three depending on how many photos you would like to use- keep in mid that you need to try to line these and space them as even as possible so you can fold them nicely later). I also added a cute title card to the beginning of the strip that I made in Microsoft word by creating a text box the same size as my wallet photos, and then adding a little heart to the top- I did this so I could display my daughter’s name and her age to the photo book.


On a side note… if you have to glue multiple strips together to make a longer one like mine, make sure to connect the strips behind the center of one of the photos like this: (this just helps when we fold up the accordion book later).

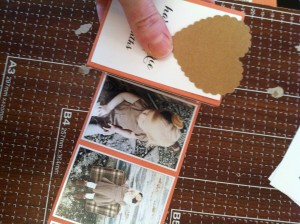
Once your photos are all glued and the glue has dried, fold your book like an accordion. Start with the very first photo (in my case, I have the title card as my first photo) and fold back by creasing along the space between the photos.
Keep folding back and forth, back and forth until it’s all folded up- keep in mind that you’re always creasing along the space between the photos and you’re doing this as evenly and straight as possible:)

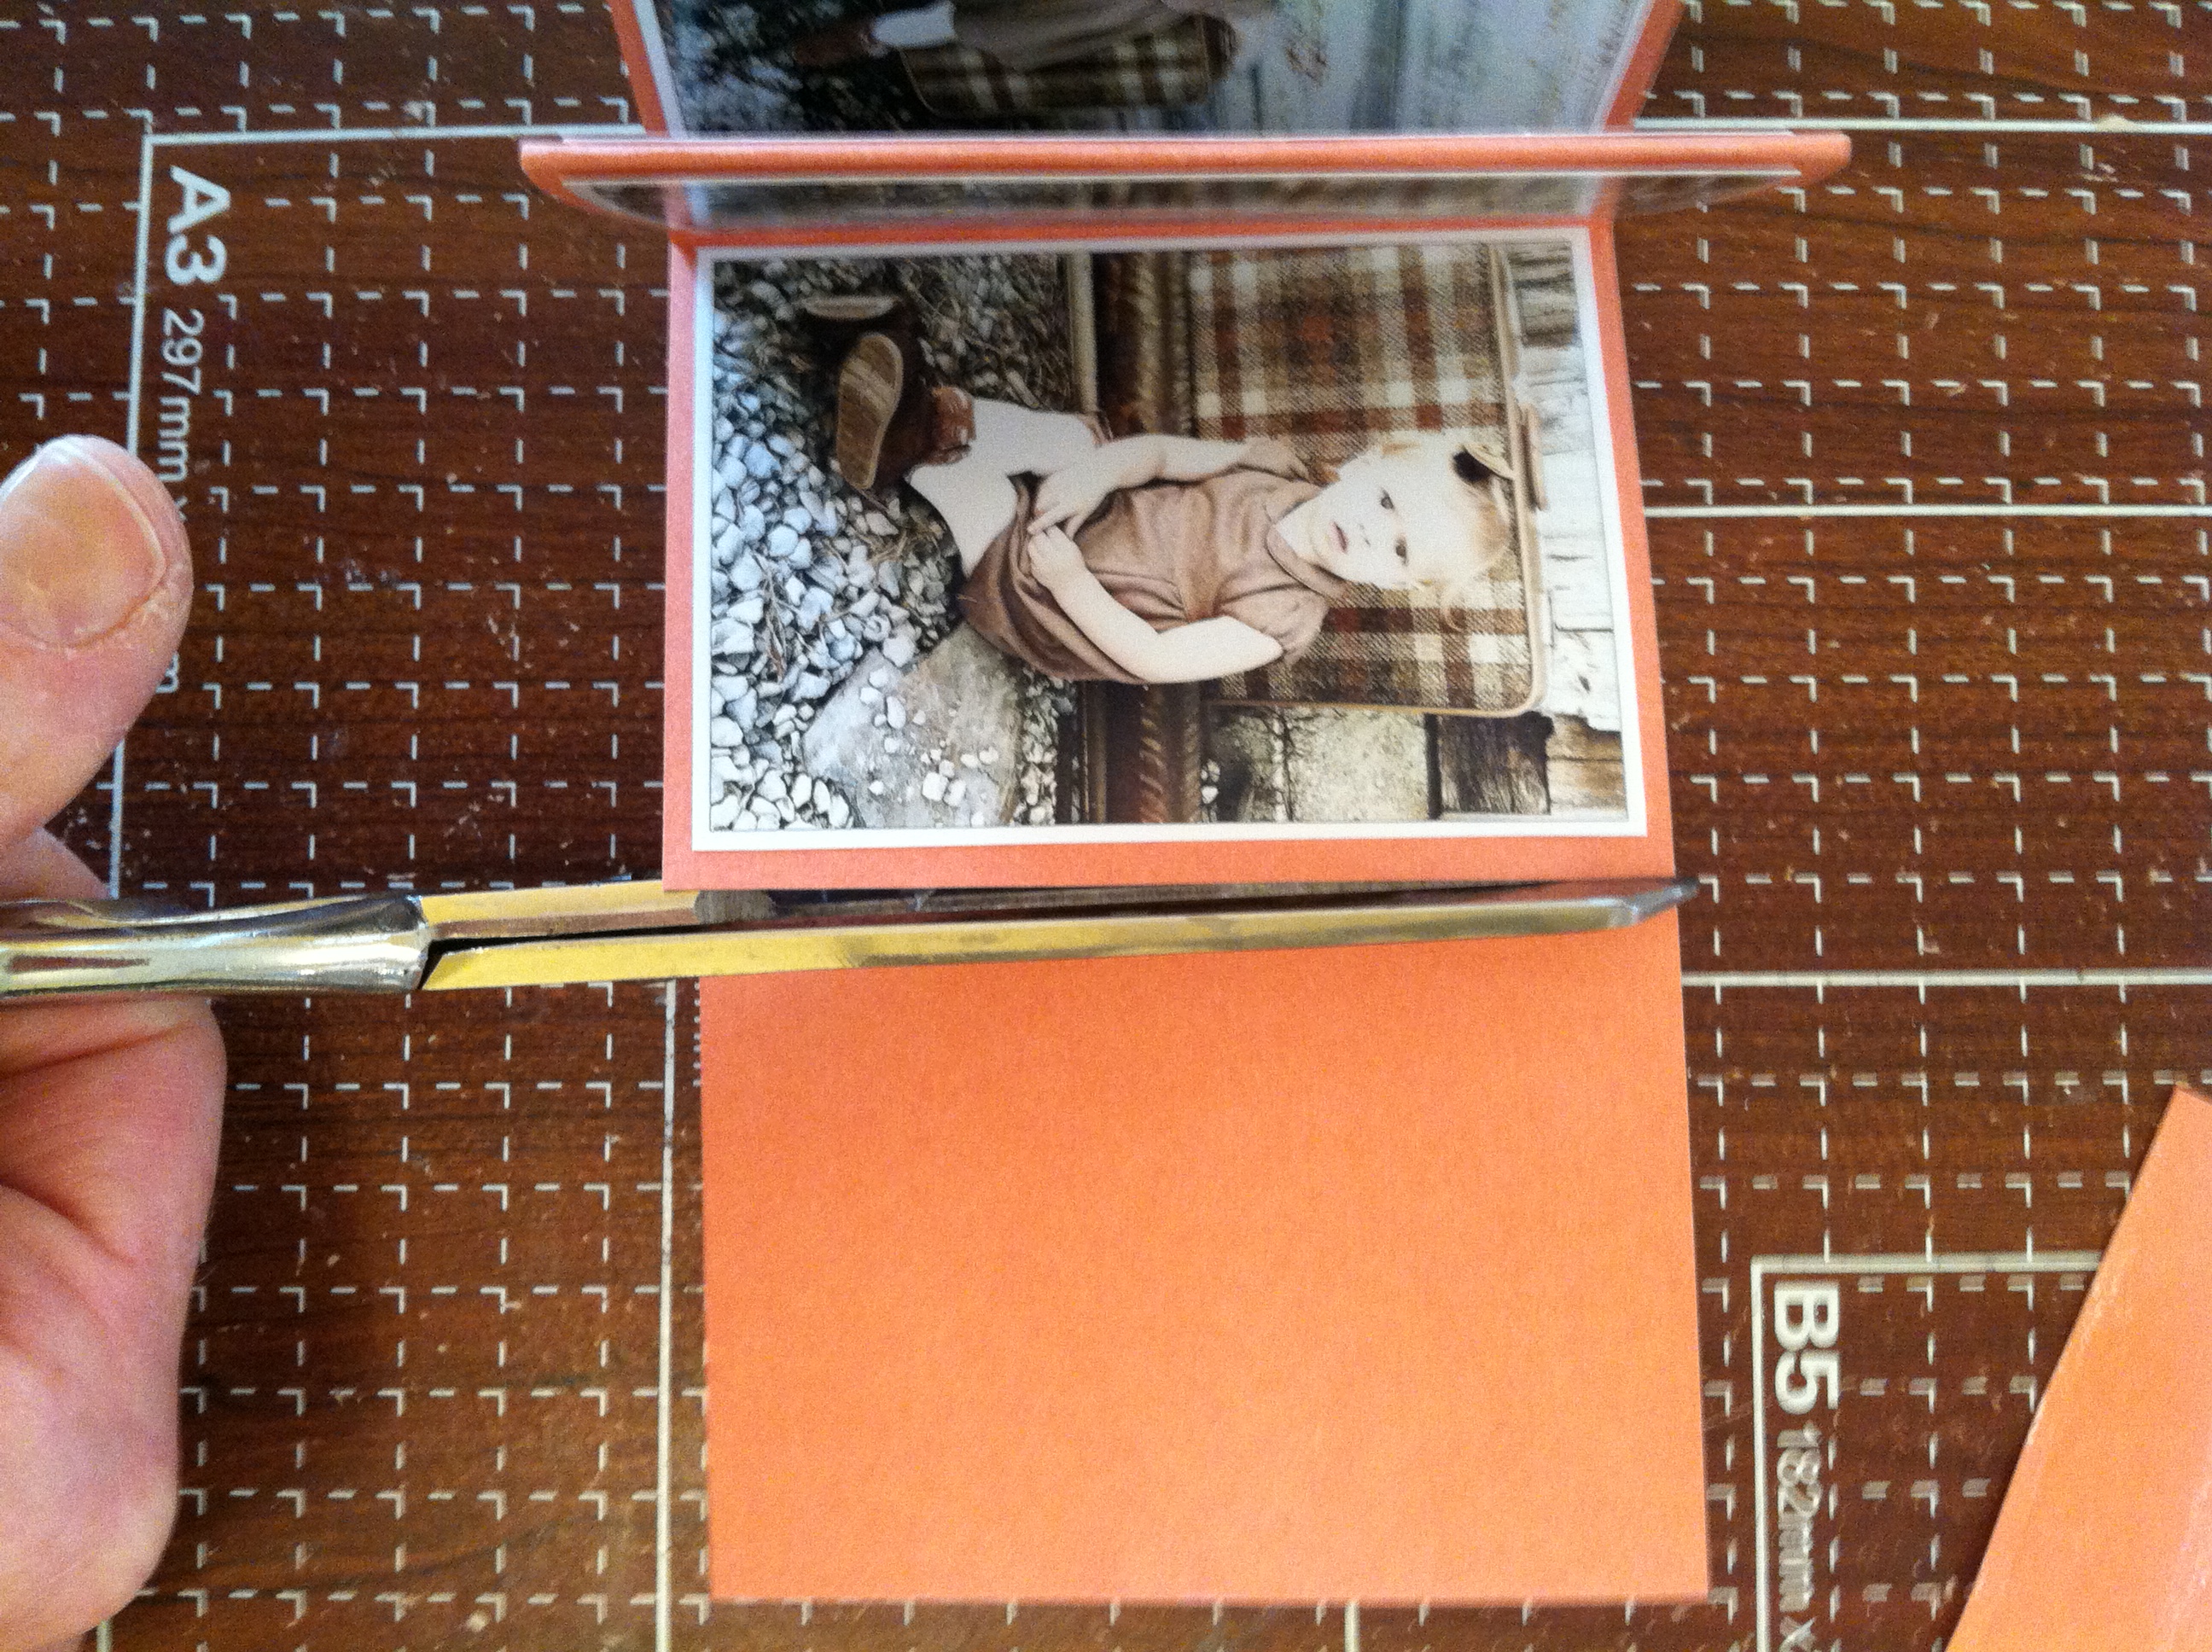
Finally, cut the extra cardstock you may have at the end of your strip.
Viola! You have a super cute little accordion brag book. How cute would this be using school photos?! You could use one wallet size photo from each grade level? Ahhh I’m definitely setting one of Reid’s pre3 photos aside so I can do this in years to come.

Have a great day, friends. Happy crafting!
Xoxo


Very great post. I simply stumbled upon your blog and wanted to mention that I’ve truly loved browsing
your weblog posts. After all I will be subscribing on your feed and I am hoping you write again soon!
Hello! This post could not be written any better!
Reading this post reminds me of my good old room mate!
He always kept talking about this. I will forward this page to him.
Pretty sure he will have a good read. Thank you for sharing!
I’m not that much of a internet reader to be honest but your
blogs really nice, keep it up! I’ll go ahead and bookmark your website to come back later on. Cheers
We stumbled over here from a different web page and thought I might as well
check things out. I like what I see so now i am following you.
Look forward to looking at your web page again.
When I originally commented I clicked the “Notify me when new comments are added” checkbox and now each time
a comment is added I get several e-mails with the same comment.
Is there any way you can remove people from that service? Thank you!